
At a Glance
- Protect tender crops first with breathable covers that reach the ground and are anchored; move containers to shelter, and use cloches for single plants.
- Before sunset water soil lightly, remove covers mid-morning, avoid plastic touching foliage, and in raised beds use compost instead of wood mulch.
- Frost often forms at 32°F to 36°F (0°C to 2°C), so know your local average first frost date so you can predict when to prepare.
Don't Let Frost Sneak Up on You
I love the first crisp night of the season right up until I remember the tomatoes. In my area, when I start seeing pumpkin spice lattes, it reminds me to get the frost covers out of the garage and to prepare for the upcoming chilly weather.
One year, when I didn't realize the chance of frost until midnight, I walked out in my slippers with a flashlight like a gardener on a secret mission.I grabbed my frost covers and set them up in the middle of the night. The neighbors probably wondered what was going on, but the plants made it through, and I learned my lesson: prepare early, and sleep better.
In this guide, I'll show you exactly how I protect my plants on cold nights using simple, organic methods. I'll also flag a few popular tips you can skip. This is all about practical steps you can take after dinner when the forecast suddenly drops. Be prepared!

Crop Hardiness Guide
- Very tender: Cover or move if the forecast dips near 36°F (2°C).
- tomatoes
- peppers
- basil
- cucumbers
- beans
- squash
- melons
- Frost-tolerant: Often fine in light frost, but young plants appreciate a cover.
- beets
- carrots
- lettuce
- chard
- celery
- onions
- parsley
- potatoes
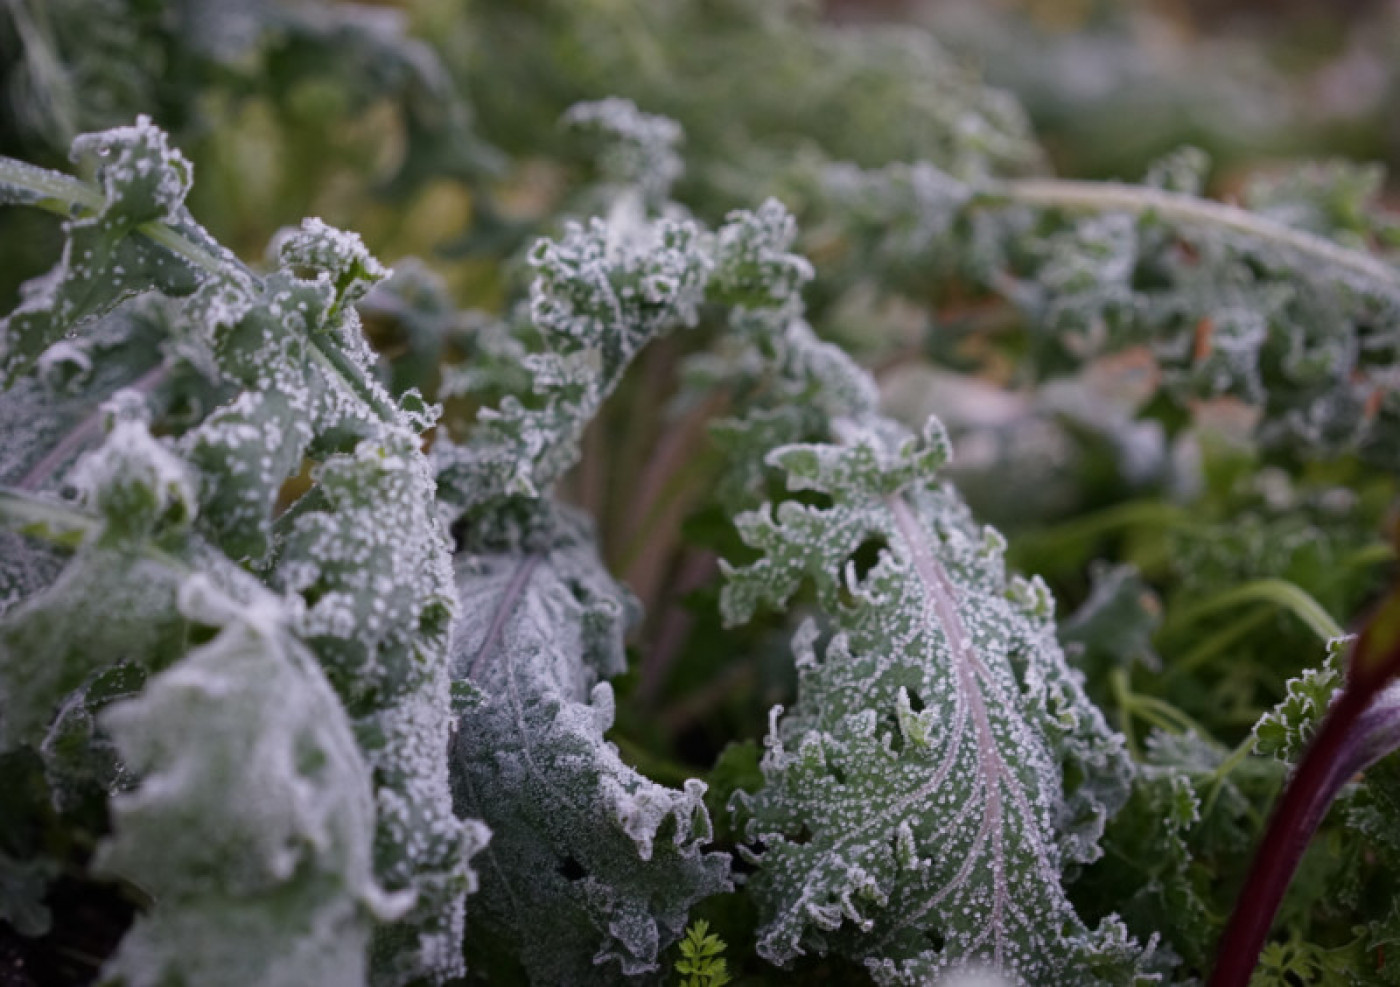
- Hardy: These can handle light frost, and some improve in flavor.
- kale
- spinach
- cabbage family
- peas
- radishes
- turnips
- Brussels sprouts
If you love specifics, many crops have known “critical lows” where damage begins. For example, tomatoes are damaged near 32°F to 34°F (0°C to 1°C), while cabbage can dip to 26°F to 28°F (-3°C to -2°C) without failing. Knowing a few of these numbers for your favorite crops could come in handy when reading the forecast and developing a plan of action.
Step 1: Know your frost dates and your plants
Two dates matter in every garden year: your last spring frost and your first fall frost. These are averages, not guarantees, which means they're a guidepost for planning and a warning bell for action. I keep track of mine in a garden planner so I can glance at them when I'm making a planting plan.
→Try our easy frost date calculator. Just enter your zip code!
Another important thing to learn is which plants are tender and which are tough. Tender crops like tomatoes, cucumbers, beans, and peppers can be injured by a light frost. Many cool-season vegetables like kale, spinach, cabbage, and broccoli can handle a light frost. Know which plants are your garden's most vulnerable!
Step 2: Read the forecast like a gardener
A frost can show up before the thermometer actually hits 32°F (0°C). Gardeners often see frost form when nighttime air sits between 32°F and 36°F (0°C to 2°C), especially on clear nights. That is your cue to cover tender plants, even if the predicted low looks “safe.” I also watch wind speed and cloud cover. Calm, cloudless conditions let heat radiate away from the soil, which makes frost more likely in low spots and open areas.
Moisture matters too. Slightly moist soil holds and releases more heat overnight than dry soil. If a cold night is coming, I give beds a light watering in the late afternoon, then add covers right before sunset. This small move can raise temperatures at the soil surface and help protect roots and the lowest foliage. It seems counterintuitive, but it works for mild conditions.

Step 3: My simple, grab-and-go frost kit
Some years, I've kept a “frost basket” by the back door that holds everything I need, so I am not wrestling a frost cloth in the dark. Here is what lives in my basket:
- Lightweight row cover fabric
- A couple of old sheets or towels for bigger plants
- A roll of clothespins and a handful of medium rocks to anchor edges
- A few clear plastic cloches for single plants
- Twine, a small tarp clip, and a pair of scissors
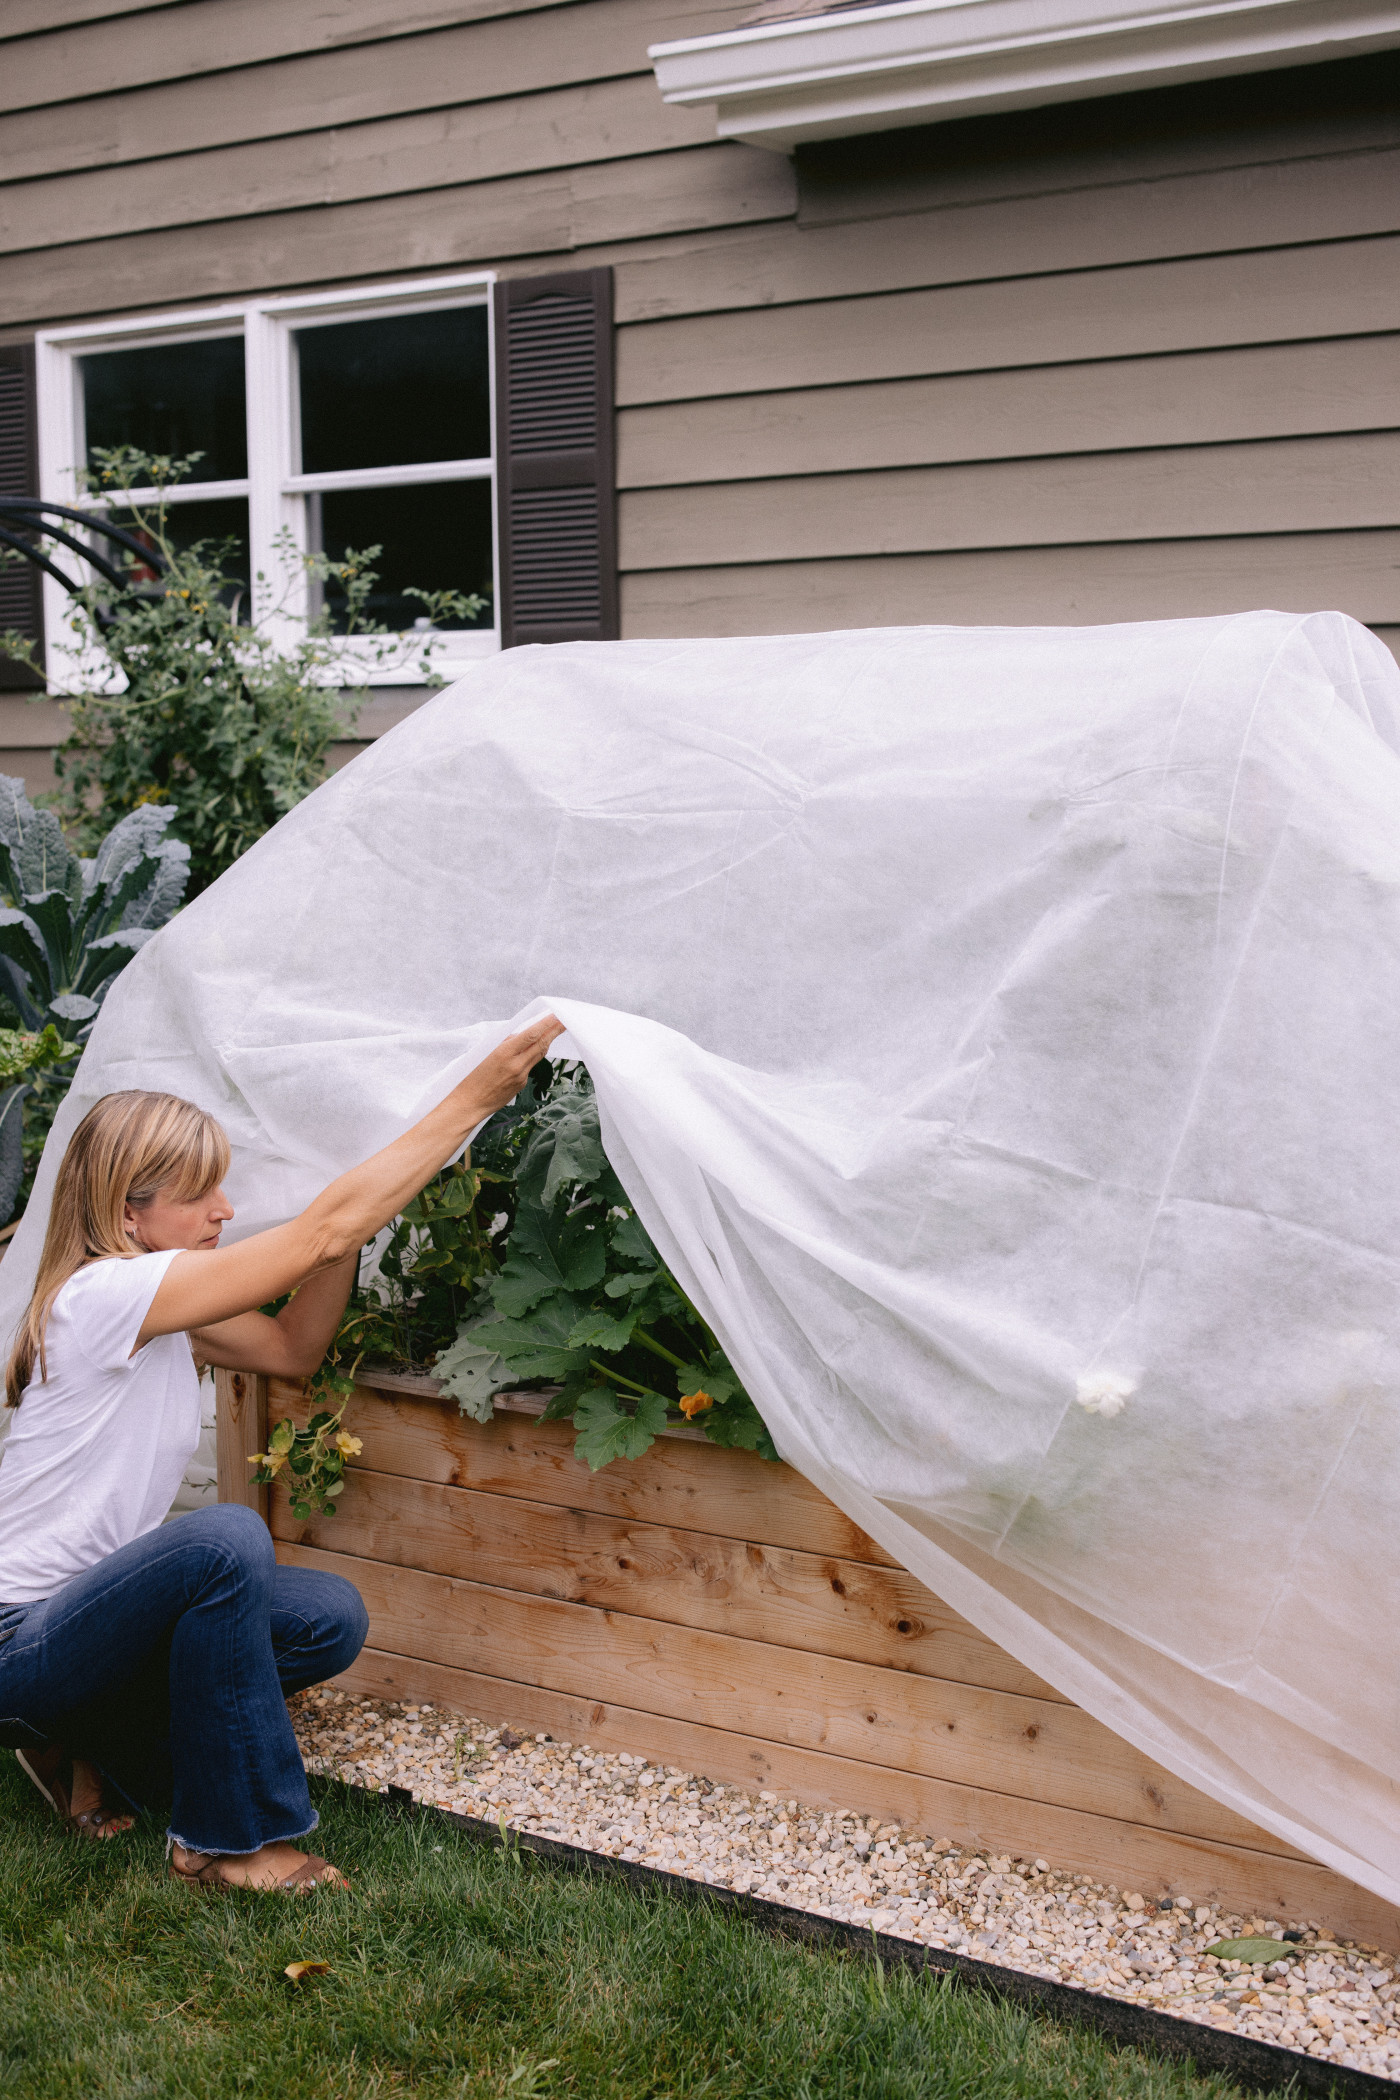
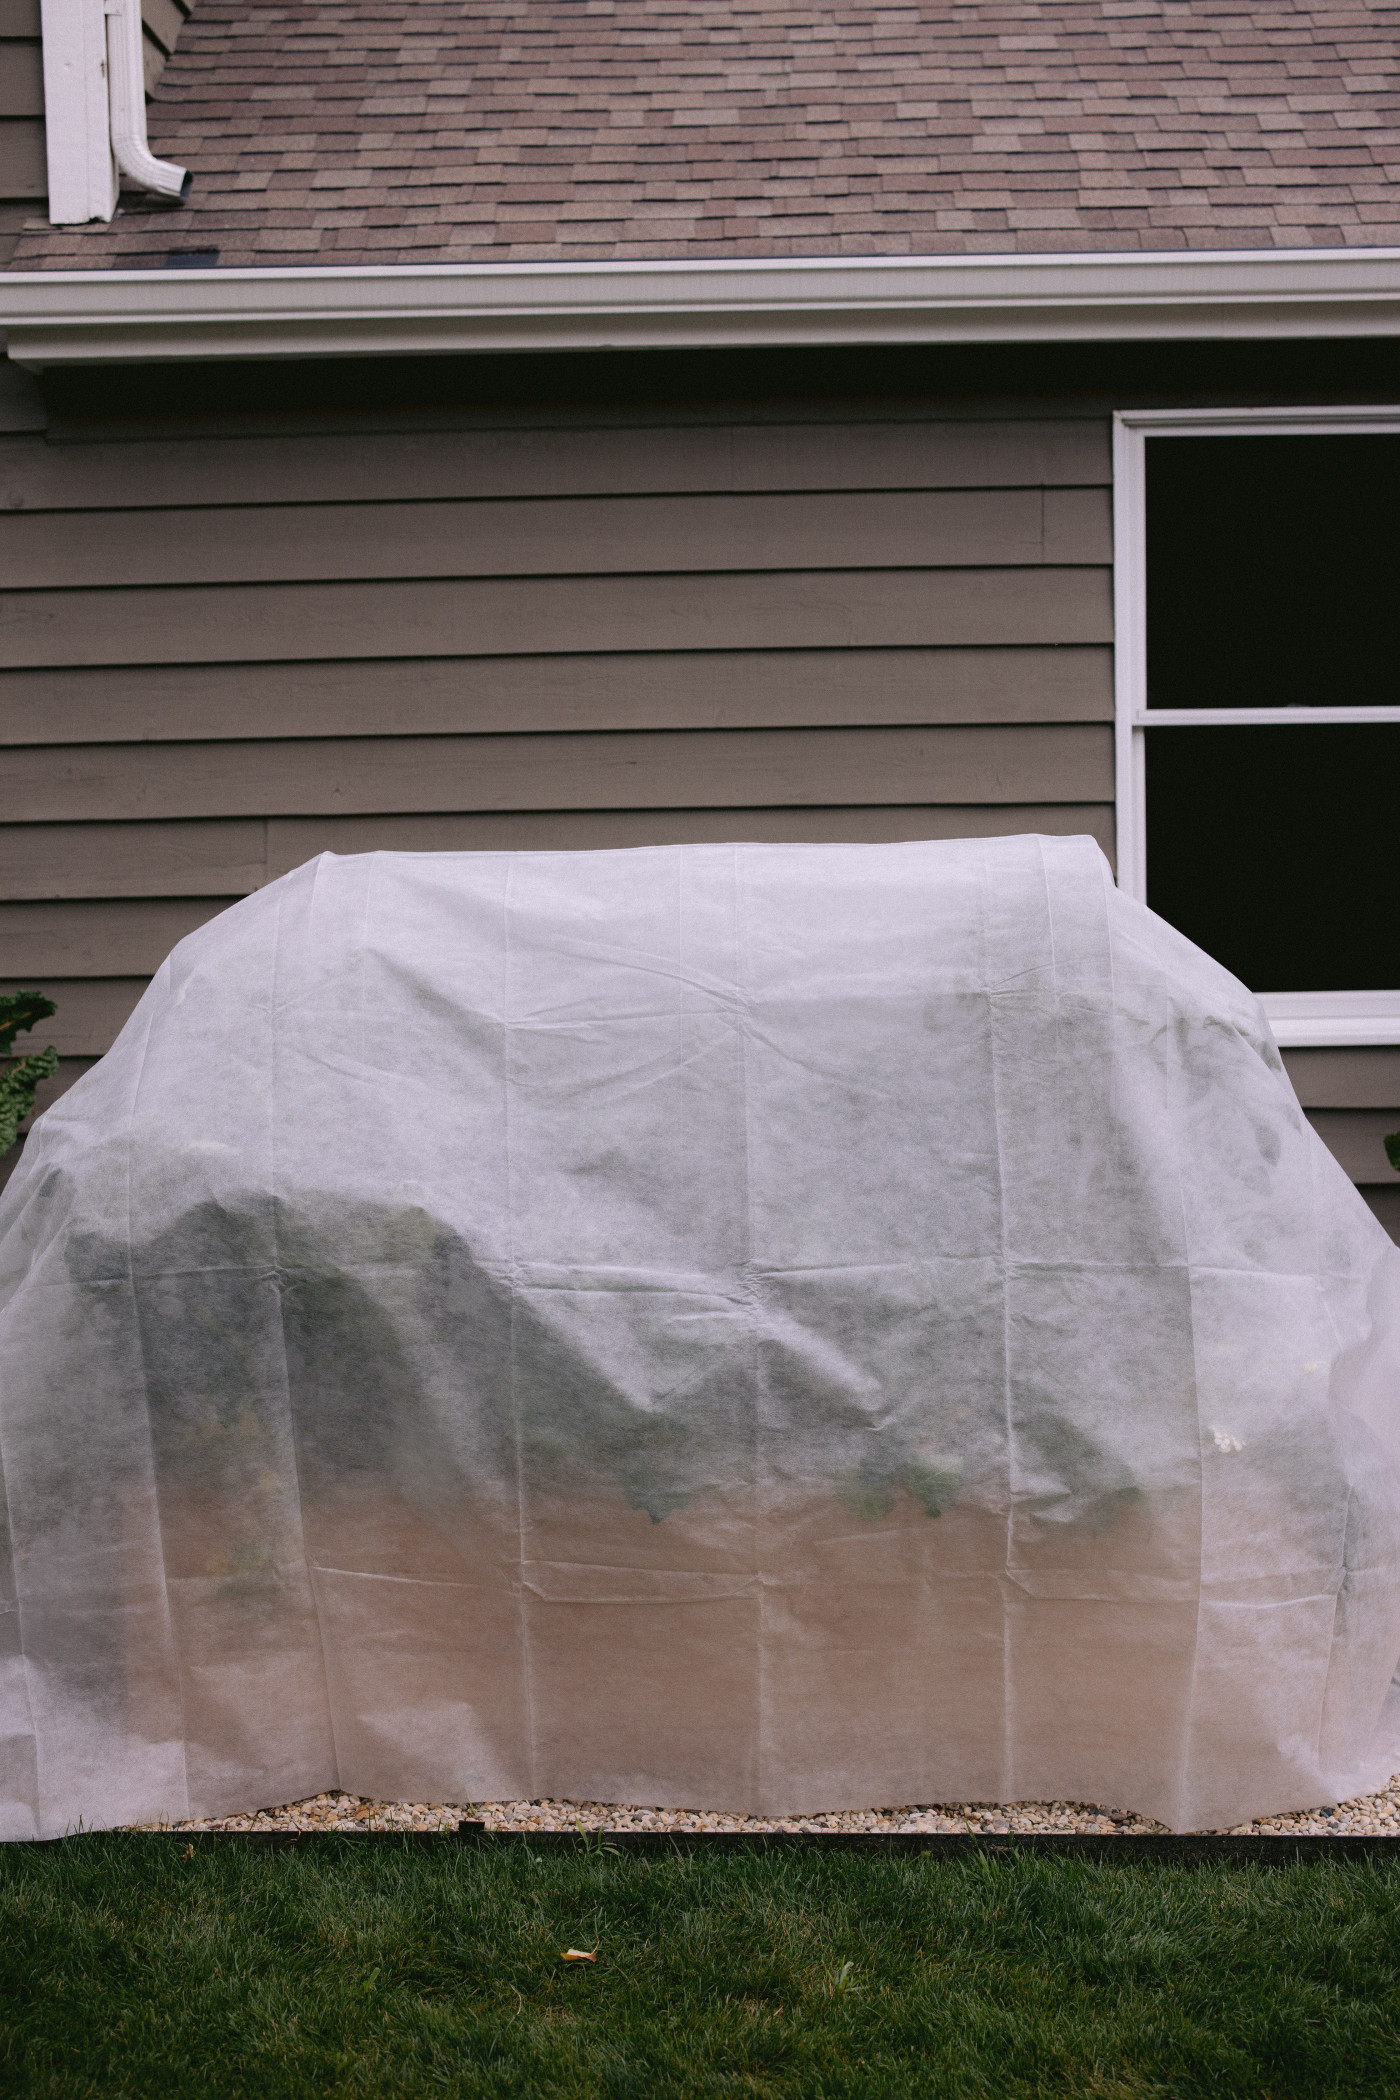
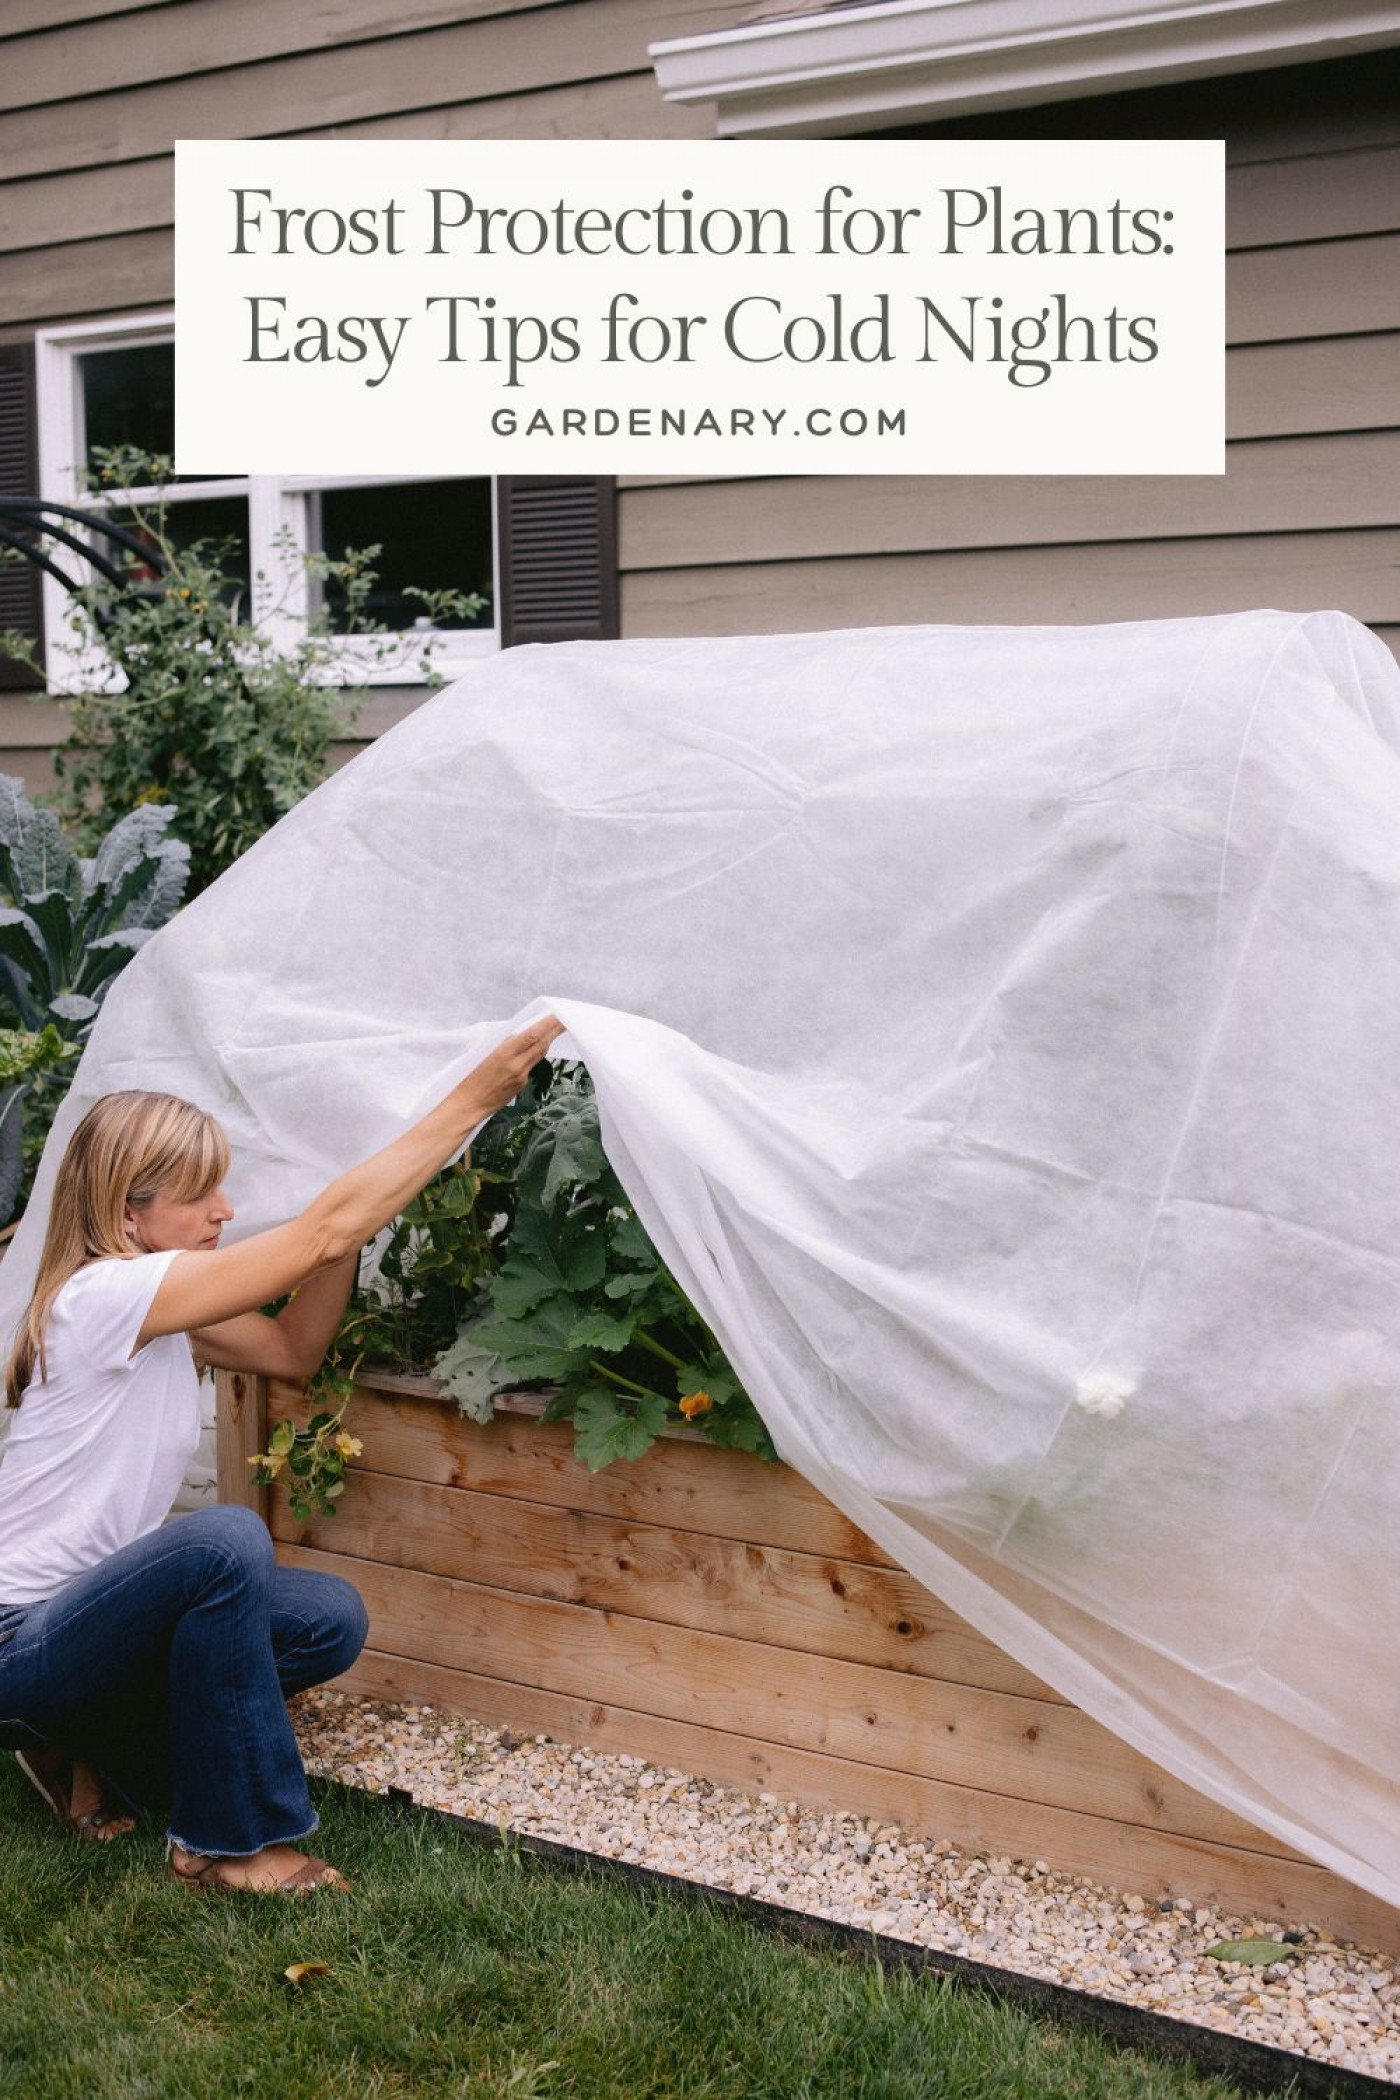
Fabric covers and row covers trap radiating heat from the soil and create a warmer pocket of air around plants. Drape loosely so air can circulate, make sure the fabric reaches the ground, and secure the edges so wind doesn't blow it away. Remove covers the next morning once temperatures rise so plants can get full sun.
Step 4: What to cover, move, or leave
Cover these: tender vegetables and summer annuals, plus anything recently transplanted. Tomatoes, peppers, beans, basil, cucumbers, melons, zucchini, and sweet potatoes are high on my list. Even a brief brush with frost can damage foliage and flowers.
Move these: potted plants and small containers. If you can lift the pot, slide it into a garage, shed, or up against a south-facing wall for the night. A simple relocation can mean a 5 to 10 degree difference compared to the middle of the yard.
Usually fine: hardy greens and roots like kale, spinach, parsley, broccoli, carrots, beets, and chard often handle a light frost. In fact, many of these are celebrated for cold tolerance. I still keep a cover handy if the forecast looks dicey, especially for young seedlings.
Step 5: Easy covers that work
Row covers and sheets. Float the fabric over plants, give them headroom, and anchor the edges to the soil. Do not let material press tightly onto leaves because contact points can still freeze. If rain or frost is heavy, I add an extra layer for the night and remove it the next morning.
DIY cloches. I cut the bottoms off clean milk jugs and gently push the jug into the soil about 1 inch (2.5 cm). I pop the cap on at night and take it off mid-morning to vent, like a tiny greenhouse. Clear nursery domes or glass cloches work beautifully too.
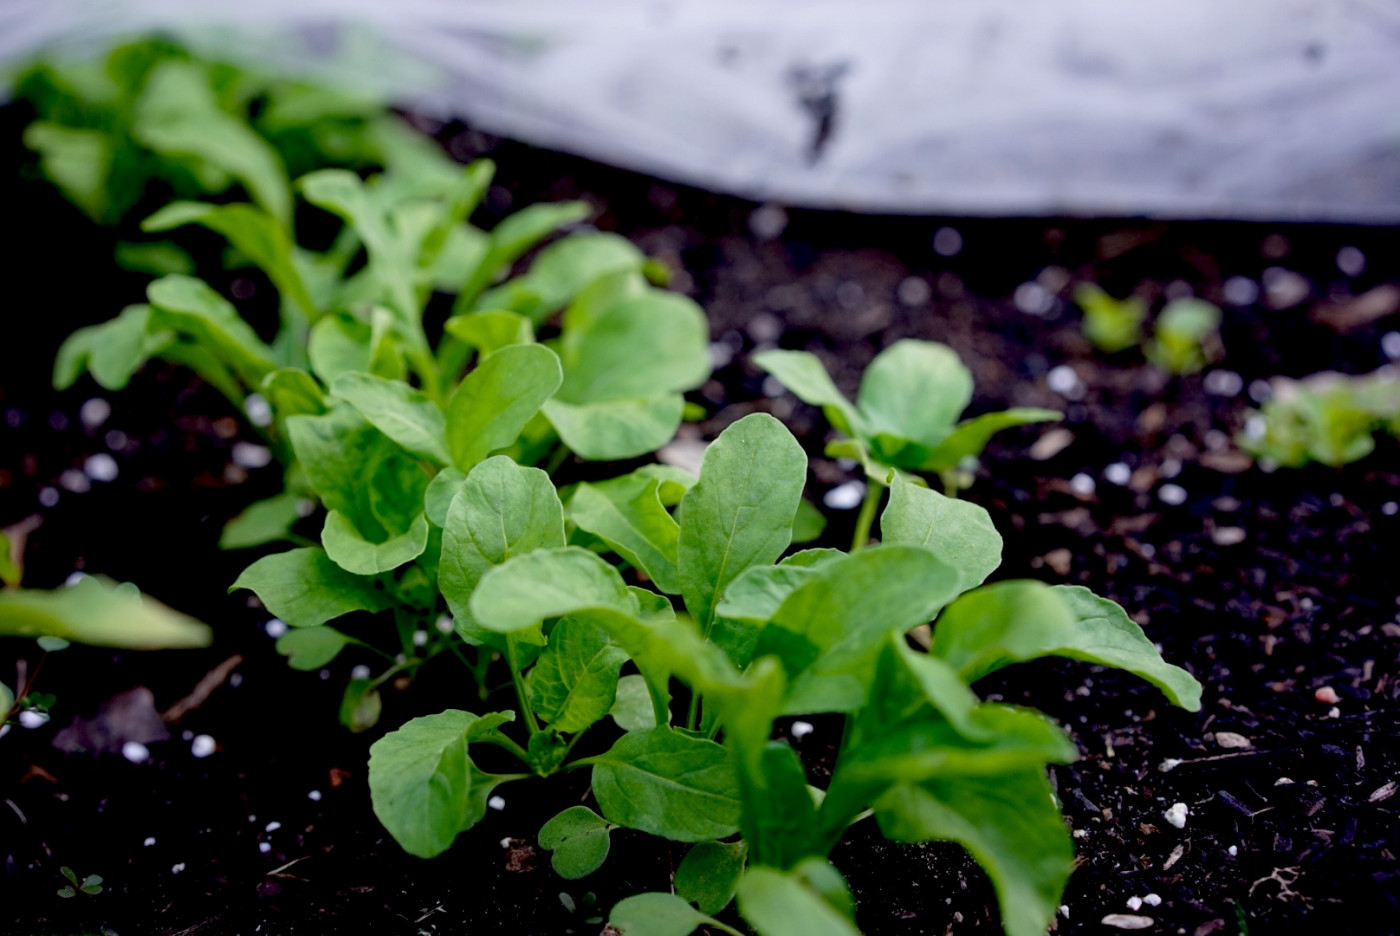
Mini hoop tunnels. If I am protecting a whole bed of lettuce or young brassicas, I slide flexible hoops into the bed and drape row cover over them. A center ridge line keeps fabric off the foliage and sheds light frost. This setup is especially helpful for a string of cold nights.
Cold frames and pop-up greenhouses. For longer protection, a simple cold frame or a small portable greenhouse traps daytime heat and releases it slowly at night. These are helpful for shoulder seasons when I want to stretch the harvest for weeks.
→Learn more about different types of frost covers.

The quick-reaction checklist for a frosty forecast
- Check the evening update and scan for clear, calm conditions.
- Water lightly in late afternoon if the soil is dry.
- Move containers indoors (best) or to more sheltered spots (better than nothing).
- Cover tender plants with fabric that reaches the ground and is secured.
- Use cloches for single, small plants.
- Set an alarm to remove covers mid-morning the next day.
A word on mulch, and what I use instead
Some guides recommend mulching to insulate plants on cold nights. In raised kitchen gardens, I do not use wood mulch or similar materials as a frost strategy. My approach is to keep the soil covered with finished compost during the growing season, then rely on covers, cloches, and smart timing for frost events. This keeps beds focused on living soil and active crops rather than permanent mulches. For all edible gardens, I stick with compost and coverings.
Microclimates: your secret frost insurance
Not all corners of a garden cool the same way. Cold air sinks, so low spots and the middle of a lawn often frost first. Spots near stone, brick, or water can stay slightly warmer because these surfaces absorb heat by day and release it at night. I tuck heat lovers on the south or west side of a fence or wall when I can, and I keep frost-prone plants out of obvious low pockets. This kind of placement is subtle, but it makes a real difference on marginal nights.
When temperatures really drop
A freeze is more destructive than a frost because air temperatures stay below 32°F (0°C) for hours. If I see a freeze warning, I take stronger measures. I double up covers, add a second layer of row cover or a blanket over the first, and make sure edges are sealed to the ground all around. If plants are in containers and the forecast looks brutal, I bring them inside or into an insulated space. Tender annuals will not recover from a hard freeze, so the goal is to prevent that direct exposure.

What not to do on cold nights
- Do not wrap plants in plastic and press it to the leaves. Plastic is not breathable and can increase damage where it touches foliage. If you use plastic as a rain shield, keep a breathable fabric layer underneath and avoid direct contact.
- Do not leave covers on all day in bright sun. Plants can overheat and stretch. Uncover by mid-morning when temperatures rise.
- Do not forget to anchor the edges. A cover that flaps all night is not holding warmth. Weigh down edges with rocks or bricks.
Build your own cold-night routine
Here is the routine I rely on, every time:
- Check the afternoon forecast and scan your low spots.
- Water lightly if the bed is dry.
- Move small containers to shelter.
- Cover tender plants with breathable fabric that reaches the ground.
- Anchor edges, and add a second layer if needed.
- Uncover mid-morning the next day.
Organic gardening is about working with the weather, not against it. Frost nights are part of that rhythm. With a little practice and a basket of simple supplies, you can turn those “Brr!” evenings into calm, confident nights and wake up to a garden that is still going strong.
Click the image below to save this article for later!

Sources
- Protecting Plants From Frost: How to Prevent Frost Damage - The Old Farmer’s Almanac
- How to Protect Plants from Frost: 5 Simple Solutions - Better Homes & Gardens