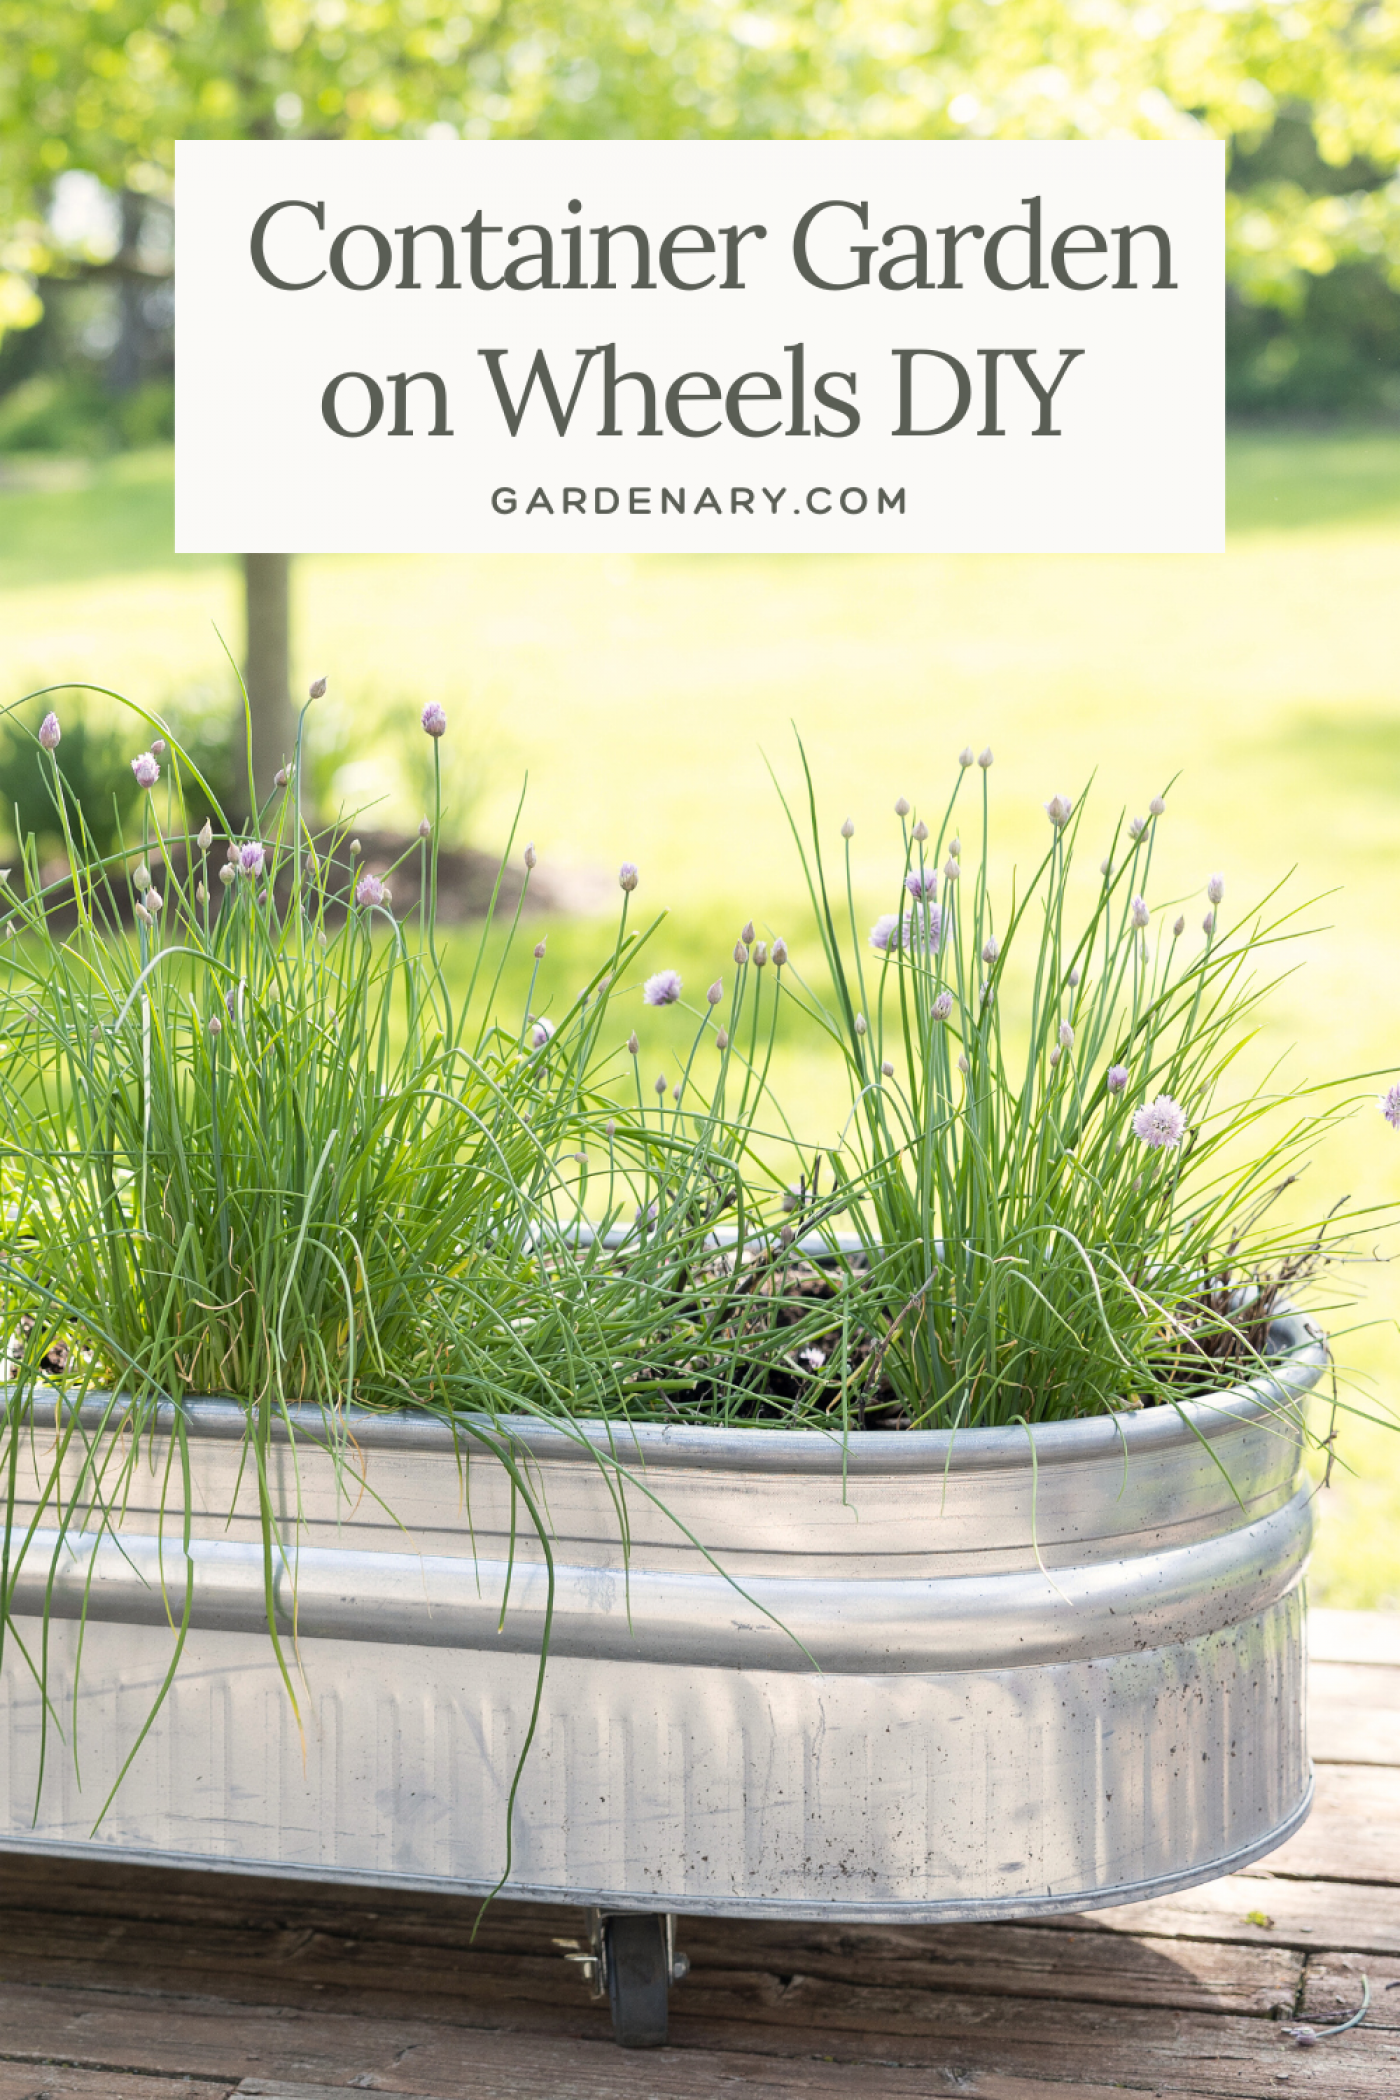
Easy Raised Garden Bed on Wheels DIY
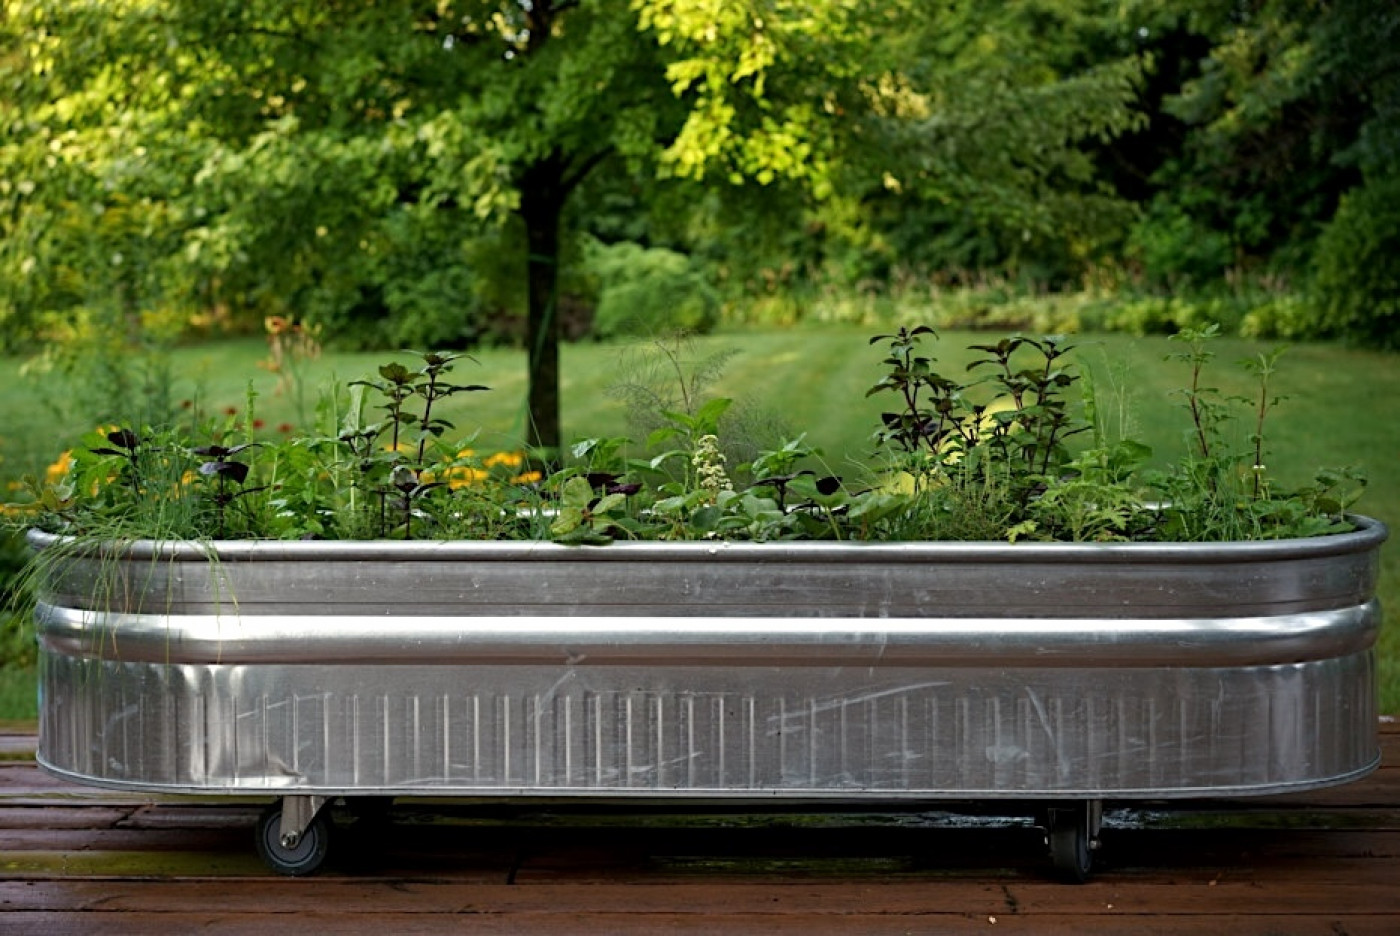
This DIY moveable raised bed is a simple beginner garden that you can fill with loads of herbs, leafy greens, and flowers. I've been growing herbs in my own rollable steel planter for years, and it's helped me find so much more container garden success than I ever thought possible. Each plant has plenty of room to grow, and I can roll the container around my patio to find the best light. The result is a thriving garden space.
If you've ever failed to grow a plant in a container, the problem probably wasn't you but your container. One of the biggest ways to challenge your green thumb is to try and keep edible plants in small pots. When a vegetable plant is growing in a super small pot, it's got very little room to stretch out and look for help. All the responsibility is on you.
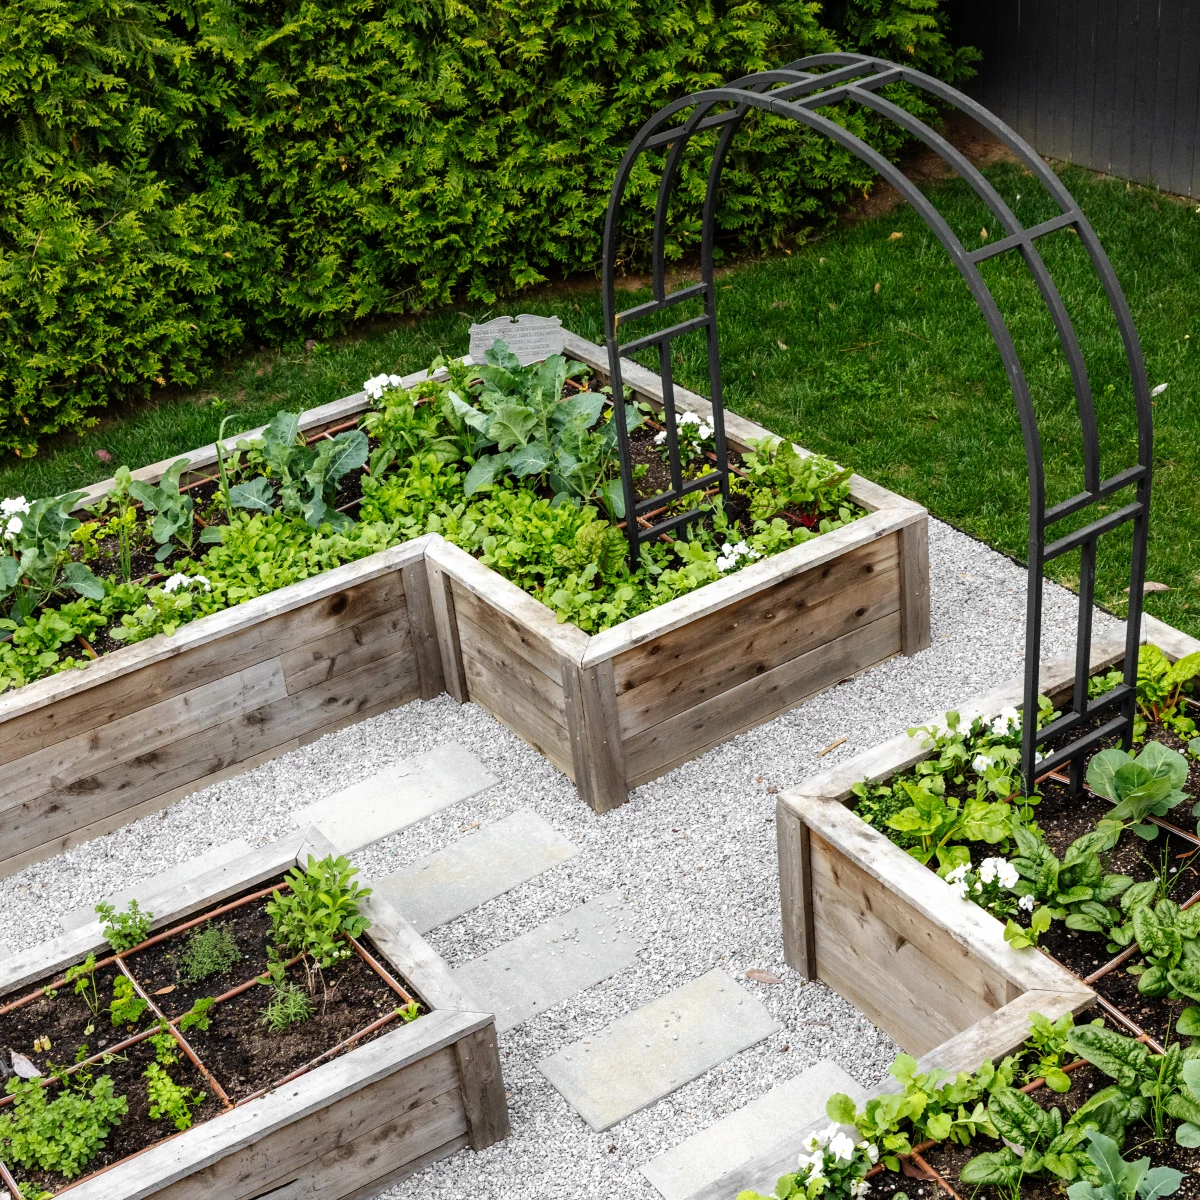
Raised beds and large containers, in comparison, allow plants to send their roots deeper and wider to grab more resources like nutrients and water when they need to. That means the care demands for your plants decrease (and the likelihood of success increases).
Let's look at the supplies you'll need for this moveable raised bed DIY project.

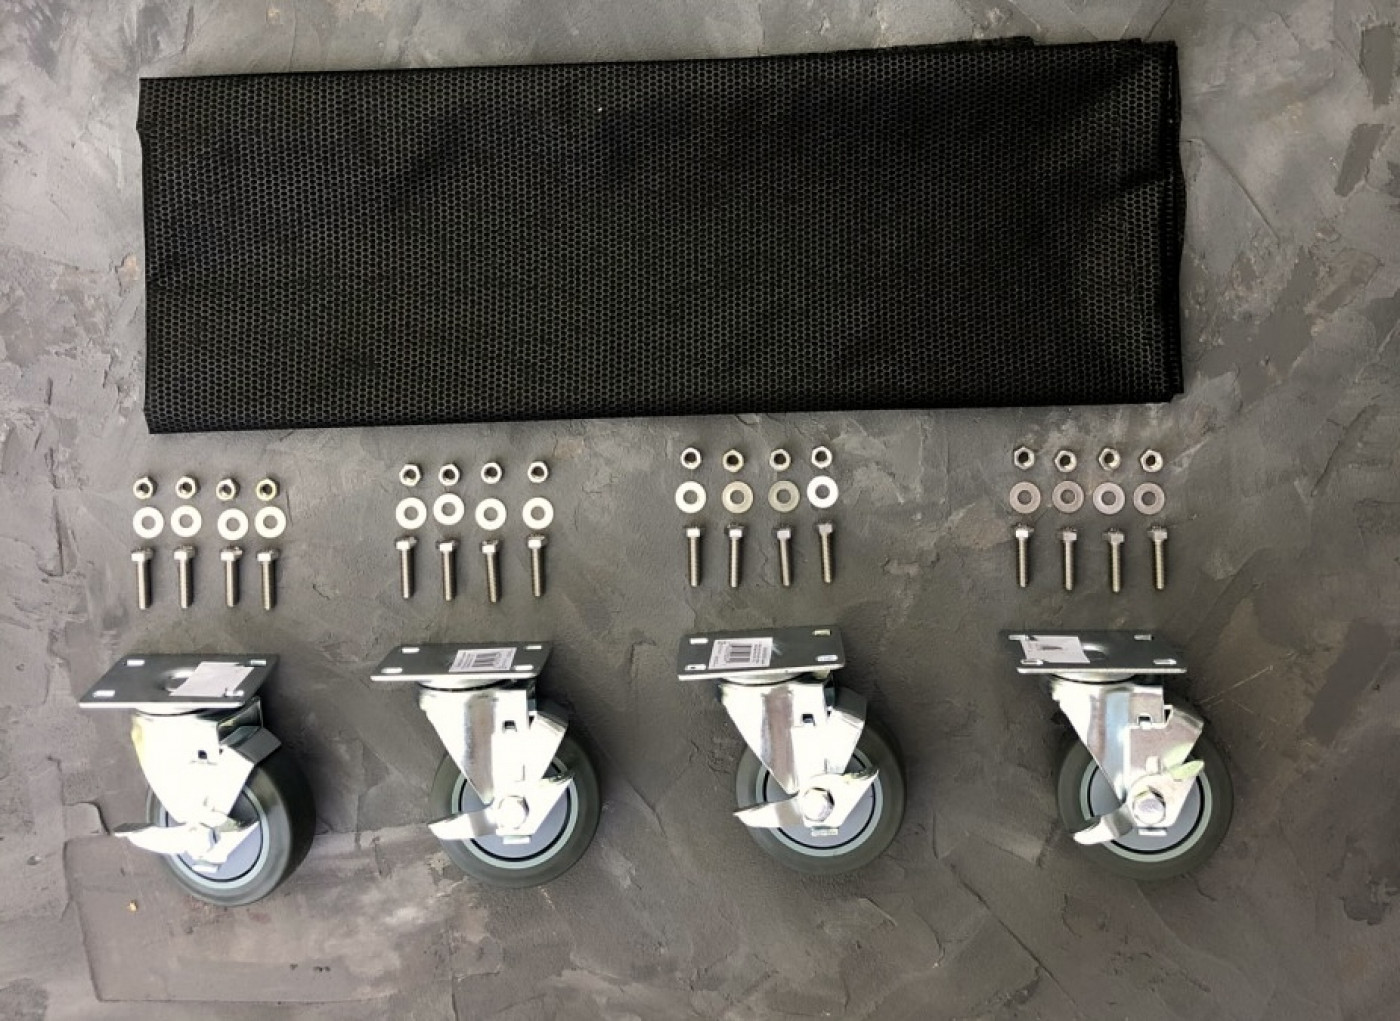
DIY Supply List
- large steel container
- 4 casters with brakes
- nuts, bolts, and washers
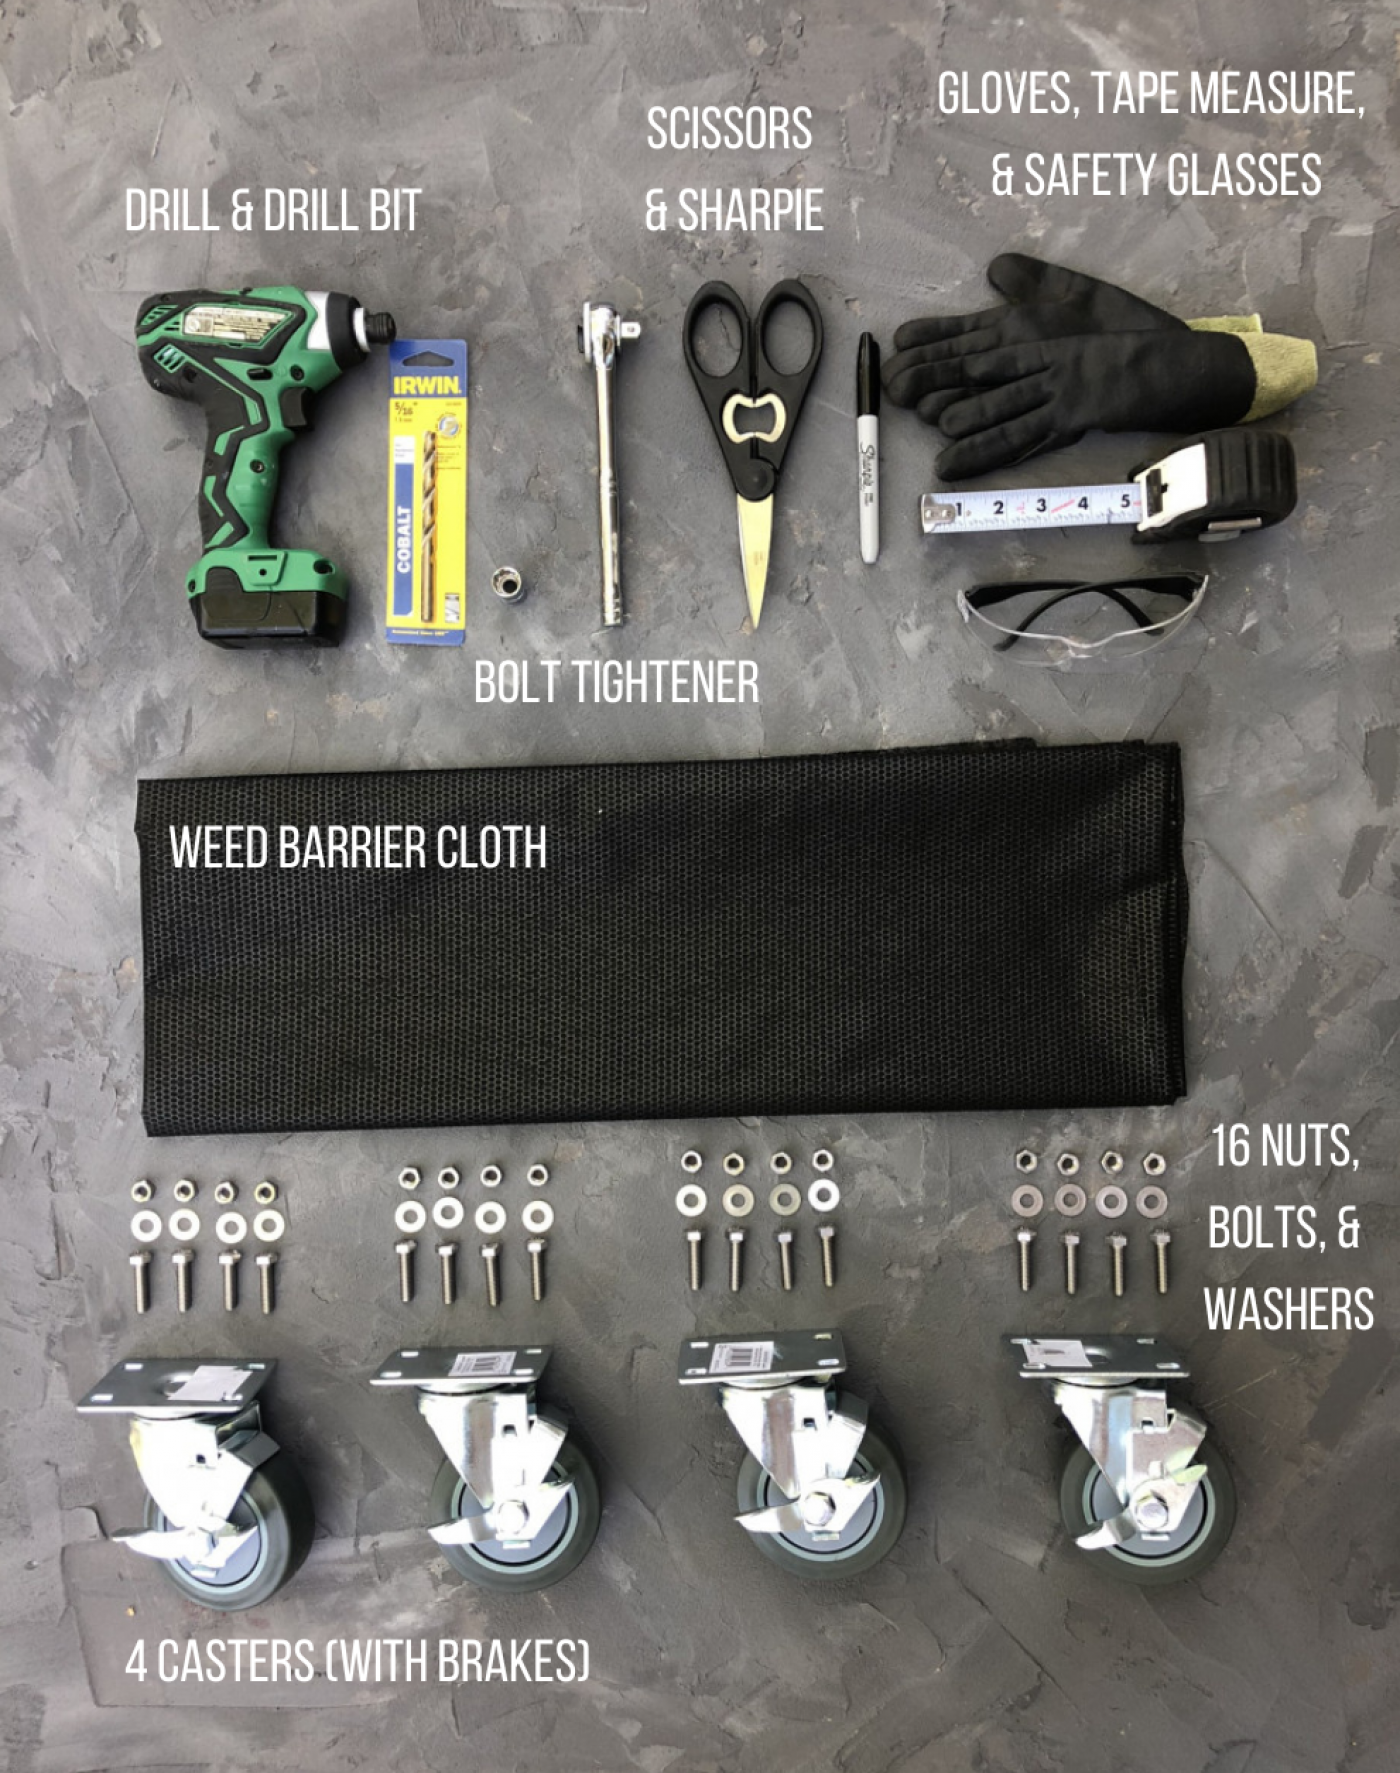
- weed barrier cloth
Let's look at these supplies in more detail so you know exactly what to buy.
Large Steel Container
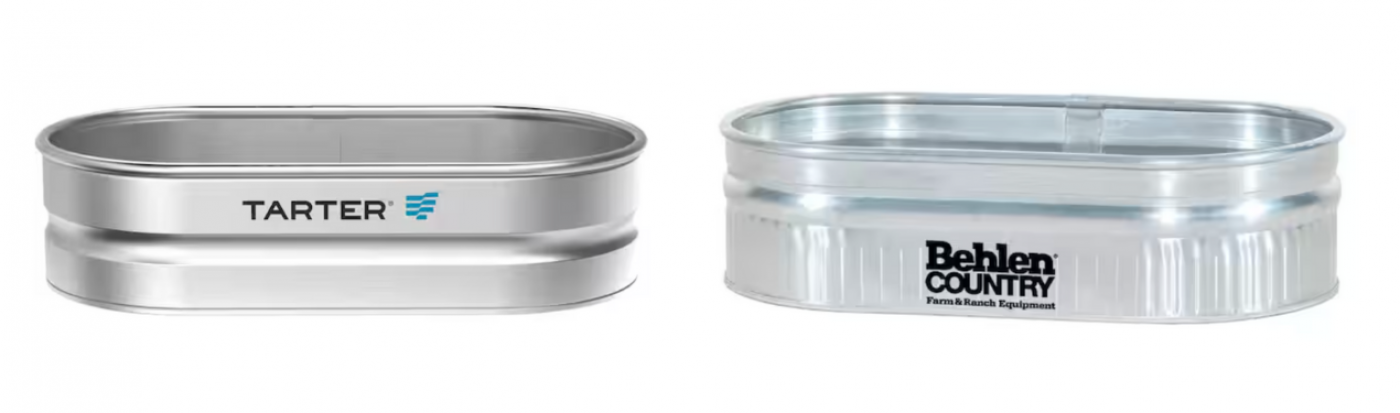
I recommend using a food-grade stock tank, which you can find at hardware or tractor supply stores. They’re typically about 2 feet (61 cm) wide, 4 feet (1.2 m) long, and 1 to 2 feet tall (for roughly 8 square feet of growing space). These containers have enclosed bottoms, which makes them ideal for decks and patios.
Since these raised garden beds will be growing edible plants, we want to use materials that are food safe and as natural as possible. Stainless steel and galvanized steel are both great options. Steel is also strong enough to support the weight of the entire raised bed once it's lifted off the ground on wheels and filled with soil.

Casters with Brakes
A caster is basically a wheel plus the mounting system that holds the wheel in place. Casters can also swivel, allowing you to move the wheels in more than one direction and overall reducing the effort needed to roll something heavy.
Casters allow you to move your raised garden bed in and out of sunlight as needed throughout the season. Also, the casters make it much easier to add drainage holes to the bottom of the raised bed and keep the container draining easily. The added height these casters will add even make tending and harvesting from this moveable raised bed easier.
You'll also want to add the feature of a brake on the caster. If you have children, just about anything on wheels is subject to getting turned into some kind of motor vehicle, right? So these brakes allow you to keep the garden in place.
You'll need two casters on each end of the bottom of this steel container, for a total of four. You want to be sure when you're buying your casters that they can handle all the weight the soil and water will add to the garden planter. To calculate the weight, first find the container's cubic footage (multiply L x W x H) and then assume about 40 pounds per cubic foot.
My planter is 2 feet wide by 6 feet long by 1 foot deep. This equates to 12 cubic feet, so the weight estimate is 480 pounds. On the package, each of the casters I purchased promised to carry 200 pounds, for a total of 800 pounds. So I can rest assured these casters won't buckle under the weight of the soil in the garden planter.
Nuts and Bolts
To secure the casters in place at the bottom of your raised garden bed, you'll need the right size bolts, washers, and nuts. Double check at the hardware store that each of these bolts will fit nicely into the holes of the casters, and of course, you also want to make sure that you're picking up enough bolts per caster. Generally, each caster needs about four bolts each, but it's a good idea to check your package for instructions.
Weed Barrier Cloth
Weed barrier cloth is available at your local hardware and landscape supply stores, and you don't need a heavy duty one for this project. The main idea is to use a porous cloth to keep your soil from washing out of your raised garden bed and onto your porch or patio or wherever you happen to have your rolling steel planter.
In lieu of weed barrier cloth, you could also use a large piece of burlap fabric.

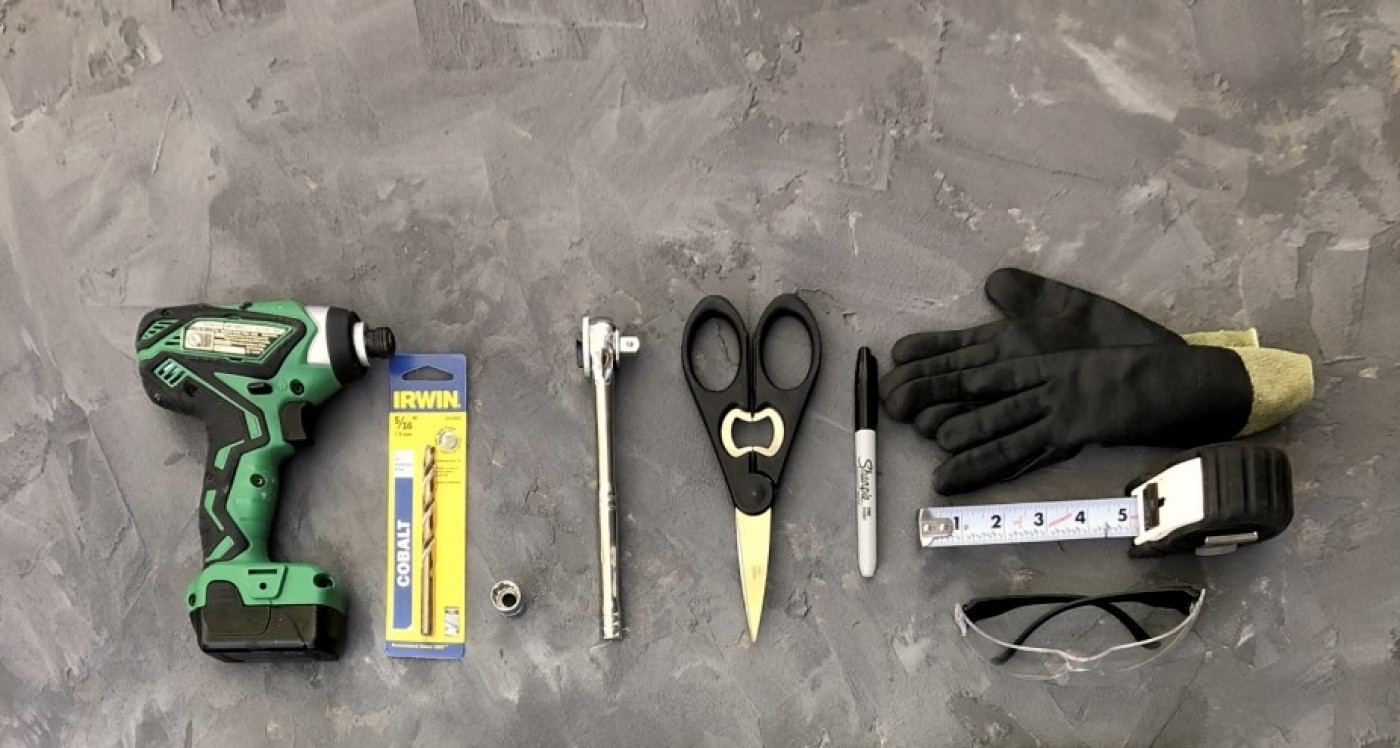
Tools List
The tools you'll need to add casters to your container garden include:
- Drill and drill bit
- Bolt tightener
- Scissors
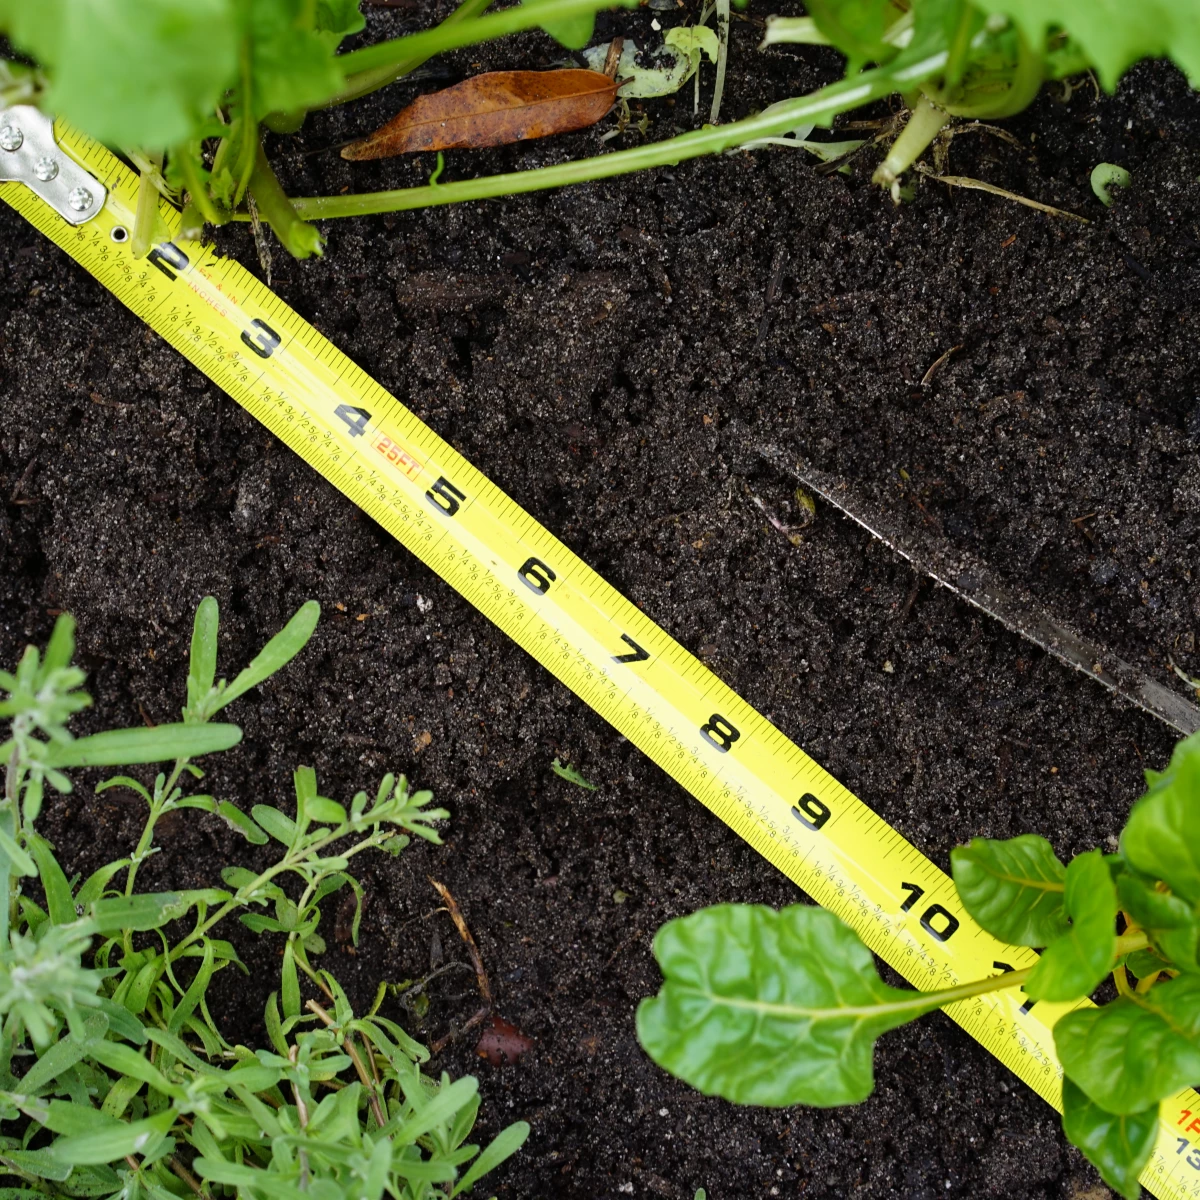
- Tape measure
- Permanent marker
- Framing square (optional)
- Safety glasses and gloves
Drill and Drill Bit
You'll need a strong drill that can handle working with steel. A handheld battery-powered drill might work, but you'll need a lot of power to drill through that steel planter.
You also want to make sure that you get a drill bit that matches the size of the bolts you'll be using, and that it's meant for hardened steel. Always check the packaging and look for something that says it can cut through hardened steel. You can also always ask a hardware store employee (like I do!) to help point you in the right direction.
Scissors, Tape Measure, Etc.
You'll also need some scissors to cut your weed cloth, as well as a tape measure and permanent marker to mark where you'd like to drill the holes for your casters.
A framing square is helpful to make sure everything is in nice, straight lines.
Last but not least, you should wear thick gloves and safety goggles to protect your hands and face from the steel, as it can be very sharp.
Now that you've got everything, pop on your safety glasses, and let's get started!

Steps to Build a Raised Bed on Wheels
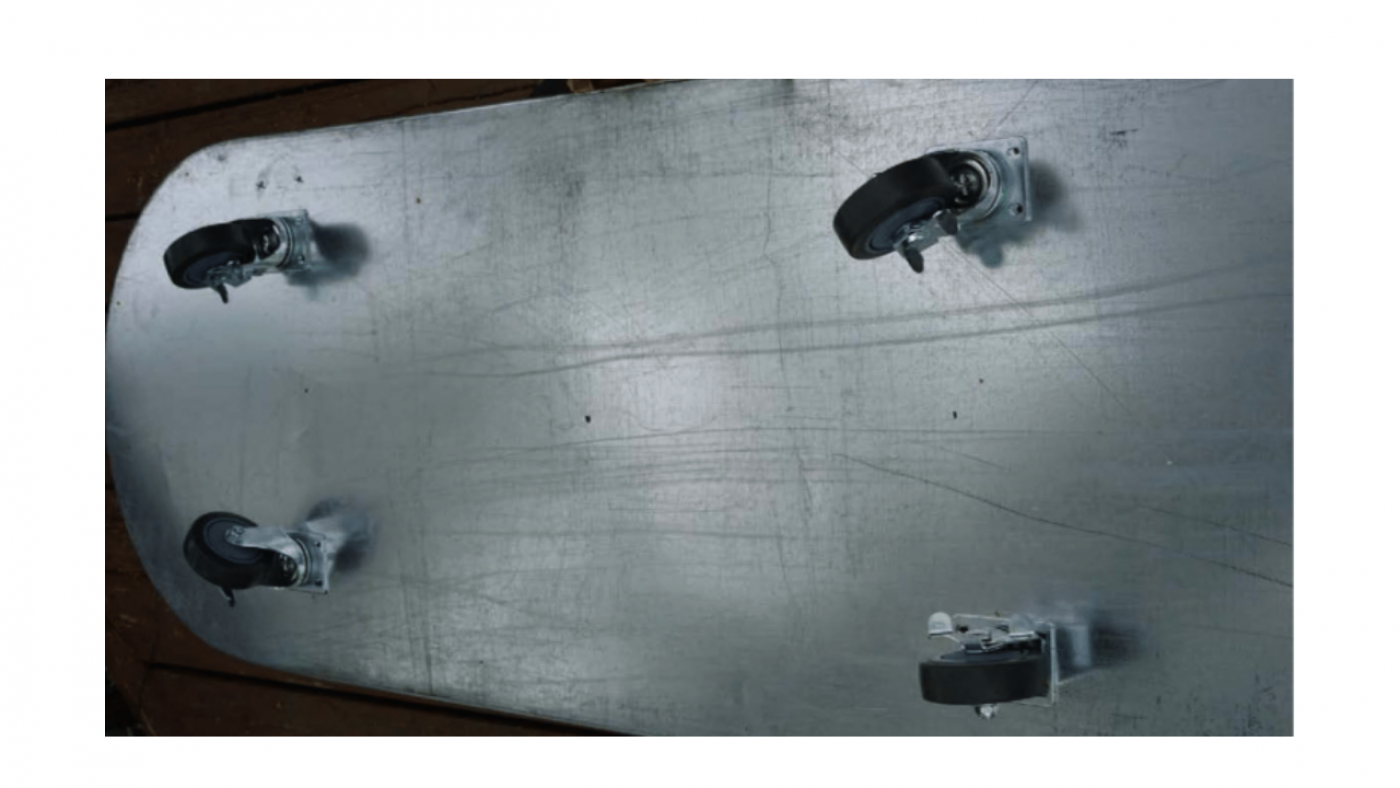
Step 1: Mark Your Drill Holes
Begin by flipping the container over to measure and mark the center of your planter. Then, measure away from the center and find the four corners that are equidistant from your center. Each of these four marks are where your casters will be secured. Don't be discouraged if it requires some adjusting to get the four marks lined up.
Double check that all your markings are equidistant from each other so you don't end up with a wobbly planter or casters that are not evenly distributing the weight of the soil.
Just in case you're wondering, it took me quite a bit of time to get this lined up. But once you've got it, mark the four spots on each caster with a sharpie so you know where to drill your holes. It's important to always measure twice (or even three times!) so you only have to drill once.
Step 2: Attach the Casters
Now it's time to put those casters in place. You can use a framing square to ensure that all your casters will be lined up with one another. Put your gloves and safety glasses on, and drill the four holes you measured for each caster. It's going to take a little bit of muscle to make it happen, but you've got this!
Once those holes are drilled, insert the bolts, fit a washer on the back of each, and screw them in with a nut. Be sure that each caster is as secure as possible with a bolt tightener once you've got them screwed in by hand.
This is honestly much easier if you have a partner to help you hold the container on one side while you screw in the other, but it can be done by yourself too! I started out constructing this bed by myself but then recruited my son to come and help. So, grab a partner if you can.

Step 3: Add Drainage Holes
Now that you have the casters attached, it's time to put in drainage holes. Aim to create one drainage hole about every square foot in a large container like this. I drilled about 8 to 10 different holes in mine. Use the same drill and bit that you used to place your casters.
Once you've drilled some drainage holes, test the drainage speed and quality by filling up your container with some water and noting how quickly it drains. This is a simple way to be sure that the water isn't just sitting in your container like it would in a bathtub—something we definitely don't want in our edible garden.
How to Fill Your Rolling Planter
Now the container is completely set up. By attaching the casters, you've added a mobility function to this raised bed that will make it so much simpler to grow in. And you've also gotten your container off the ground so that it will drain much more quickly and efficiently.
You can apply these same principles to any kind of container you'll put together for your garden now that you know the complete step by step to putting together this particular type of moveable raised bed.
Now, it's time to take off those safety glasses, but keep your gloves on. You're about to get dirty adding soil and plants to your new raised bed garden!
Step 1: Line the Bottom of the Growing Container
Once you've got the drainage holes drilled and tested, cut your weed barrier cloth to the right size of the container and place it inside, just over the drainage holes and the nuts and bolts you used to secure your casters. You don't want your soil washing out of your raised bed every time you water.
Step 2: Add Well-Draining Soil Mix
Fill your new raised bed with a great sandy loam soil blend.
→ Find my recipe for my go-to soil blend HERE.
Step 3: Plant
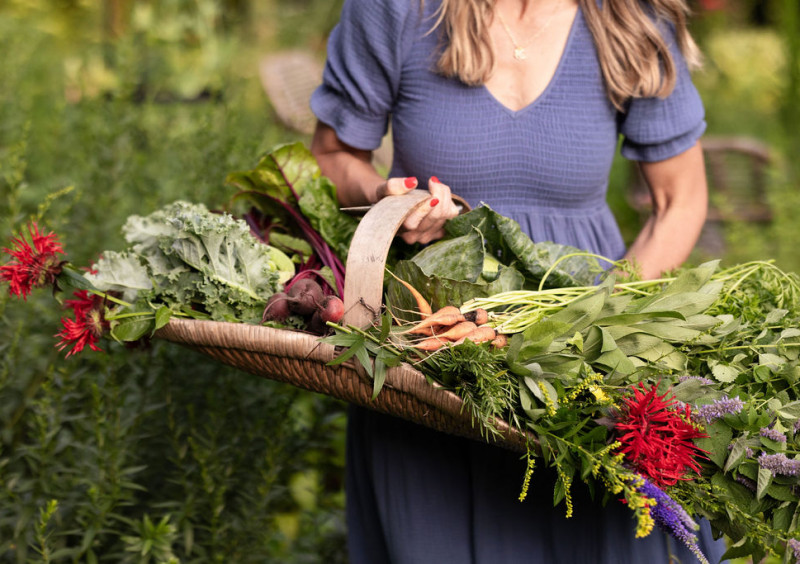
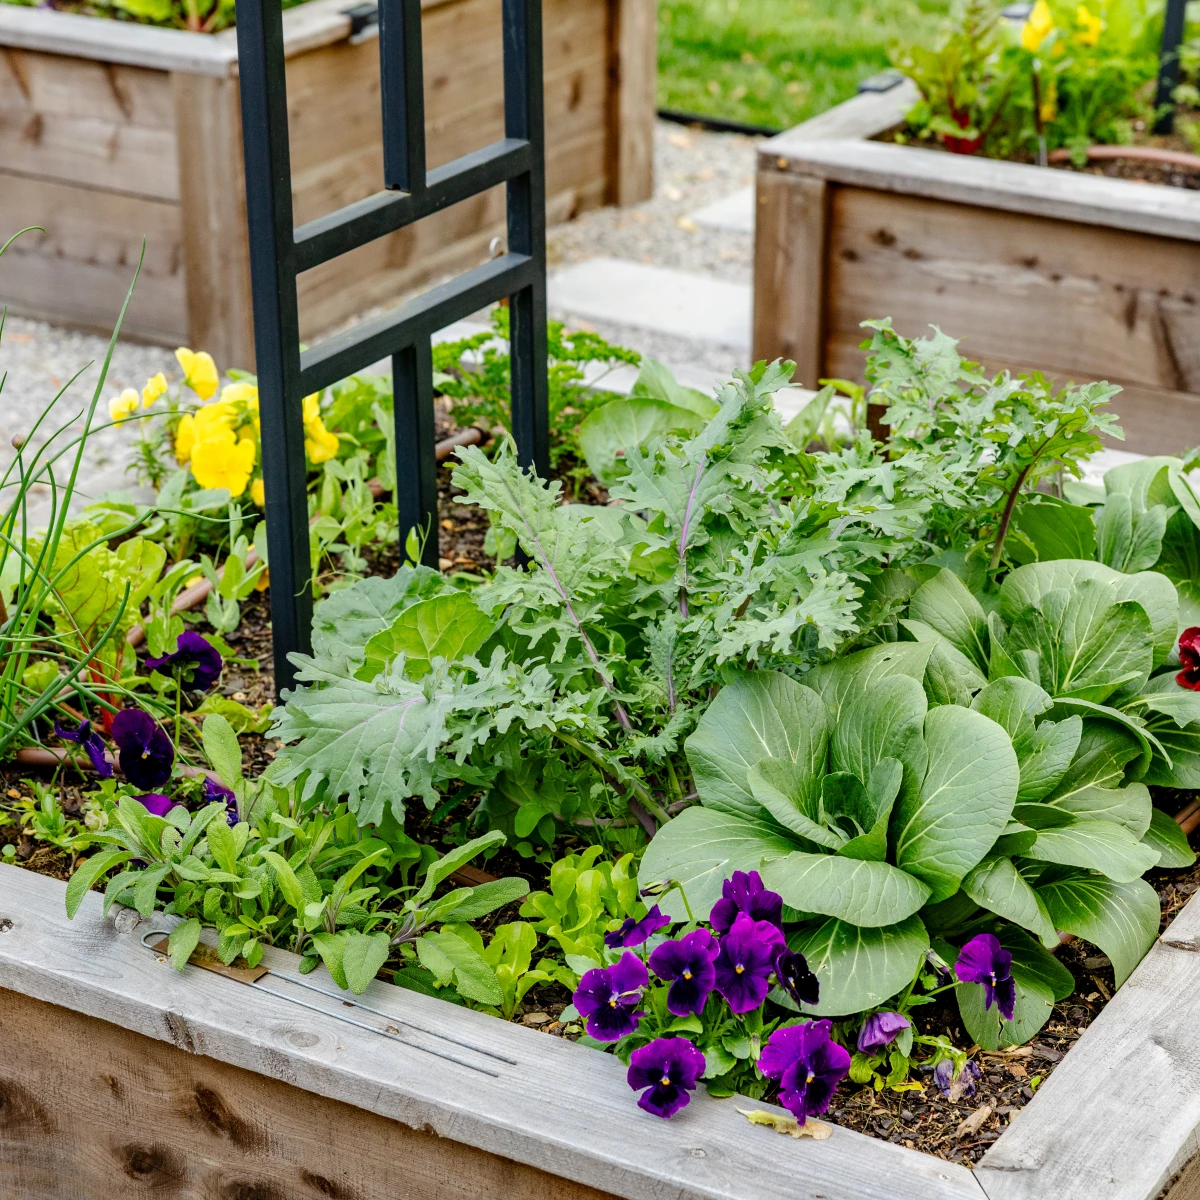
Add herbs, leafy greens, and/or flowers. If you plant the Gardenary way, you can fit a lot more in this container than you might expect.


How Much Does This Moveable Raised Bed Cost?
- Behlen Country Stock Tank from Tractor Supply Co - $129.99
- 4-inch heavy-duty caster with breaks - $24.99 each (x4)
- Nuts, bolts, and washers - approximately $25 total
Total: $255
Not factoring in tools, you can complete this project for under $300. Spend the rest of your garden budget on the best possible soil to fill this container and good-quality seeds and plants.


I hope this step-by-step guide helps you find as much success in your moveable garden as I've had in mine.
Click on the Pinterest icon below to save this post for later!
Learn How to Plant the Gardenary Way