Hundreds of people have paid me over the years to help them plan their gardens. Since 2015, I’ve been working as a garden consultant, and do you know the number one thing people asked me for? A plan.
Gardeners love a plan. We want to know what to plant, when to tend, and how to harvest at just the right time. And honestly, I get it. When you walk outside and see your garden in all its wild, messy beauty, it’s easy to wonder, Where do I even start? That’s where a garden planner makes all the difference—it takes away the guesswork and gives you a clear next step.
That’s why my team and I created a set of four seasonal garden planners, one for each season of the gardening year, filled with simple daily tasks to keep you on track and in the garden. You can check them out right here.
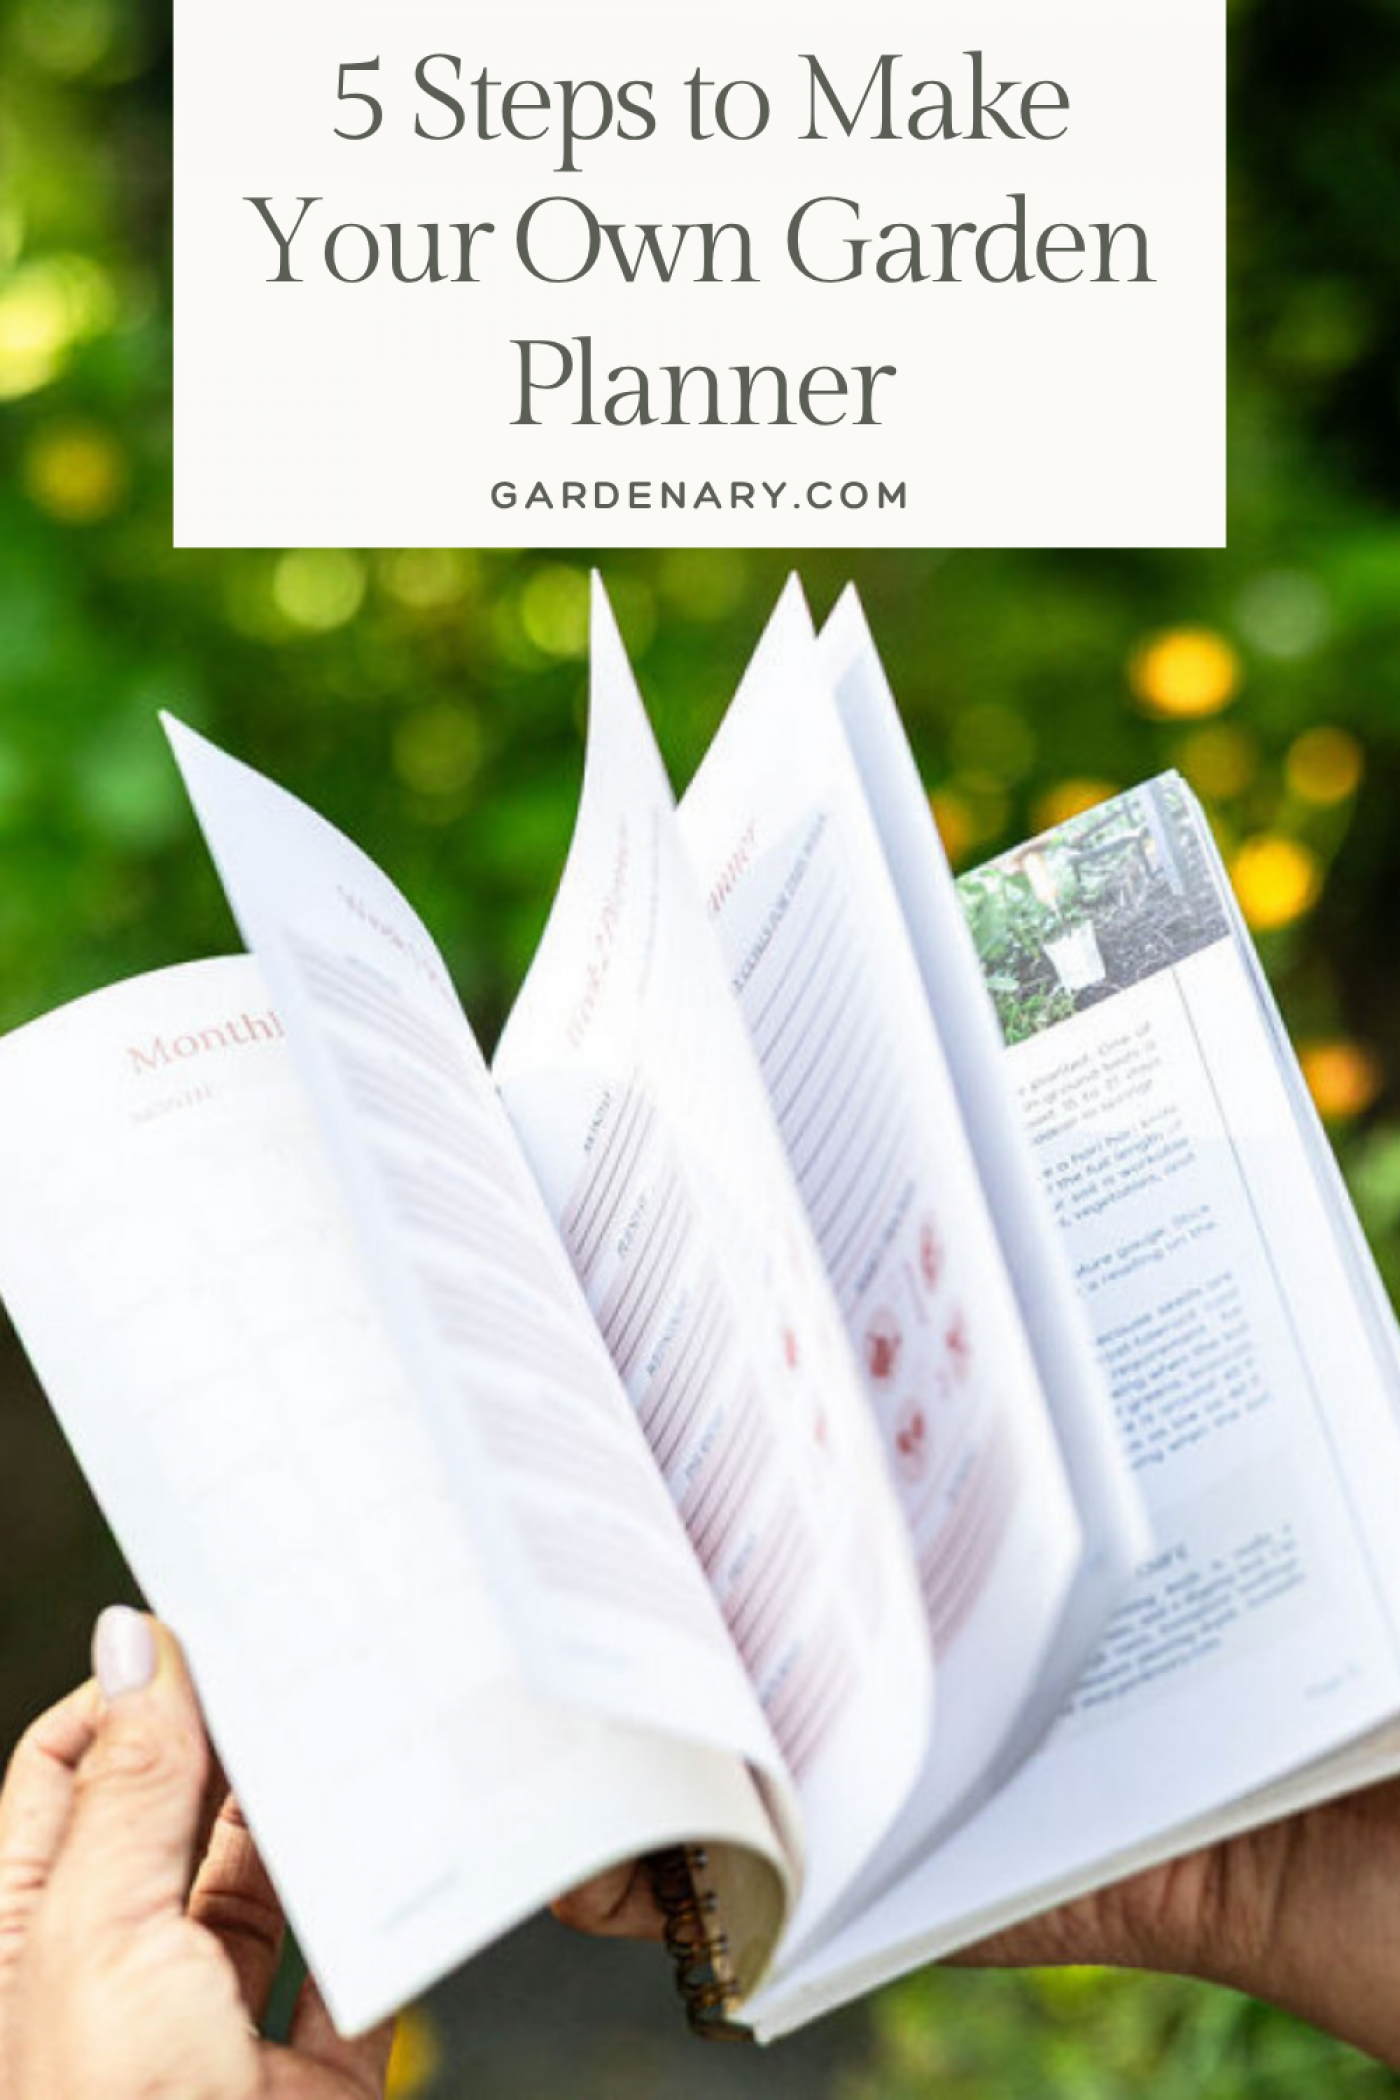
But here’s the fun part: you can also make your own free garden planner at home with nothing more than a notebook and a pen. In this post, I’ll show you how to set up your very own garden planner in five simple steps.
At a Glance
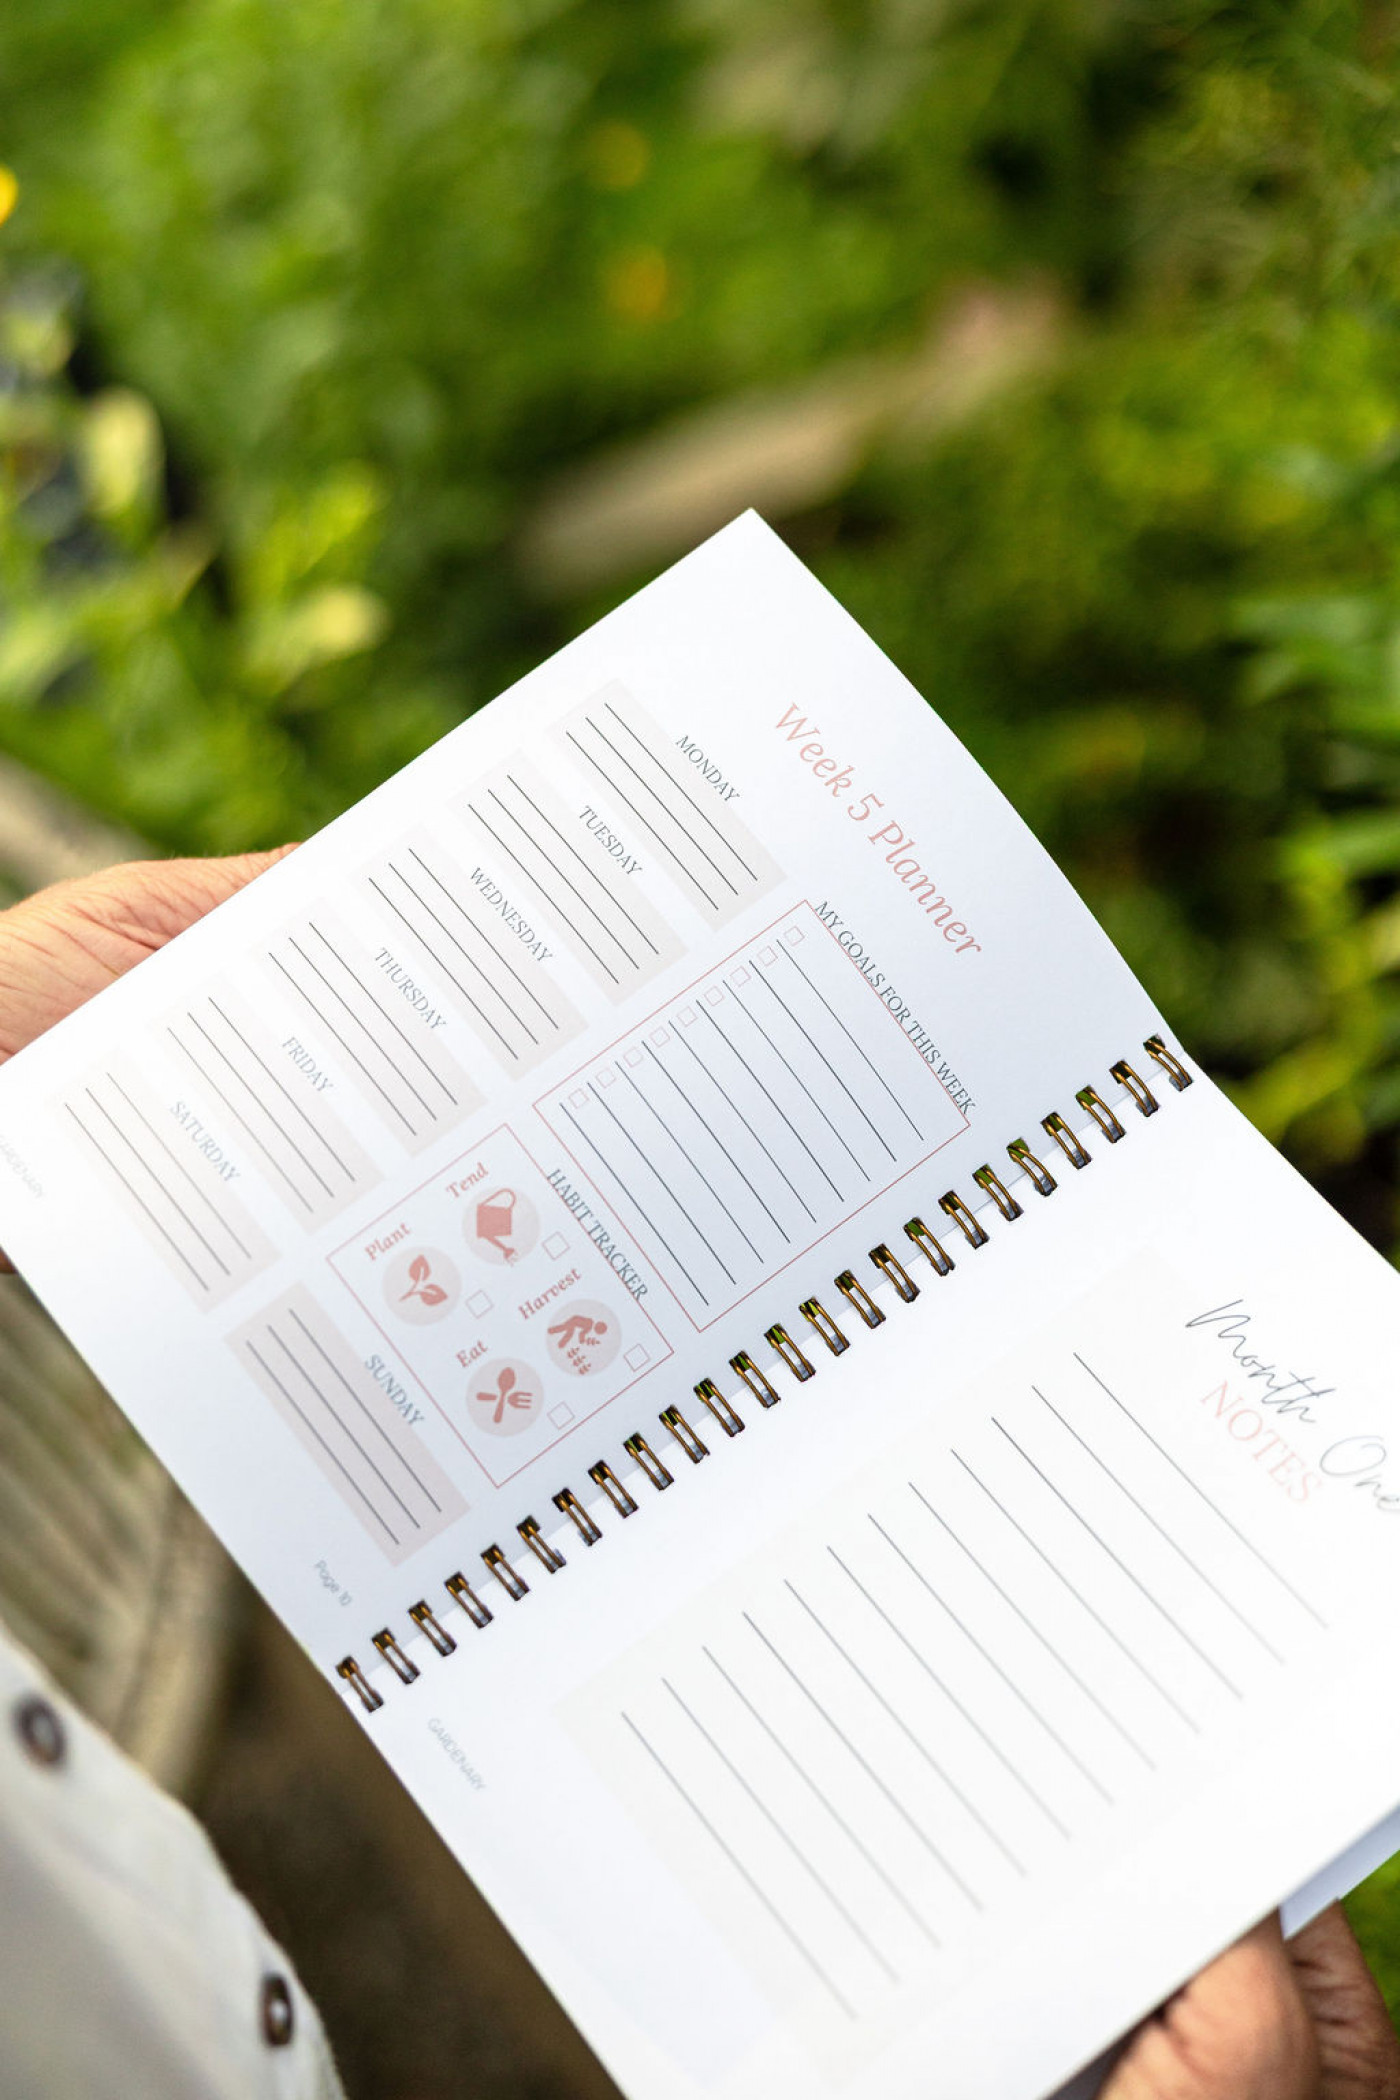
- A simple notebook can become a powerful garden planner by dividing it into five sections: Big Picture, Planting Plan, Tasks, Habit Tracker, and Notes.
- Breaking big goals into small, daily or weekly actions (inspired by Atomic Habits) keeps gardening manageable, motivating, and consistent all season long.
- By repeating the system for each of the four gardening seasons, you’ll have a year’s worth of organized plans to guide you through planting, tending, and harvesting with confidence.
Step 1: Start with the Big Picture
First, grab a fresh page and divide it into four sections. Label them Plan, Plant, Tend, and Harvest.
That’s really what we do in the garden, right? Every month we’re either planning, planting, tending, or harvesting. This page gives you a snapshot of what you need to get done before the month is over.
For example, under “Plan” you might write, order carrot seeds. Under “Plant,” direct sow radishes. Under “Tend,” prune tomatoes. And under “Harvest,” pick kale before it bolts.
The secret is to take it one month at a time. Don’t worry about the whole year yet, just focus on the next four weeks.
And if you need help deciding what to plant, consider starting with the 10 easiest seeds to grow (in my opinion!)—they’re a great way to build confidence and fill your garden with quick wins.

Join Our Free Online Workshop!
Ready to finally grow a garden that works? Join our free Garden Game Plan workshop and walk away with a clear, simple plan so you know exactly what to plant, where to plant it, and when, without the overwhelm.
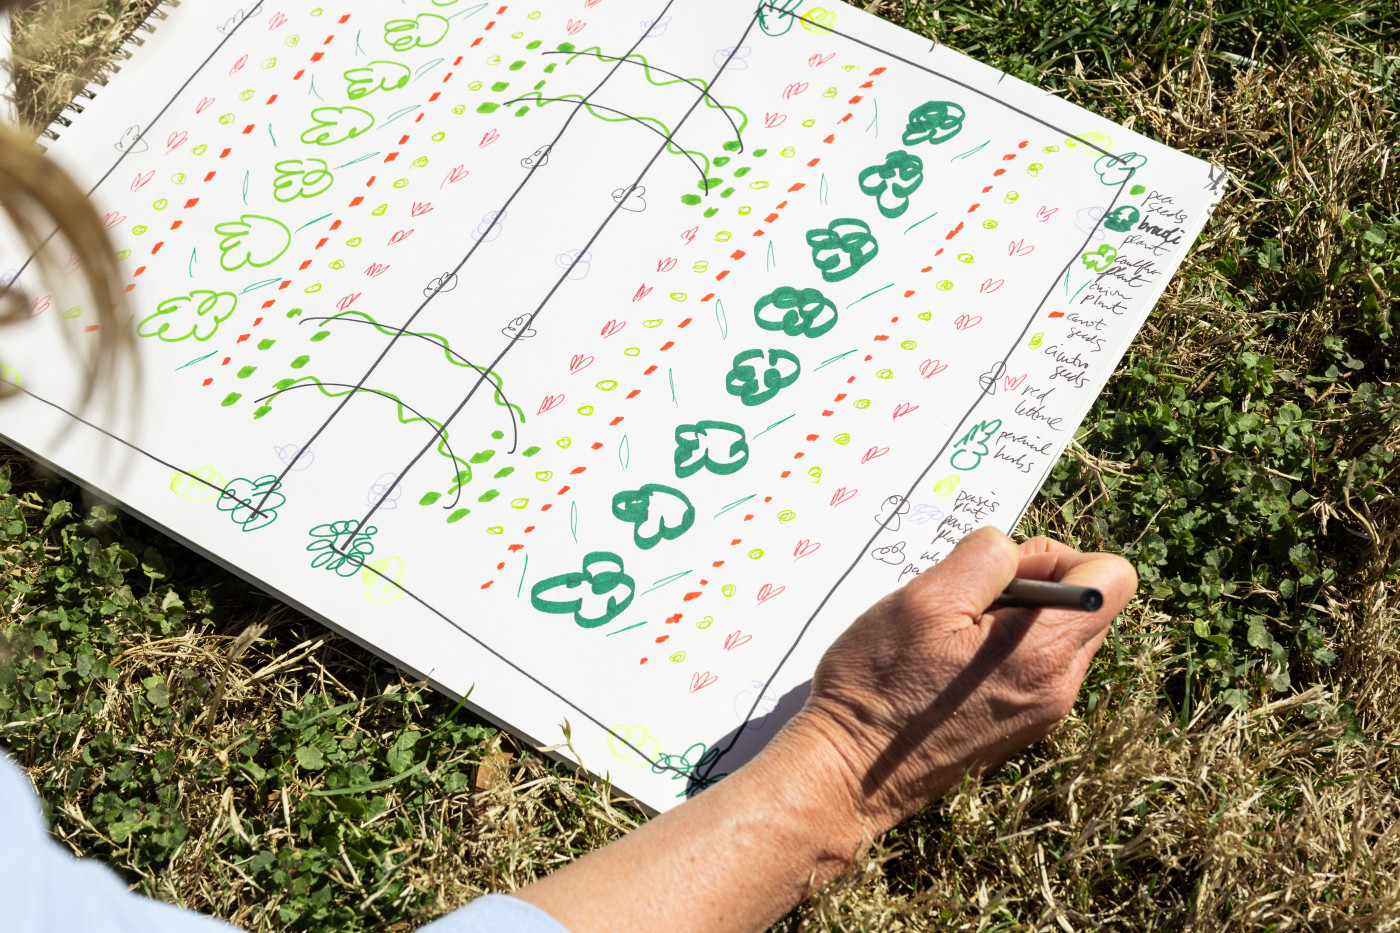
Step 2: Draw Your Planting Plan
Now that you’ve got your big picture list, it’s time to map it out. Take the plants from that list and sketch them onto a grid that represents your garden beds. Use circles, doodles, or even colored pencils to show where each crop will go.
This step connects the vision to reality. It helps you see how the plants from your plan will actually fit into your garden space. And trust me, it’s a lot easier to rearrange plants on paper than it is to dig them back up once they’re in the soil.
Need a little inspiration? Check out two easy planting plans right here.

Step 3: Break It Down into Tiny Tasks
Here’s where we turn your plan into a month’s worth of action steps. Think of this as your garden to-do list.
Instead of writing “start seeds,” break it down into smaller pieces like:
- Order seeds
- Get seed trays ready
- Check soil temperature
- Mix up seed-starting soil
Have you ever read Atomic Habits? I actually took this whole planner idea from that concept—focusing on little bitty steps, tiny actions you can do in just a few minutes. One small task might not seem like much, but 30 of them across the month add up to big results.
Leave space to write the date next to each task along with a little checkbox, so you know exactly when you did it. (And so you can enjoy that satisfying feeling of checking it off!) Remember, all of these tiny steps come directly from your big picture plan.

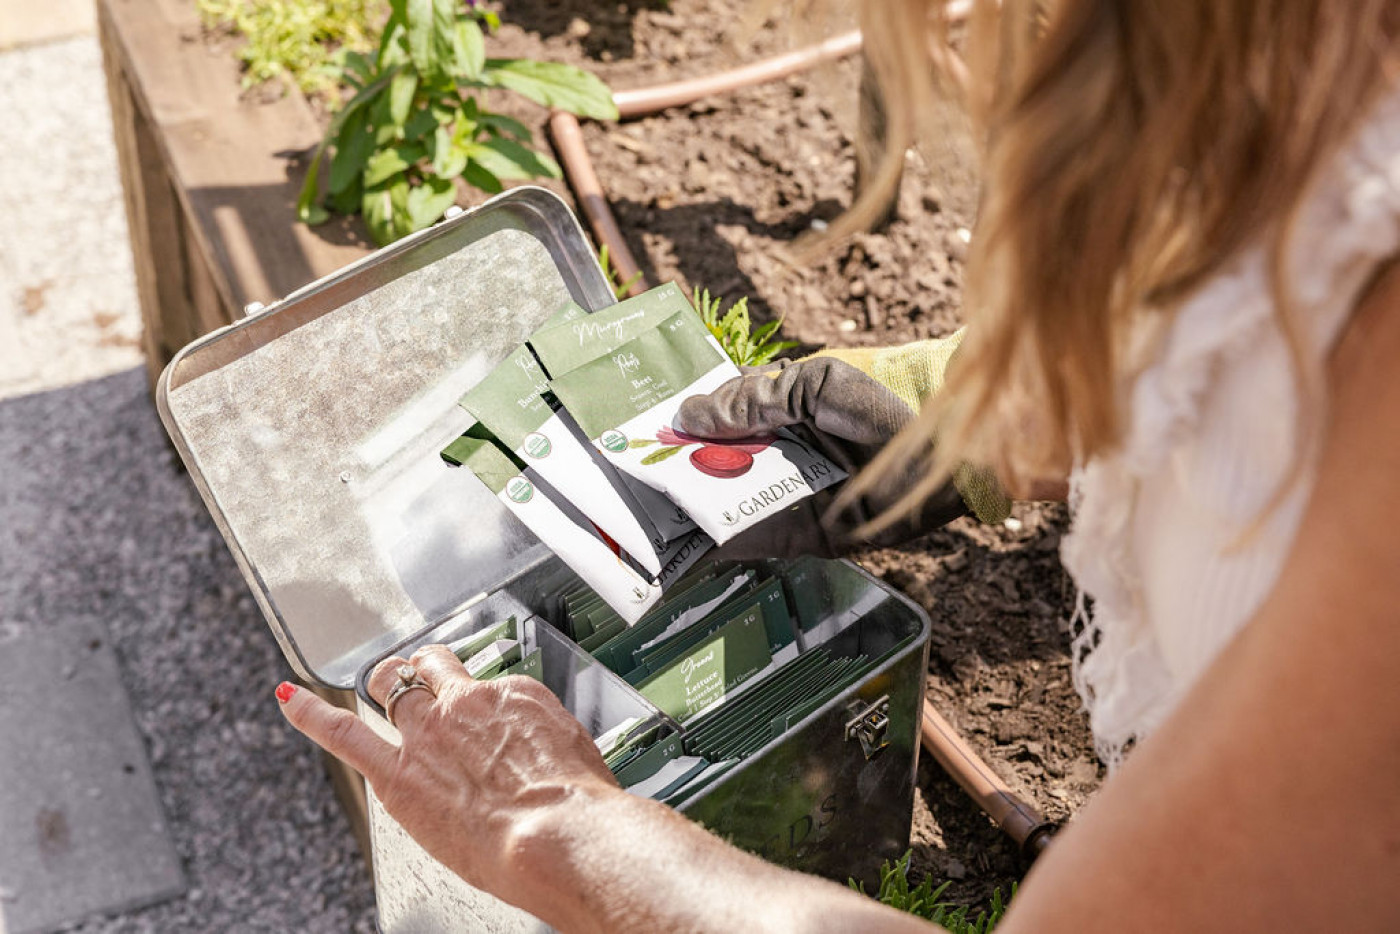
Veggies, herbs, and flowers! The 2026 Gardenary Seed Collection
Plant the same favorites Nicole Burke grows in her own garden. This curated collection includes 30 seed packs - a vibrant mix of herbs, veggies, and flowers—perfect for creating a productive and beautiful kitchen garden.

Step 4: Make a Habit Tracker
Some garden tasks aren’t one-time jobs—they’re habits. And habits are what really keep your garden alive and thriving.
Here’s where we go back to that Atomic Habits idea. Every time you check off a box, your brain gets a little reward. Do the action, get the reward. That simple loop keeps you motivated. And in the garden, that motivation matters.
So make a simple chart with weekly checkboxes for the things that matter most. At the very least, track these five:
- Watering
- Pruning
- Defending (keeping pests and problems in check)
- Supporting (trellises, ties, cages)
- Feeding (compost tea, worm castings, or organic fertilizer)
You don’t have to check every box every day, but seeing the pattern helps you catch when something’s slipping, like when you realize you haven’t watered in five days. A habit tracker makes you feel accomplished while also keeping your plants happy.
Want more ideas for the “tending” part of your routine? Read my article: Tending Tips for Maintaining an Organic Kitchen Garden.

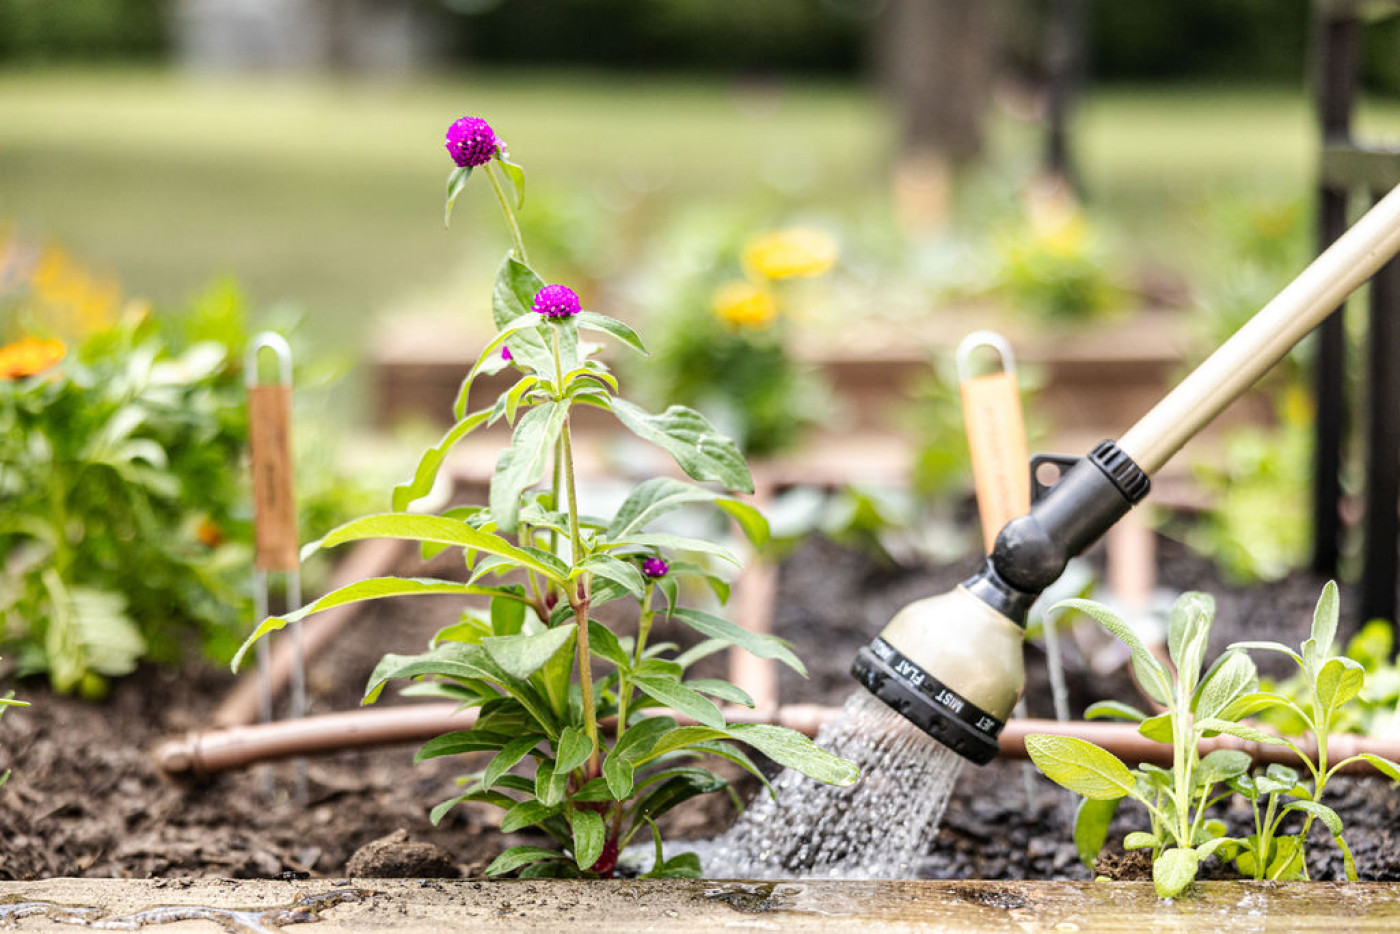
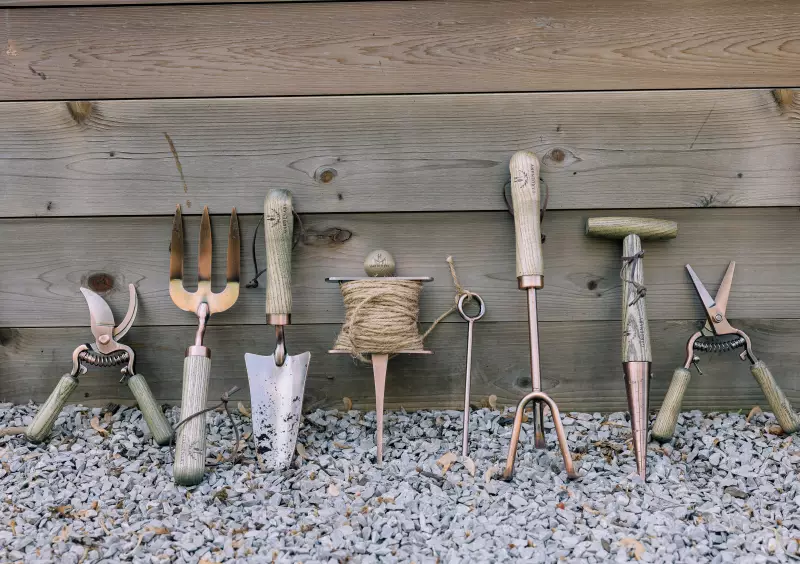
7-Piece Copper Plated Garden Tool Set
Tend your garden like a pro with our all-in-one tool package, thoughtfully curated for every kind of gardener. This essential set equips you with high-quality, durable tools to dig, plant, prune, and grow—season after season.
Step 5: Don’t Forget Your Notes
Finally, leave room for notes. This section is your memory bank, and it might just be the most valuable part of your planner.
Write down what worked, what didn’t, and what you want to remember next time. Maybe it’s, “Cucumber beetles showed up earlier than expected,” or “Pruning before vacation kept the tomatoes manageable,” or “Radishes did best in the shadier bed.”
Your notes will become the guidebook for your future self: saving you time, mistakes, and frustration next season.

Putting It All Together
Here’s where the magic happens. The way I design this system, every season has three main months:
- A planting month
- A tending month
- A harvesting month
Now, don’t get me wrong, we’re always planting, tending, and harvesting at the same time. But each month has a main focus. At the start of the season, you’re mostly planting. In the middle, you’re focused on tending. And at the end, you’re mostly harvesting.
So here’s what you do: repeat those five sections—Big Picture, Planting Plan, Tasks, Habit Tracker, and Notes—three times inside one notebook. That gives you 30 days planned out for month one, 30 days for month two, and 30 days for month three.
Suddenly, you’ve got a daily plan. Any day of the week, you can wake up, open your planner, and know exactly what to do.
Some days I walk out to the garden and think, ‘Yay, I’ve got time to garden!’—and then immediately wonder, ‘But what do I do first?’ That’s when my planner steps in and bosses me around in the best way possible.
And most of us have four gardening seasons: cool, warm, hot, and cold. That means if you repeat this process for each season, you’ll end up with 12 months of garden plans. Each one has five sections repeated three times, and together they give you everything you need to stay on track.
You could make four separate notebooks, one for each season, or keep everything in a single book if you like. Either way, you’ll have a complete system that keeps you organized and confident all year long.

Why This Works
Here’s the truth: life is busy. Between family, work, and everything else, it’s easy to step into the garden and think, Okay… now what? That’s why I love having a garden planner. It’s like a little gardening coach waiting in your notebook, ready to tell you exactly what needs to be done. And yes, it also gives you that sweet moment of checking off a box.
So grab yourself a notebook, set up these five sections, and you’ll be amazed at how much smoother your gardening year feels. It’s the simplest way to create your very own free garden planner and keep your garden thriving season after season.
And if you’d rather skip the setup, you can check out our ready-to-use seasonal garden planners—designed to guide you through daily tasks for year-round success. Either way, you’ll have a planner that works as hard as you do.
Plan, Learn, and Grow — Every Season, Simplified
Turn every season into a harvest. These beautiful planners teach you step-by-step how to grow your own food—no green thumb required.
Click on the image below to save this article for later.