At a Glance
- Find out why radishes are one of the easiest root crops to grow in a kitchen garden.
- Learn how to direct sow seeds in cool weather for crisp, colorful harvests in just 25–35 days.
- Get tips on why you should harvest frequently and succession plant every 10–14 days for a continuous supply.
Easy Garden Radishes
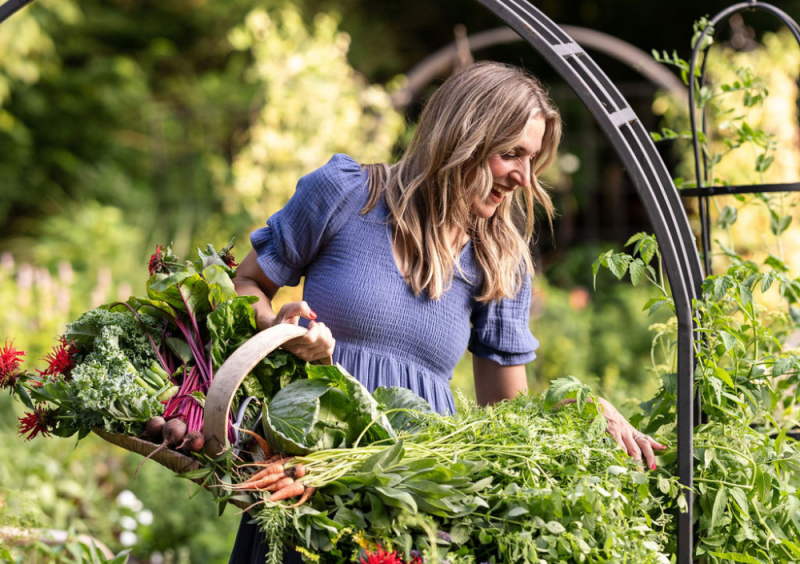
I love radishes because they never feel like a gamble. If you prepare your soil well, sow the seeds, and keep them watered, you'll be rewarded with a harvest almost without fail. And even better, radishes aren’t just for salads. You can roast them, pickle them, or sauté their greens. They're one of the most straightforward plants that you can grow in your garden.
Radishes combine speed, reliability, and flavor to create an effortless experience for gardeners. These little roots sprout in just a few days and mature in as little as 25 - 30 days. They’re the perfect plant for gardeners looking for easy results or anyone who needs a quick win to build confidence in the garden.
Let’s dig into everything you need to know about growing radishes the organic way, from the best varieties to planting tips, harvesting tricks, and even what to do if you run into a little bit of trouble.

Is a Radish a Root or a Vegetable?
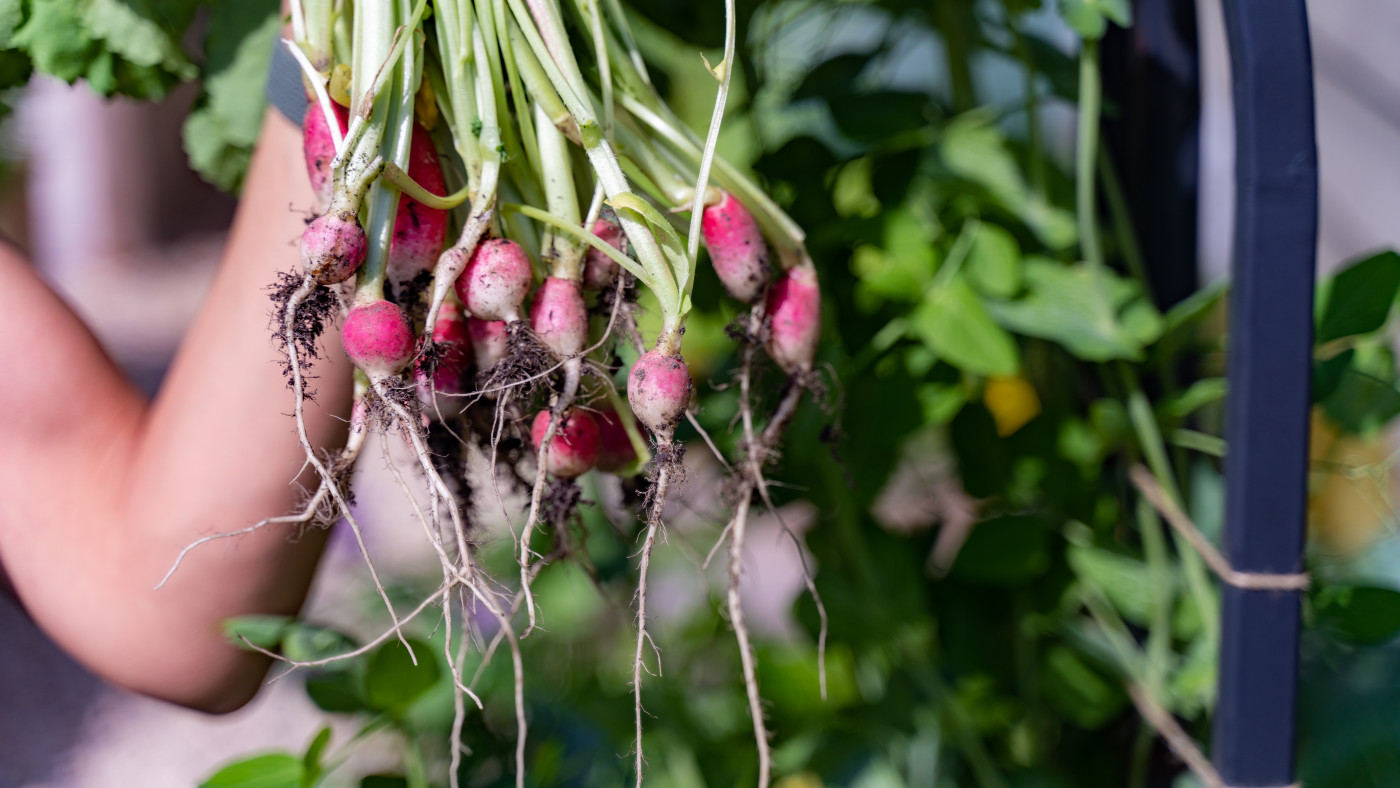
Radishes are root crops, which puts them in the same family as carrots, beets, and turnips. What we eat is the swollen root that forms beneath the soil. But, surprisingly, radishes are also leafy greens. The tops, which are often overlooked, are completely edible and delicious when cooked.
So while the radish root gets all the glory, the plant actually gives you two types of harvests—roots and greens. To me, that makes it one of the most generous little plants you can grow.

Why I Call Radishes the “Confidence Crop”
Every gardener needs a plant that makes them feel successful. For me, radishes are that crop. They remind me that not everything in the garden has to take months of patience or elaborate trellises and pruning. Sometimes, it can be as simple as scattering a handful of seeds, giving them a little water, and watching the magic unfold.
I often recommend radishes to new gardeners because they build confidence. When you pull your first crunchy root out of the soil, it’s like the garden is saying, “See? You can do this.” And that encouragement carries you forward into more challenging crops.
Radishes Are Perfect for Beginners
I’ll be honest, some vegetables take patience. Tomatoes, peppers, and squash can test your dedication, and sometimes months pass before you get your first taste. Radishes are the complete opposite.
From seed to harvest in about four weeks, radishes give you nearly instant gratification. When I sow radishes with kids, I love seeing their faces light up when sprouts appear in just 3–5 days. By the time their excitement might fade, the plants are already forming bulbs underground.
Another reason radishes are so beginner-friendly is their low demand for space. You can fit 16 radish plants in a square foot of garden space. That means even the smallest raised bed or patio container can host a whole patch.
And perhaps the best part? Radishes are resilient. Pests don’t bother them much, diseases are rare, and even if you forget to thin them properly, you’ll often still get something edible.

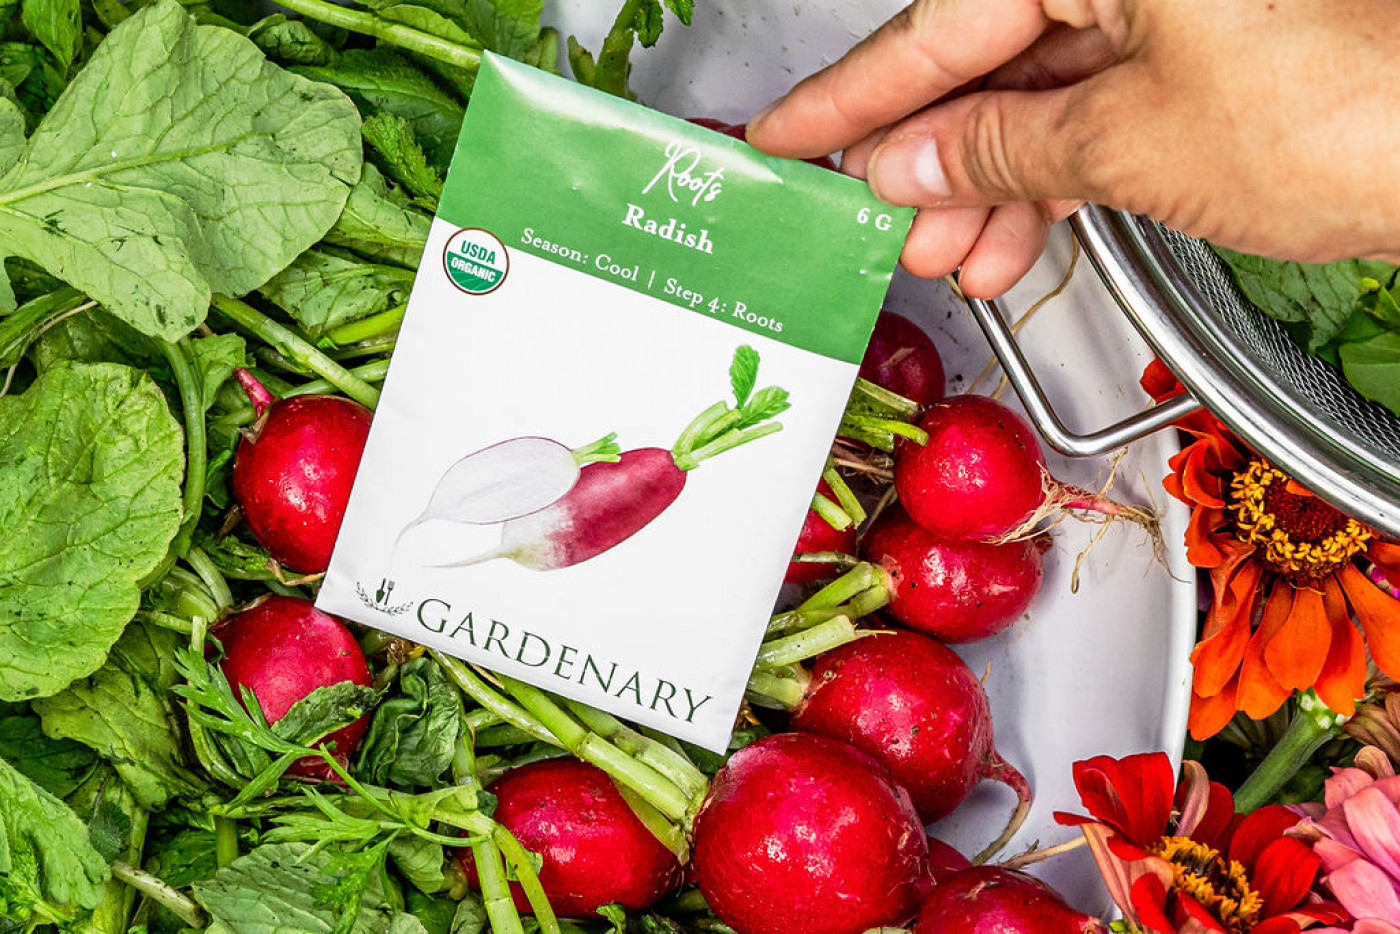
The Best Radish Varieties for the Kitchen Garden
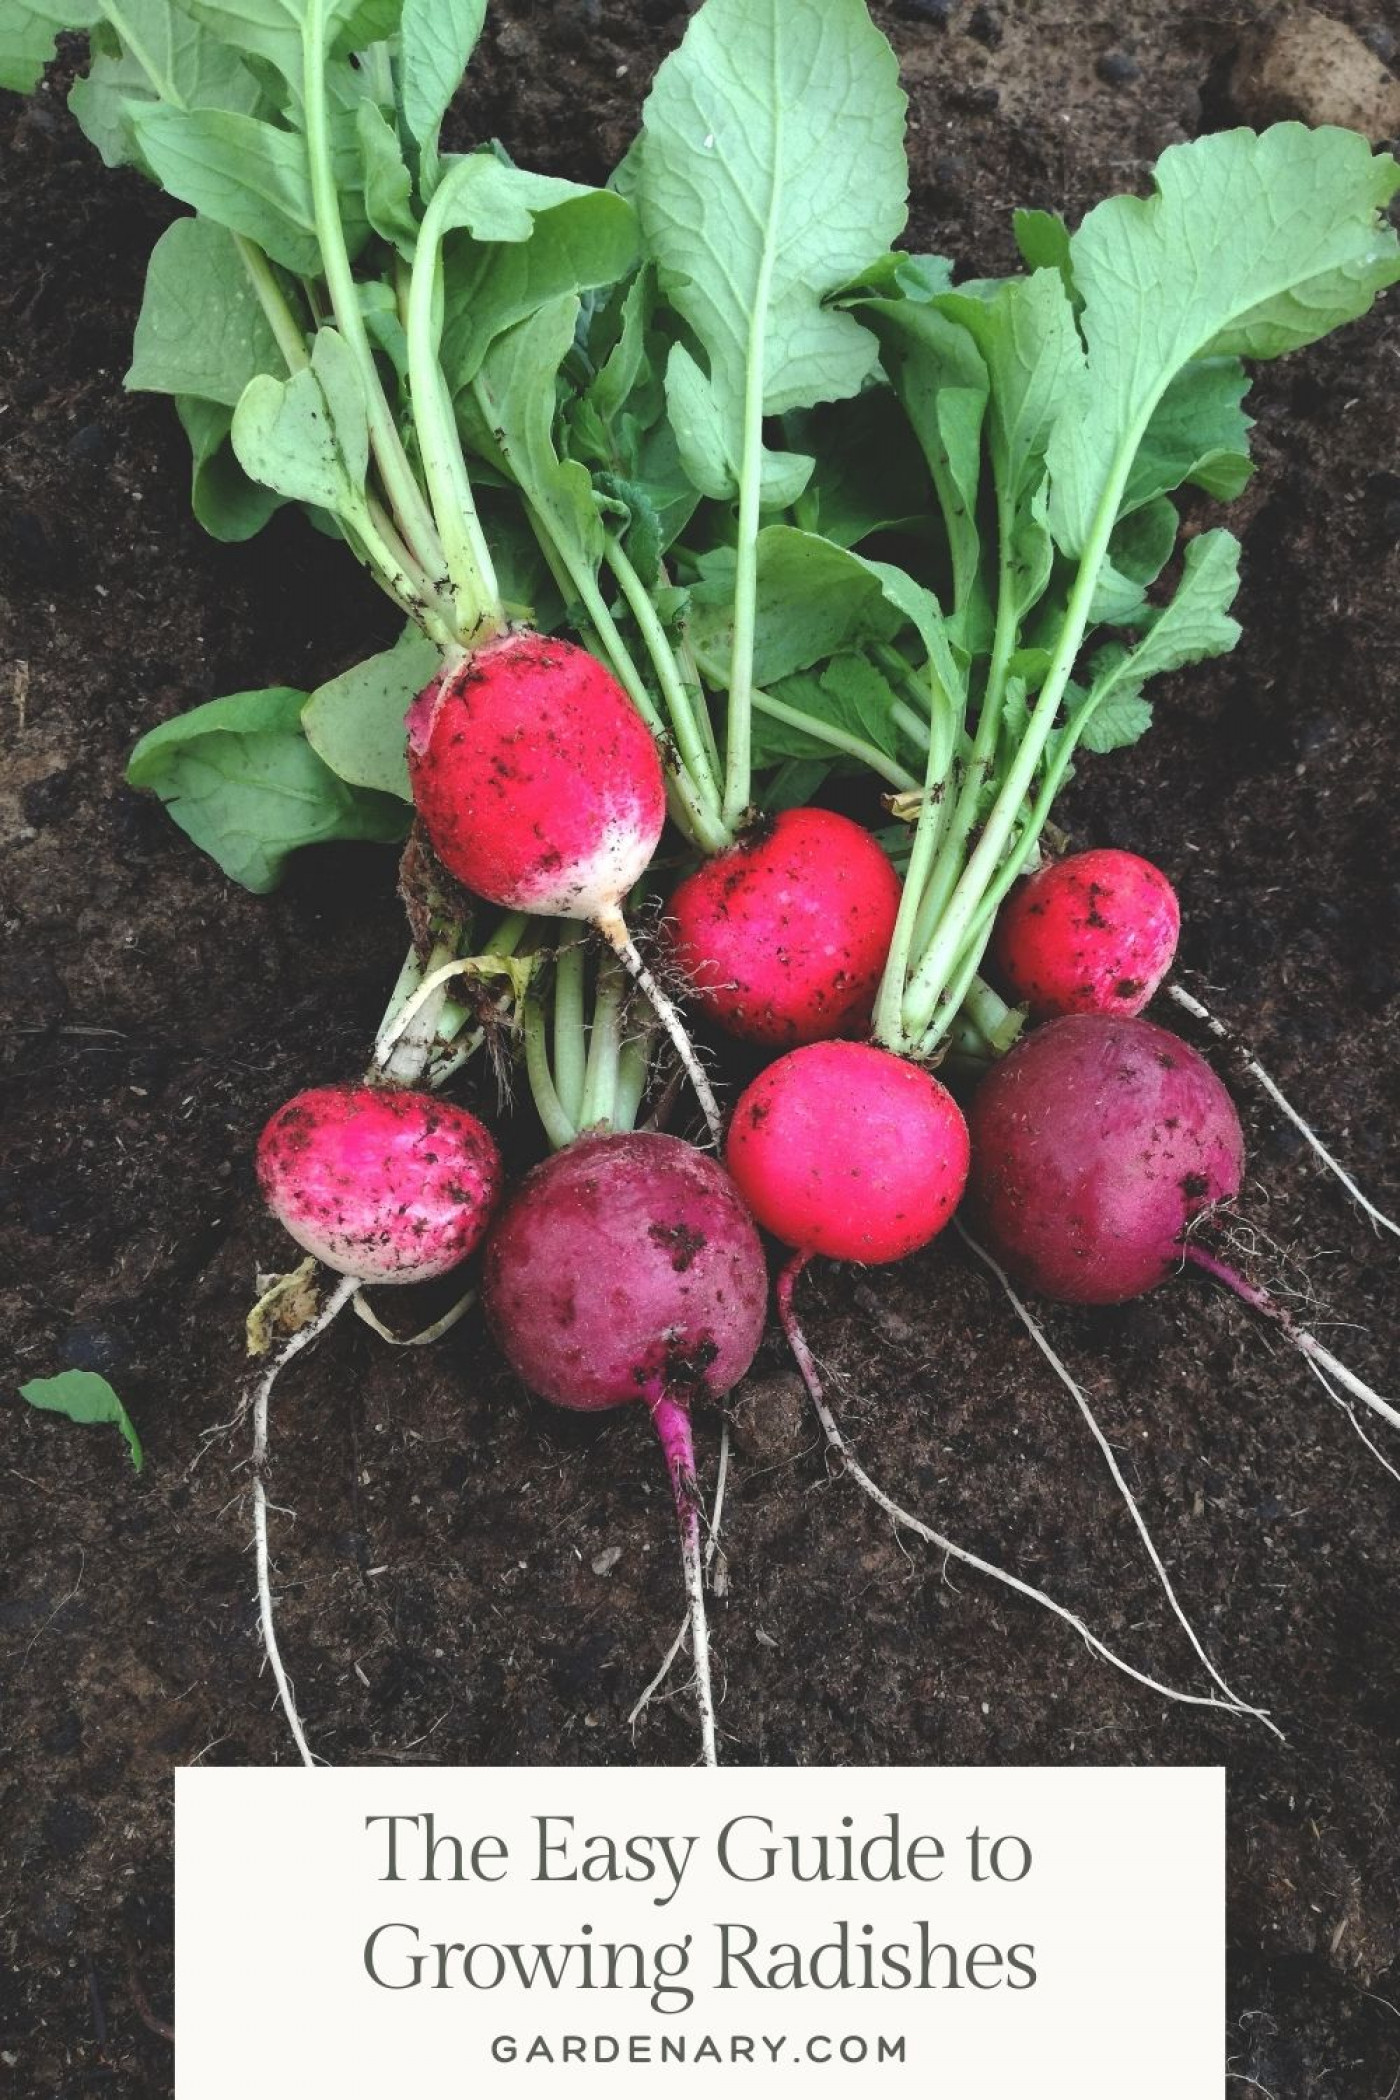
One of the most fun parts of growing radishes is discovering just how many types there are, and many of them are absolutely beautiful! Grocery stores usually offer only the classic red globe, but your seed catalog will open up a whole rainbow of possibilities.
Here are some of my favorites:
- Cherry Belle – The standard small, round red radish. Mild, fast, and dependable.
- French Breakfast – Long, slender roots with white tips. Crisp and slightly less spicy.
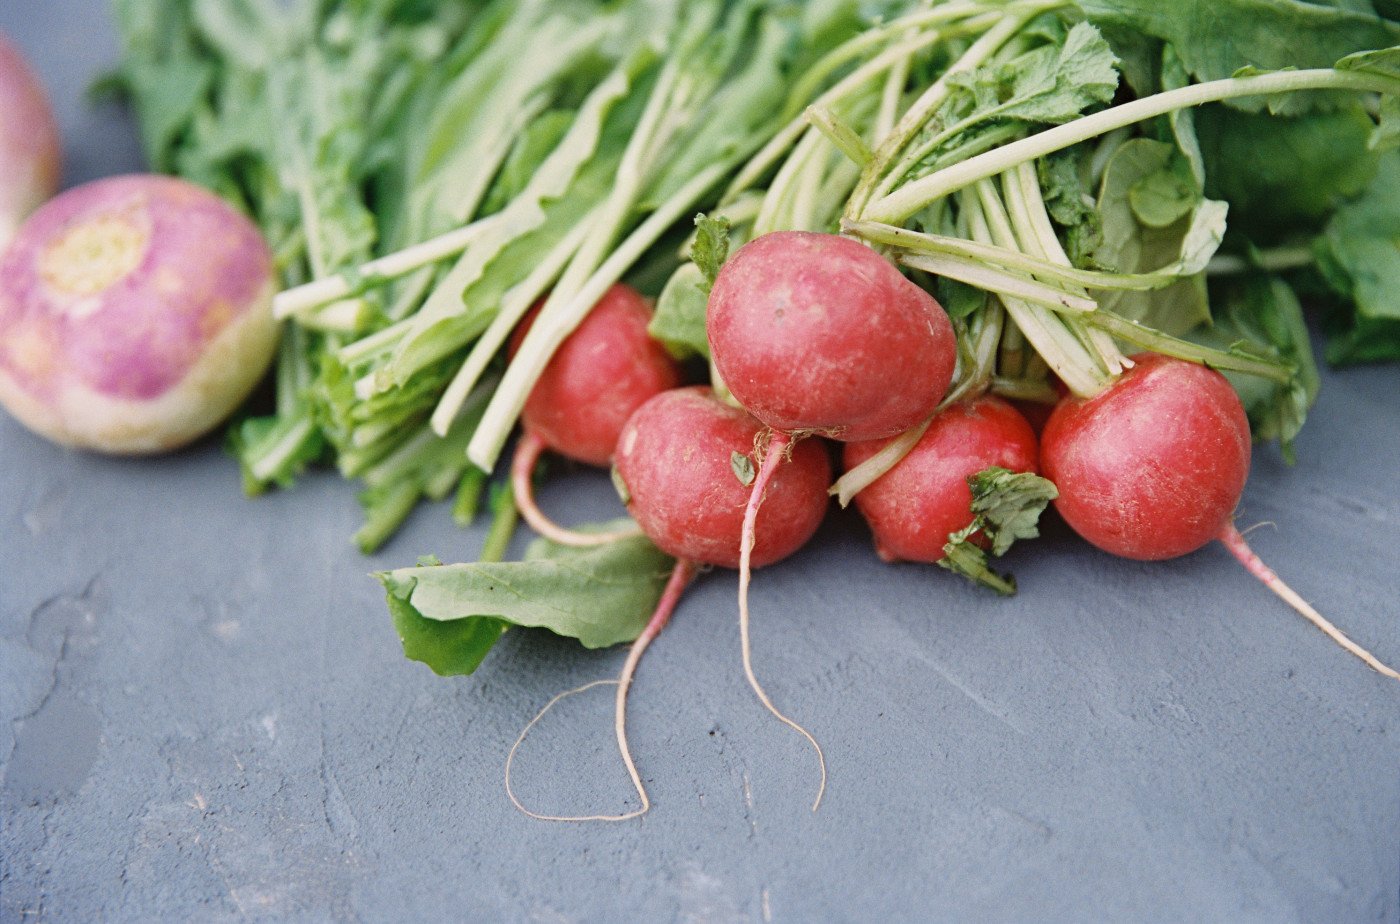
- Watermelon Radish – Greenish-white on the outside, bright pink on the inside. Stunning on the plate.
- Daikon – Large Asian radishes that can grow 6–20 inches long. Perfect for pickling or stir-fries.
- Easter Egg – A mix of purple, pink, red, and white radishes. Great for kids or a colorful harvest. It's always a surprise, which I love!
For beginners, I always recommend Cherry Belle or French Breakfast. They’re fast, forgiving, and give you that quick success that makes you want to keep planting.

A Quick & Easy Radish Growing Guide
It doesn't take an entire textbook to learn how to grow radishes. That's one big reason why I love them! I've condensed the main points here for you.
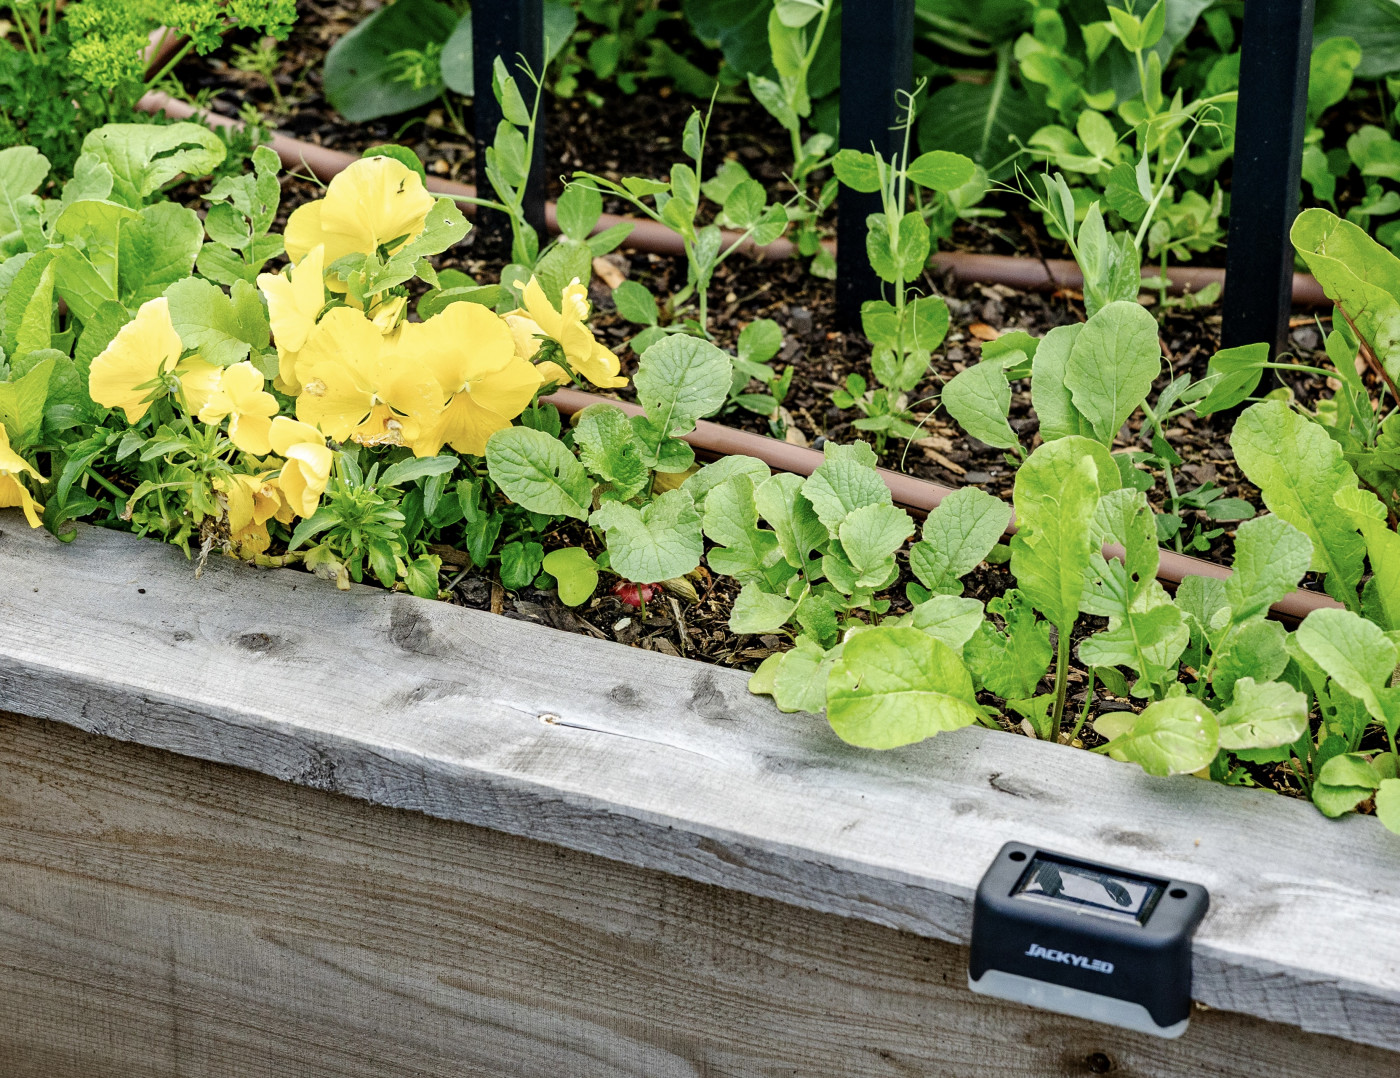
Radishes are cool-season crops. They do best when planted in early spring or in the fall. Hot weather makes them bolt (send up flowers) instead of forming roots, so avoid planting them in the peak of summer.
Here are the basic conditions radishes love:
- Soil – Loose, compost-rich soil that allows roots to expand.
- Sun – At least 6 hours of sun per day. They tolerate partial shade, especially in warmer climates.
- Temperature – Ideal soil temperatures are between 50°F (10°C) and 70°F (21°C).
- Water – Consistent moisture to keep roots from becoming woody or cracked.
With those conditions in place, you’ll be amazed at how easily radishes grow.
Join Our Free Online Workshop!
Ready to finally grow a garden that works? Join our free Garden Game Plan workshop and walk away with a clear, simple plan so you know exactly what to plant, where to plant it, and when, without the overwhelm.
How to Plant Radishes
I always start radishes directly from seed. They don’t transplant well, and there’s no need to start them indoors since they grow so quickly.
Here’s my process:
- Prepare the bed by adding a 1–2 inch layer of compost on top of the soil.
- Rake the surface smooth so the seeds have even contact with the soil.
- Sow radish seeds about 1 inch (2.5 cm) apart, in rows spaced 6–8 inches (15–20 cm) apart.
- Cover lightly with about ½ inch (1 cm) of soil.
- Water gently to settle them in.
Radishes usually germinate within 3–5 days. Once seedlings are up, thin them so each plant is about 2 inches (5 cm) apart. Thinning may feel harsh, but it’s key to giving each root enough space to grow.
Growing Radishes in Raised Beds and Containers
Raised beds are my favorite place to grow radishes. The soil warms up quickly in spring and stays well-drained, which radishes love. Containers also work beautifully, but make sure they’re at least 12 inches deep so roots have plenty of space to develop. Your container will also need a drainage hole so that the soil doesn't get soggy.
I often tuck radishes into the edges of my raised beds. They grow quickly and can be harvested before slower crops like carrots or kale need the space. This is a great way to maximize your gardening square footage.

Watering Radishes the Right Way
Radishes are made up of a lot of water, and inconsistent watering is the most common cause of problems. If the soil dries out and then gets soaked again, radishes may split or become tough.
I aim to water lightly every day or every other day during germination and early growth. Once plants are established, I switch to deeper watering a couple of times a week, depending on the weather. The goal is to keep the soil evenly moist. Don't let it get overly soggy or too dry for too long.

Feeding Radishes Naturally
Because radishes grow so quickly, they don’t need heavy feeding. Compost is usually enough. I add a layer of compost to the top of my soil each season, and the nutrients seep down in time as I water.
Avoid too much nitrogen, which promotes leafy growth at the expense of roots. That’s one of the reasons I skip synthetic fertilizers altogether and stick with organic compost and natural amendments. You can use a soil test kit to find out if you have too much nitrogen.
Start your dream garden. Watch the free class!
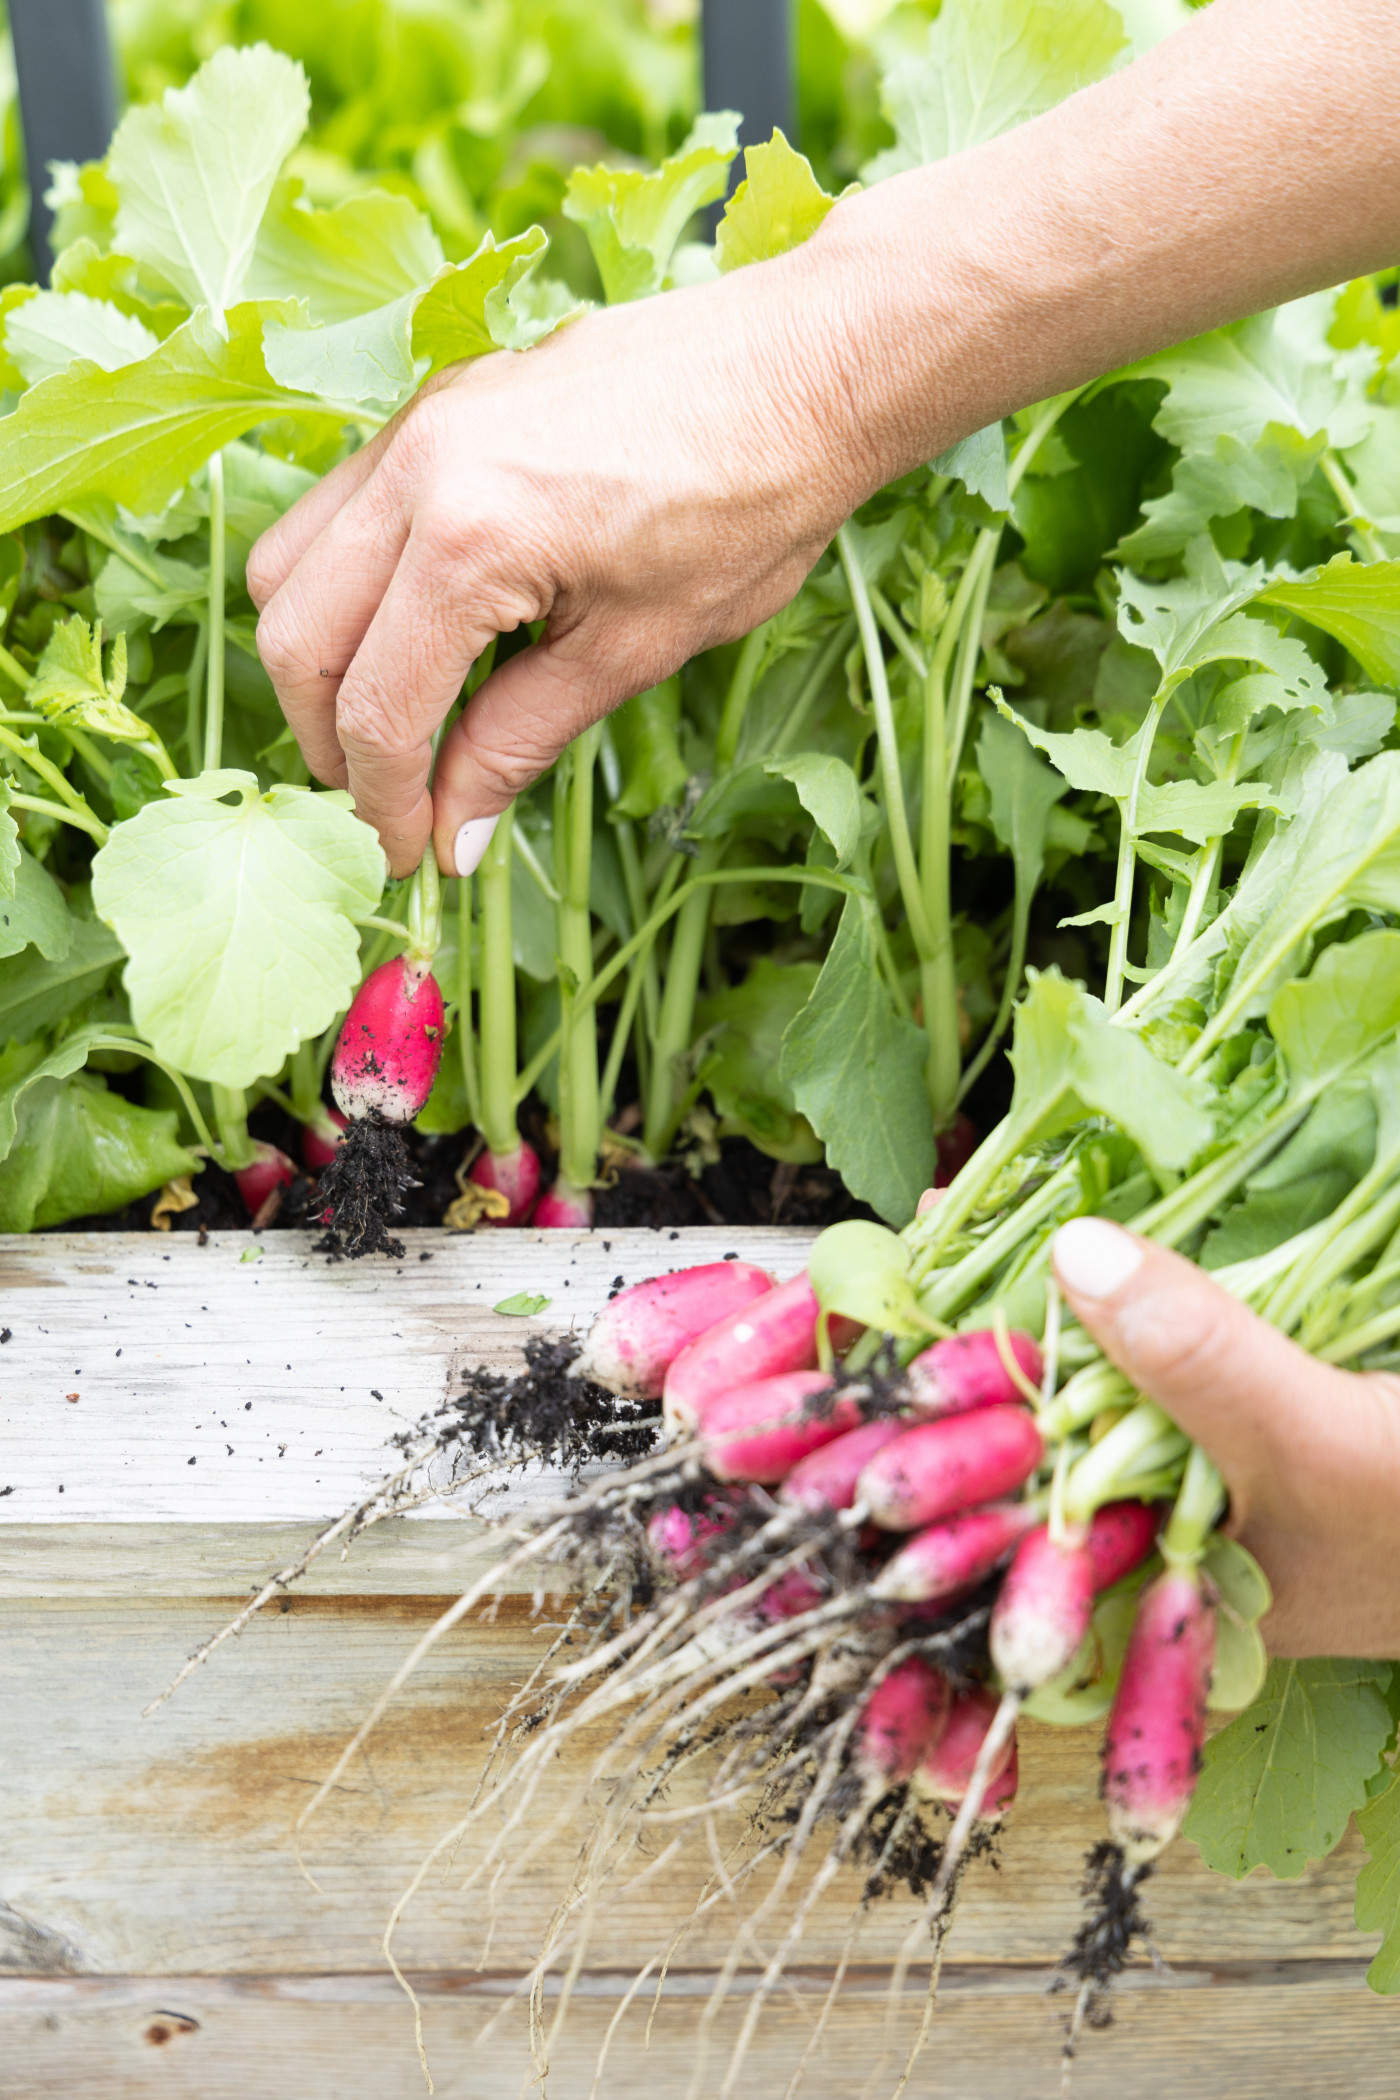
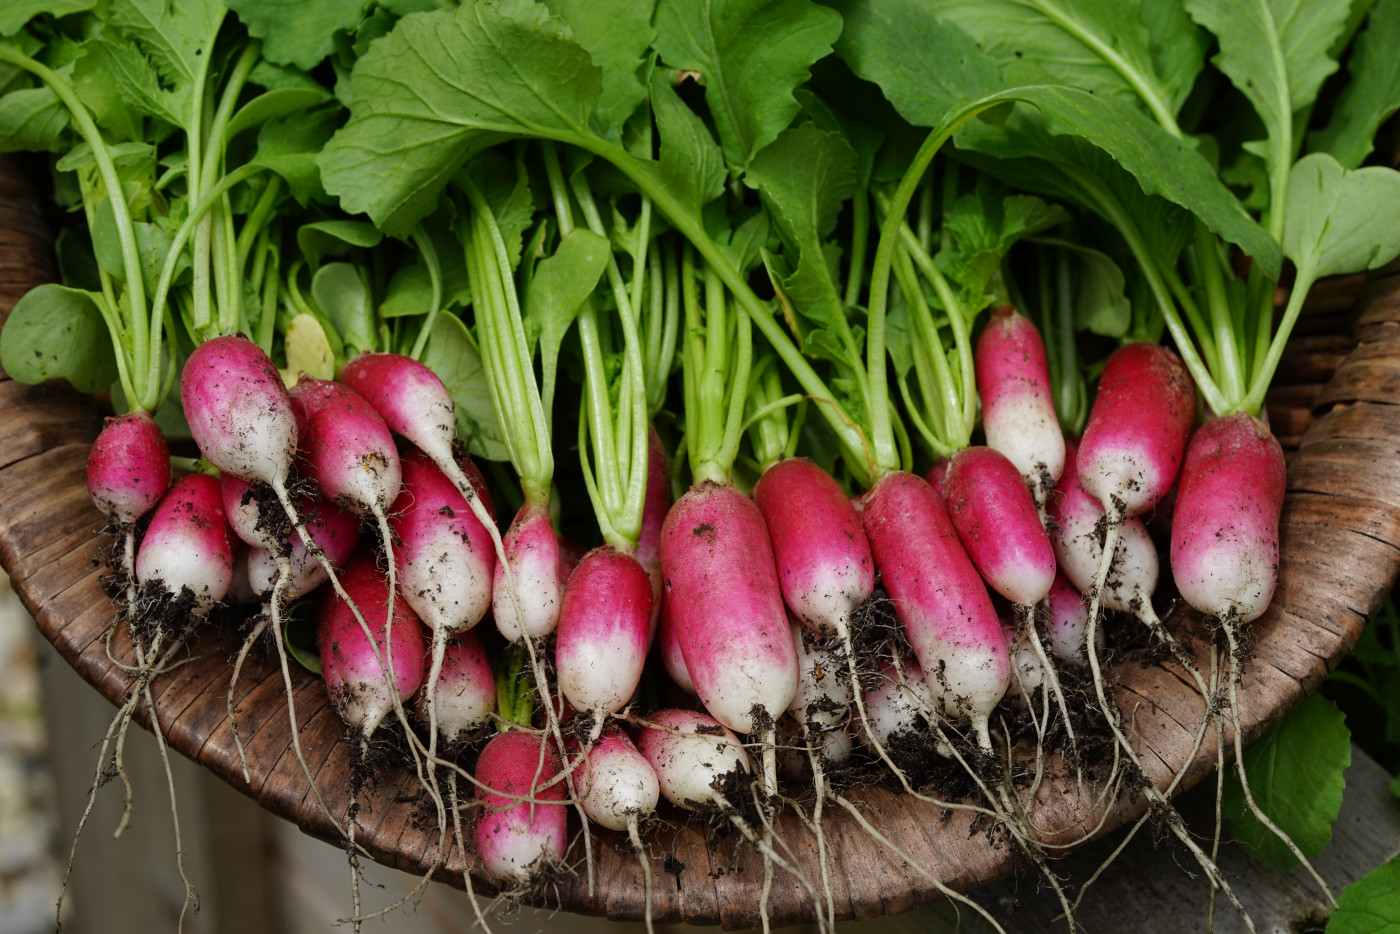
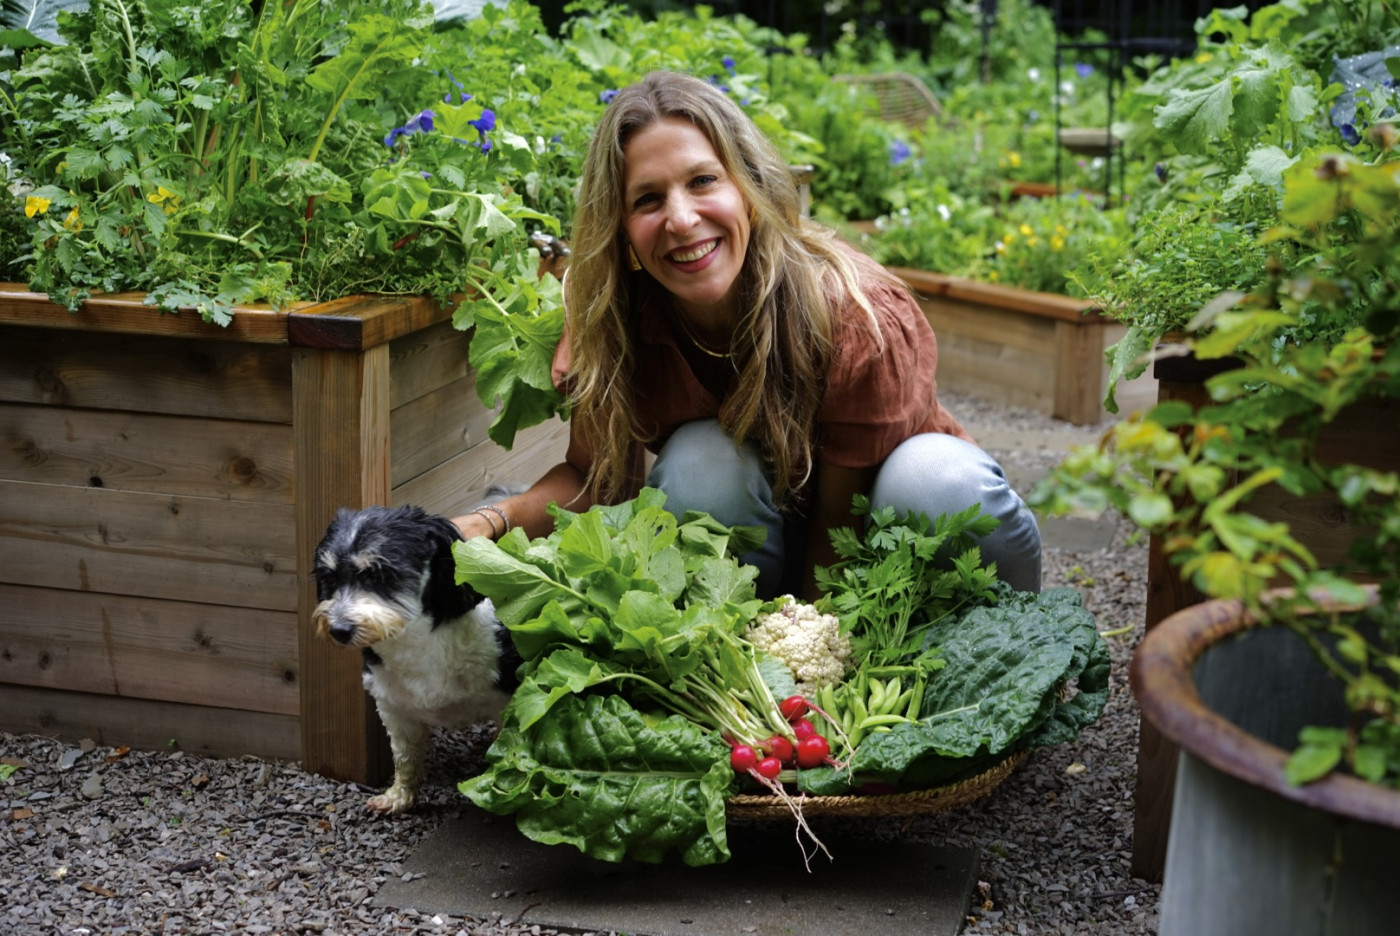
How to Harvest Radishes
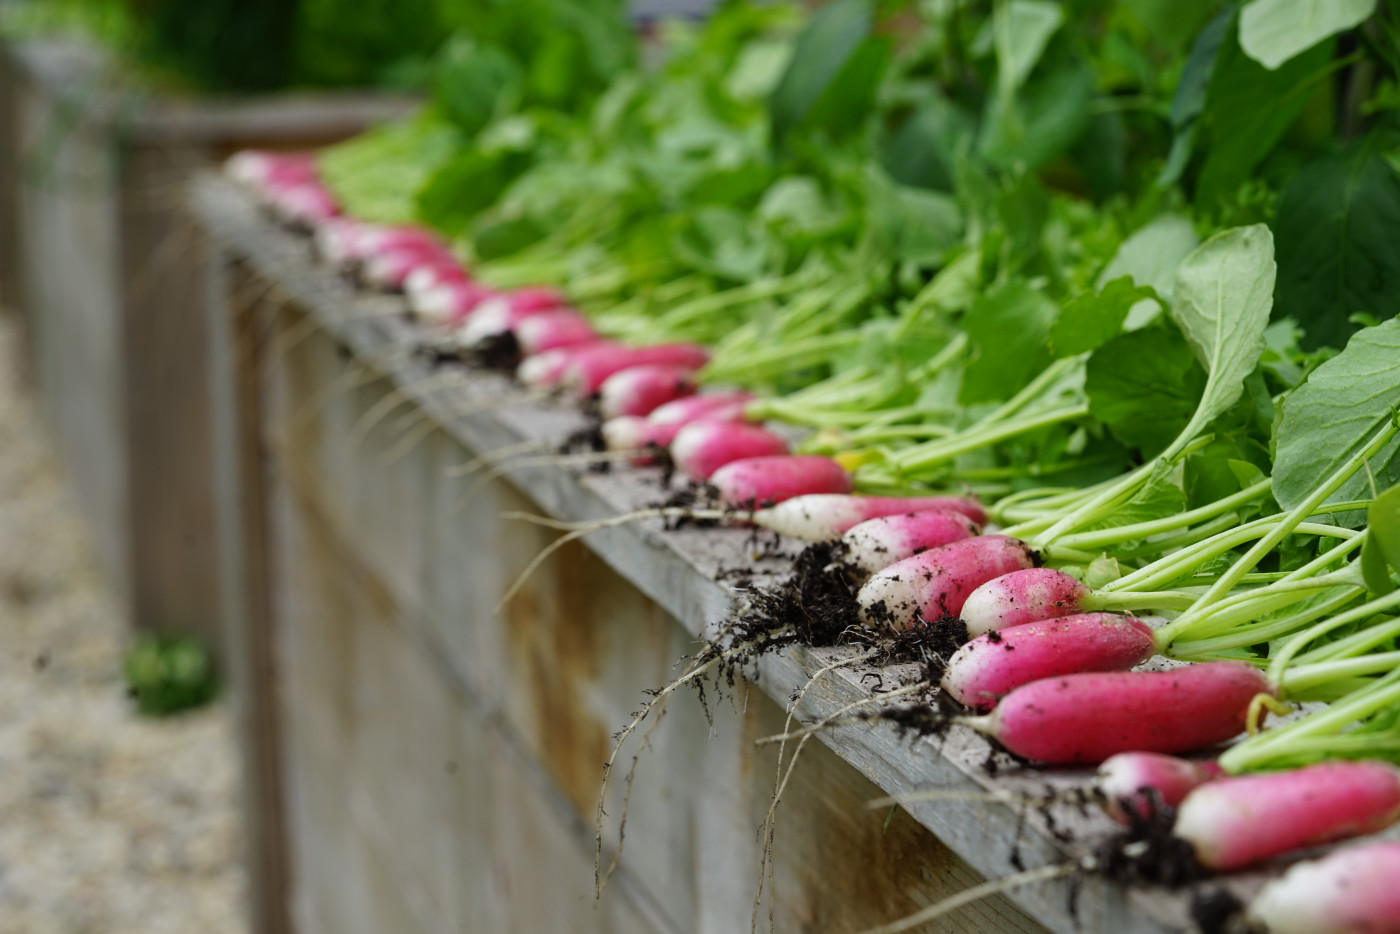
You’ll know your radishes are ready to harvest when the tops of the roots begin to push up out of the soil, and you can see their color at the surface. Most small round varieties mature in about 25–35 days, while larger types like daikon take longer. The roots should look plump and firm, about the size of a marble to a golf ball, depending on the variety.
If you wait too long, radishes can become woody or overly spicy, so it’s best to check them often and pull them once they look full and vibrant.
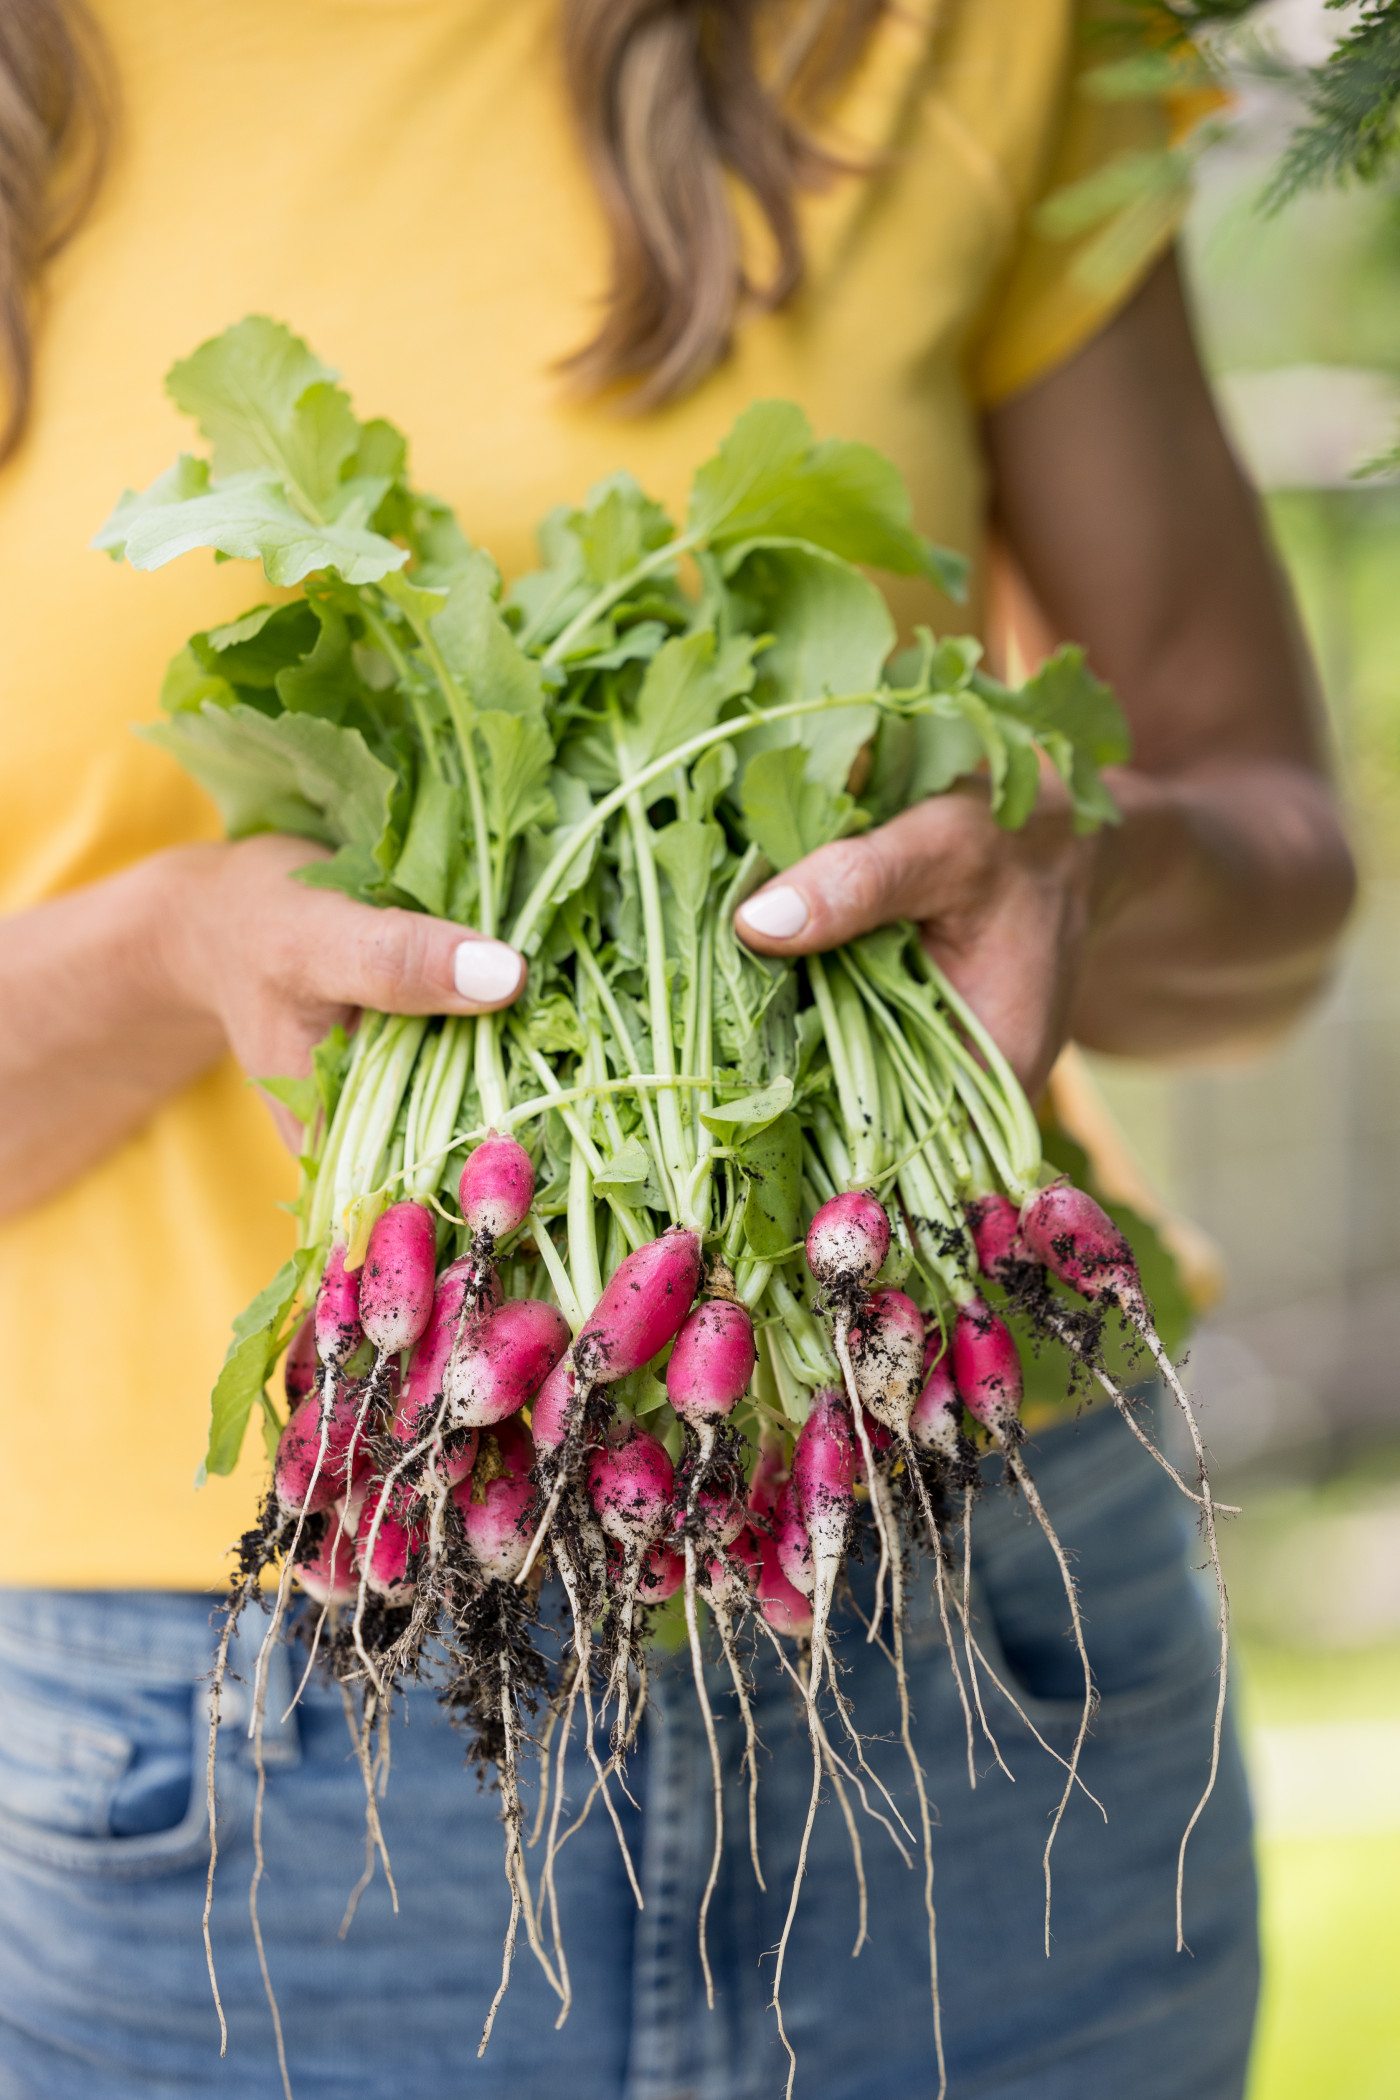
To harvest, gently pull the whole plant by its leaves. Don’t leave radishes in the ground too long. If they over-mature, they’ll become woody and lose their crisp bite.
I recommend checking your patch every day once they’re nearing maturity. Harvest often, and replant right away if you want a continuous supply.

Succession Planting for Radishes
Radishes are a one-and-done crop. Once you pull the root, the plant is finished. But you can keep radishes producing for the long season by succession planting.
I sow a new row every 10–14 days. This way, just as one batch is ready to harvest, another is coming up behind it. With this method, I can enjoy fresh radishes for months on end in both spring and fall.
Once you get into the habit (or add it to your calendar or garden planner), you'll fall into a rhythm that works for your kitchen needs.

Common Radish Problems (and Organic Fixes)
Even though radishes are easy, sometimes things go wrong. Here are the most common issues I’ve run into:
- All leaves, no roots – Usually caused by too much nitrogen in the soil or warm weather. Stick to compost and plant in cool seasons.
- Cracked or woody roots – A sign of inconsistent watering. Try to keep soil moisture even.
- Pests eating leaves – Flea beetles love radish tops. I cover seedlings with agfabric (garden mesh) at planting time to protect them.
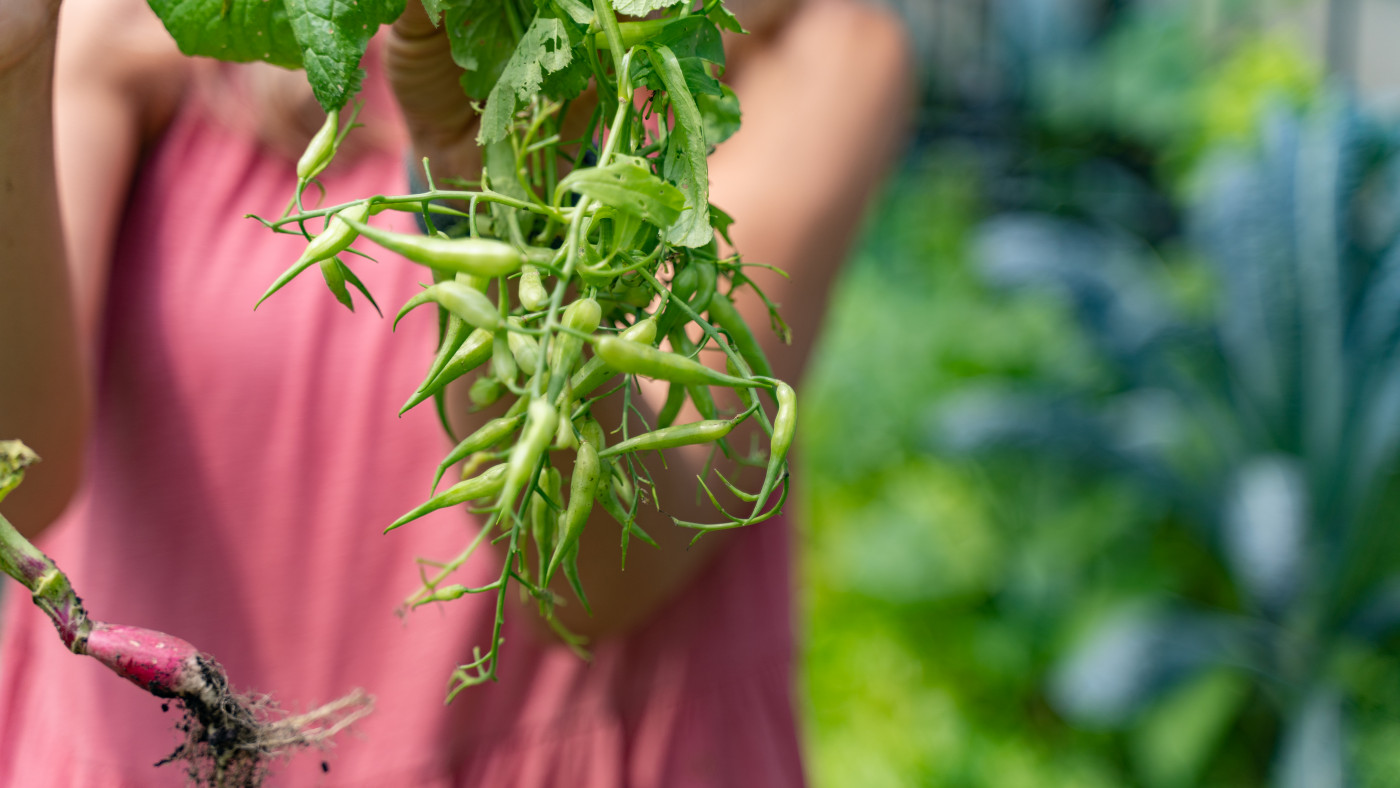
- Radishes bolting – When radishes bolt (go to seed), they send up flowers and create seed pods. If this happens, it’s likely the weather got too hot. Pull them and start again when it’s cooler. On the bright side, the seed pods are edible, so if you find them, you can have a crunchy snack.
The good news is that even if your radish roots don’t turn out perfect, the leaves are still edible. Sautéed radish greens with garlic and olive oil are one of my favorite garden side dishes.

Ideas for How to Eat Radishes
One great way to eat radishes is simply to eat them raw. Fresh radishes are crisp, spicy, and refreshing. I love slicing them thin and sprinkling them with a pinch of sea salt. You can also add them to the top of salads for a pop of color and refreshing flavor.
Other ideas:
- Roasted with olive oil until tender and sweet
- Pickled for a tangy crunch
- Tossed into tacos or sandwiches
- Blended into butter for a peppery spread
- Sautéed greens for a side dish
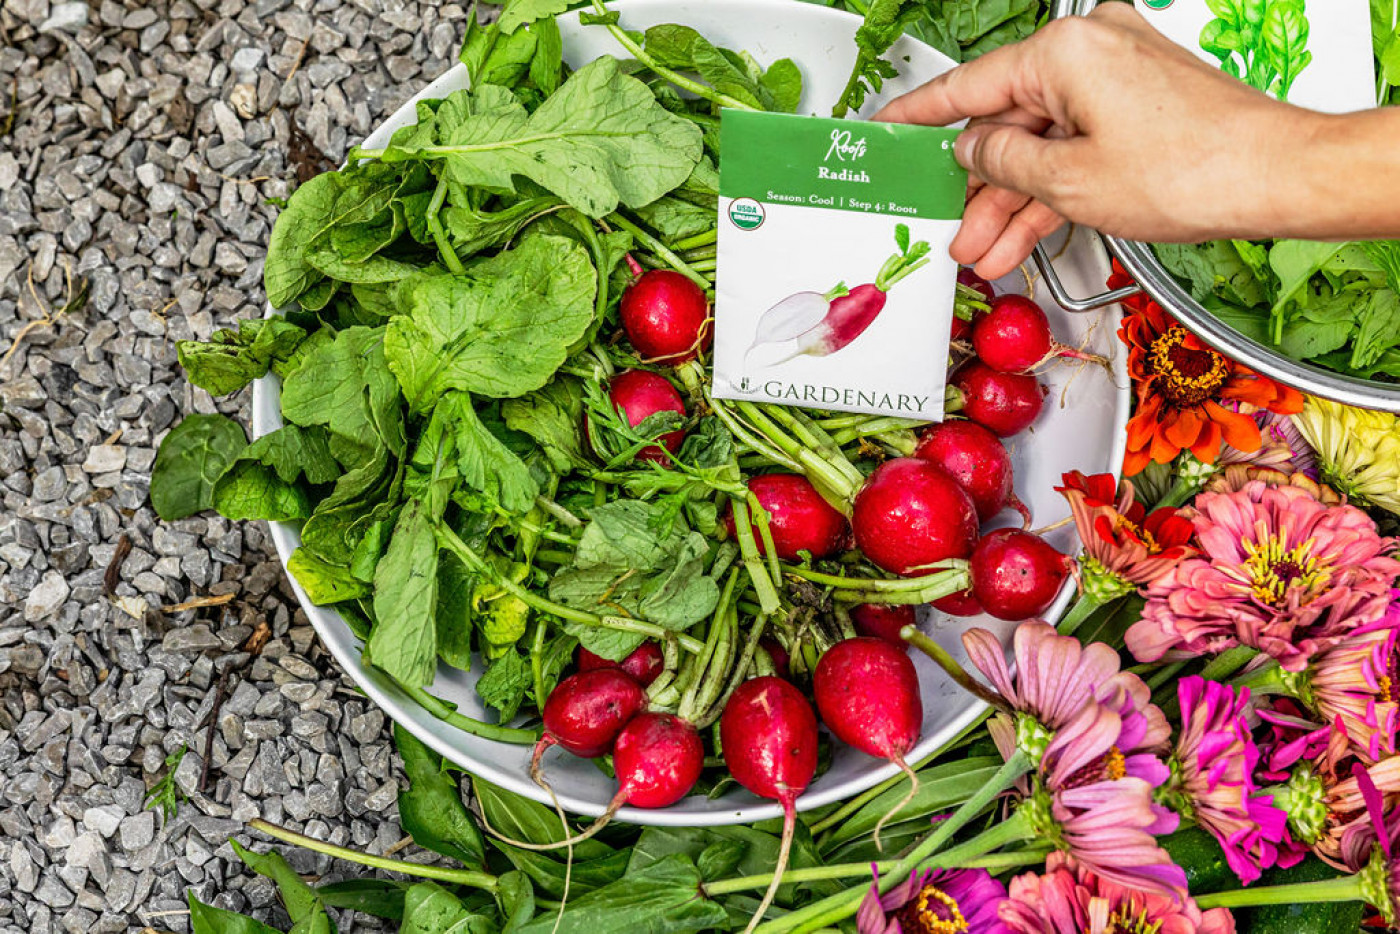
Growing radishes means never running out of quick, creative kitchen ideas. Our Easy Garden Recipe Book, included in our Easy Garden Kit, has multiple recipes if you need more ideas.
Free Class! Plan Your 2026 Garden.
Save your spot and learn from Nicole! This masterclass gives you a simple, seasonal plan so you can grow with confidence. Learn how to plan, plant, and grow a garden, no matter your experience level.
Final Thoughts
So, what’s the secret to growing great radishes? Keep it simple. Give them cool weather, compost-rich soil, steady water, and regular succession planting. In return, they’ll give you harvest after harvest of crisp, colorful roots.
Radishes are fast, forgiving, and endlessly versatile—perfect for anyone who wants to feel like a gardener right now If you’re looking for an easy, organic crop that fits perfectly into a raised bed or kitchen garden, radishes are your answer. Plant a patch this season, and I promise, you’ll be hooked.
Click the image below to save this article for later!