At a Glance
- Learn why I rebuilt my raised bed garden for better comfort, healthier soil, and easier maintenance
- Why switching bed materials, upgrading irrigation, and fixing soil made the biggest difference long term
- Improvement ideas you can apply to your own raised bed garden
How I Rebuilt My Raised Bed Garden From the Ground Up
When I moved into my Nashville house in June of 2022, I already felt behind. Summer had arrived, and instead of slowly planning, we threw together a steel raised bed garden in a single weekend!
My parents were in town, so we worked fast, and by the end of it, I had a functioning garden that I loved. However, over time, I realized there were things I wanted to improve.
So, a year later, I decided to tear the whole thing out and rebuild it. Find out what I changed, and what to consider if you're building or rebuilding your own raised bed garden.


Join Our Free Online Workshop!
Ready to finally grow a garden that works? Join our free Garden Game Plan workshop and walk away with a clear, simple plan so you know exactly what to plant, where to plant it, and when, without the overwhelm.
Saving Hardy Plants and Perennials Before Starting Over
Before tearing everything out, I had to rescue my plants!
Around the edges of my beds, I had perennial herbs that were already established. Sage, thyme, oregano, rosemary. These plants had survived multiple seasons, and I knew they would come back if I treated them right.
I dug them out carefully and set them aside so they could be replanted later. Perennial herbs are worth protecting. They save time, they attract pollinators, and they anchor a garden space year after year.

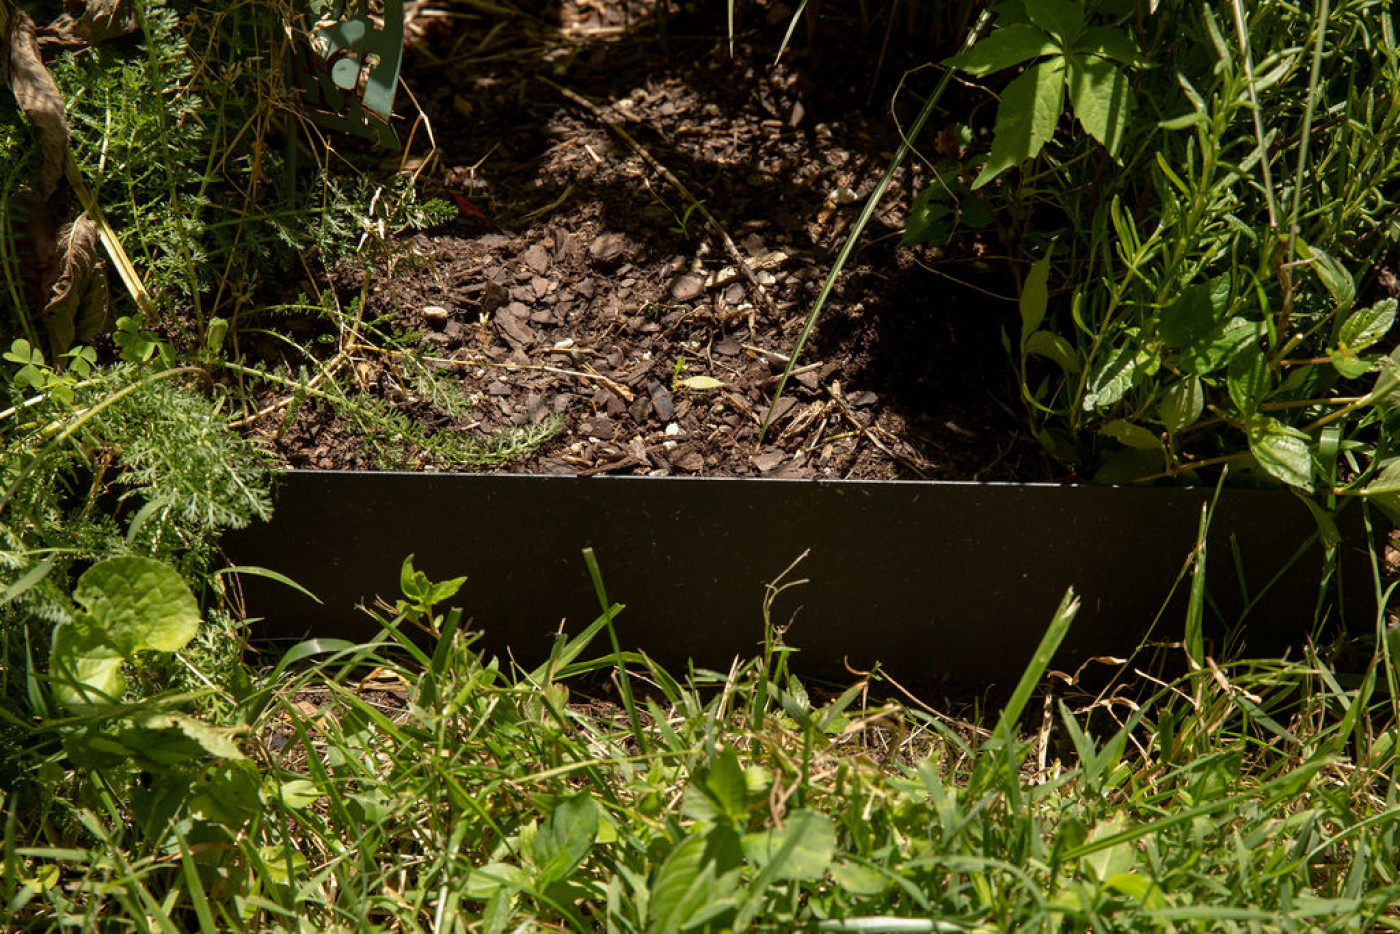
Adding Steel Edging for a More Defined Space
Around the perimeter of the garden, I had created a native plant pollinator space early on. I use this area as a living fence to bring beneficial insects into the garden and help balance pest pressure naturally. Over time, though, a few aggressive plants took over. Lemon balm and anise hyssop had sprawled beyond their boundaries and started creeping into the lawn.
This led to a few conversations with my husband, who mows the lawn, about where the garden ended and the grass began. A few of my babies had fallen victim to the lawn mower.
To solve that, we installed steel edging around the entire native planting area. That one change created a clear boundary. The plants stayed where they belonged, and were safe from the lawn mower blades.

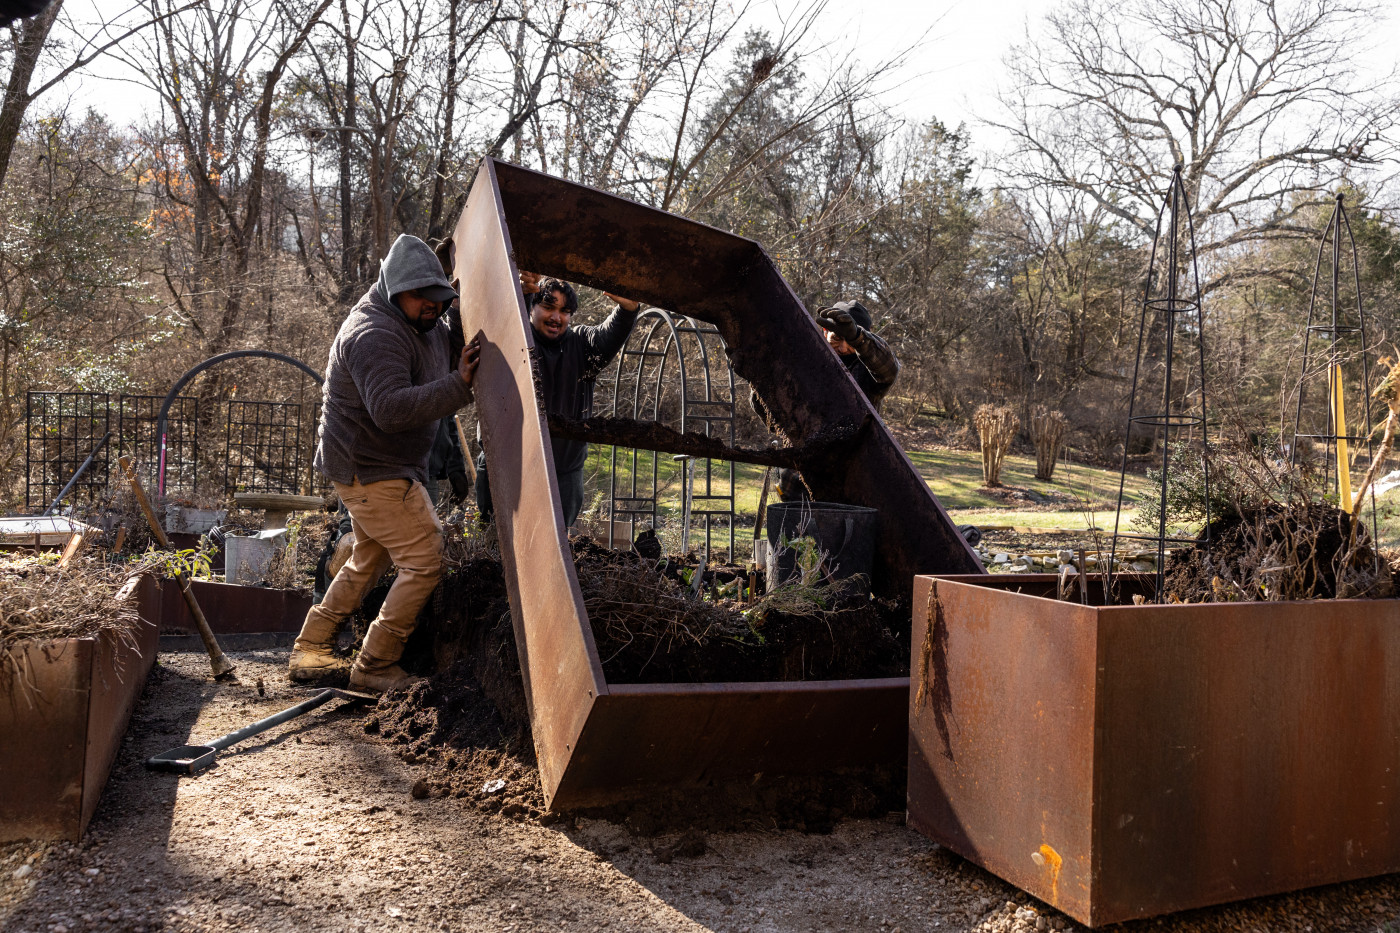
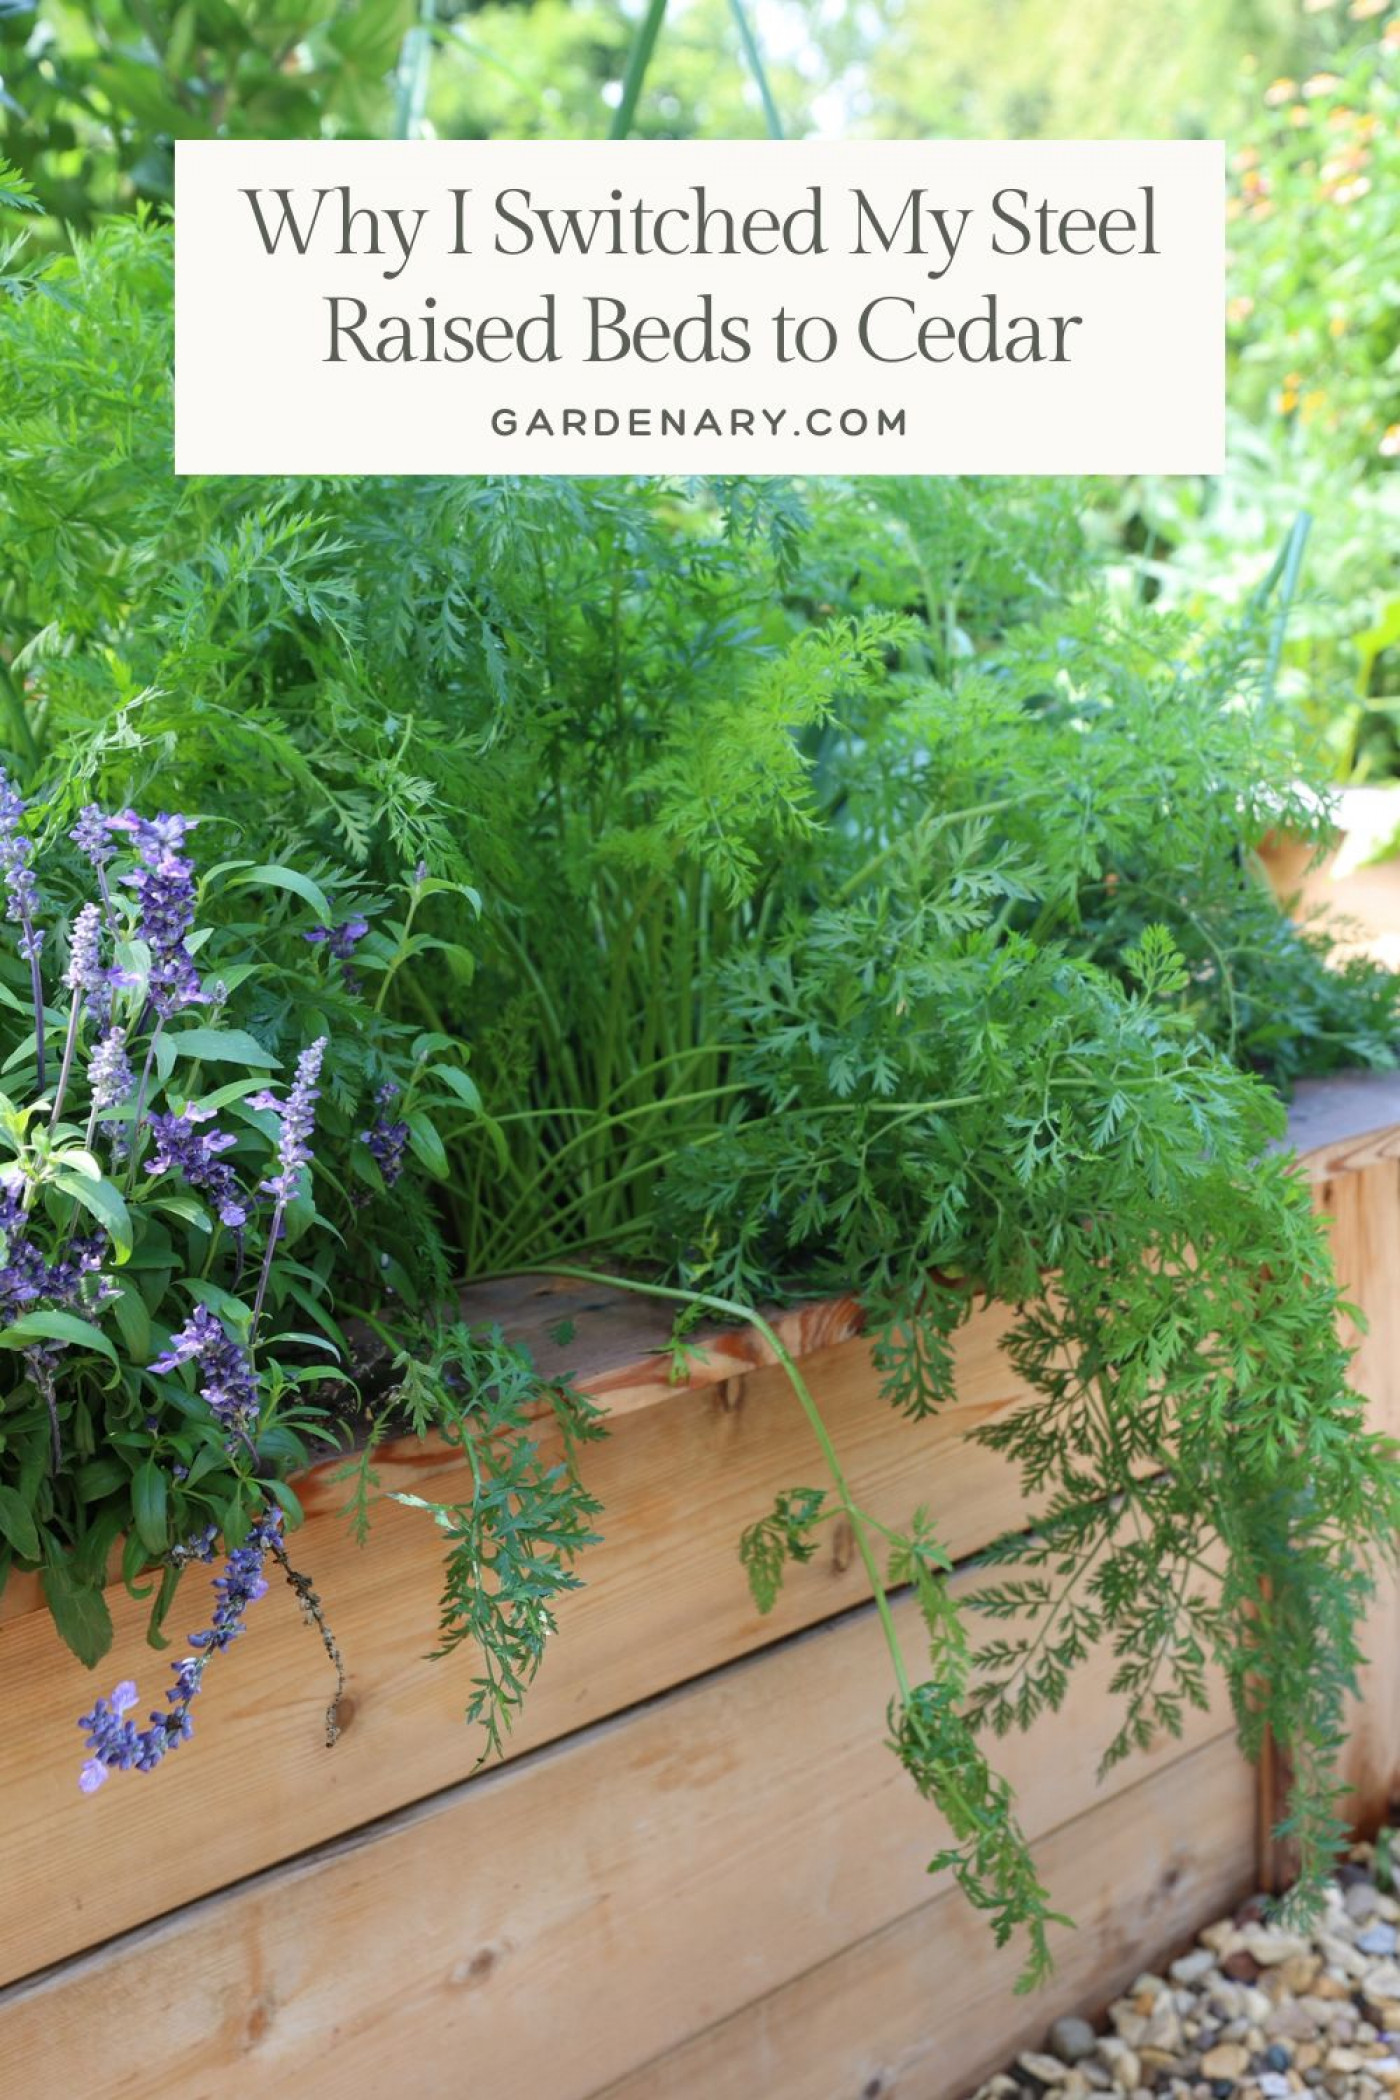
Why I Switched From Steel Beds to Cedar Beds
The most major change was replacing my steel raised beds with cedar ones.
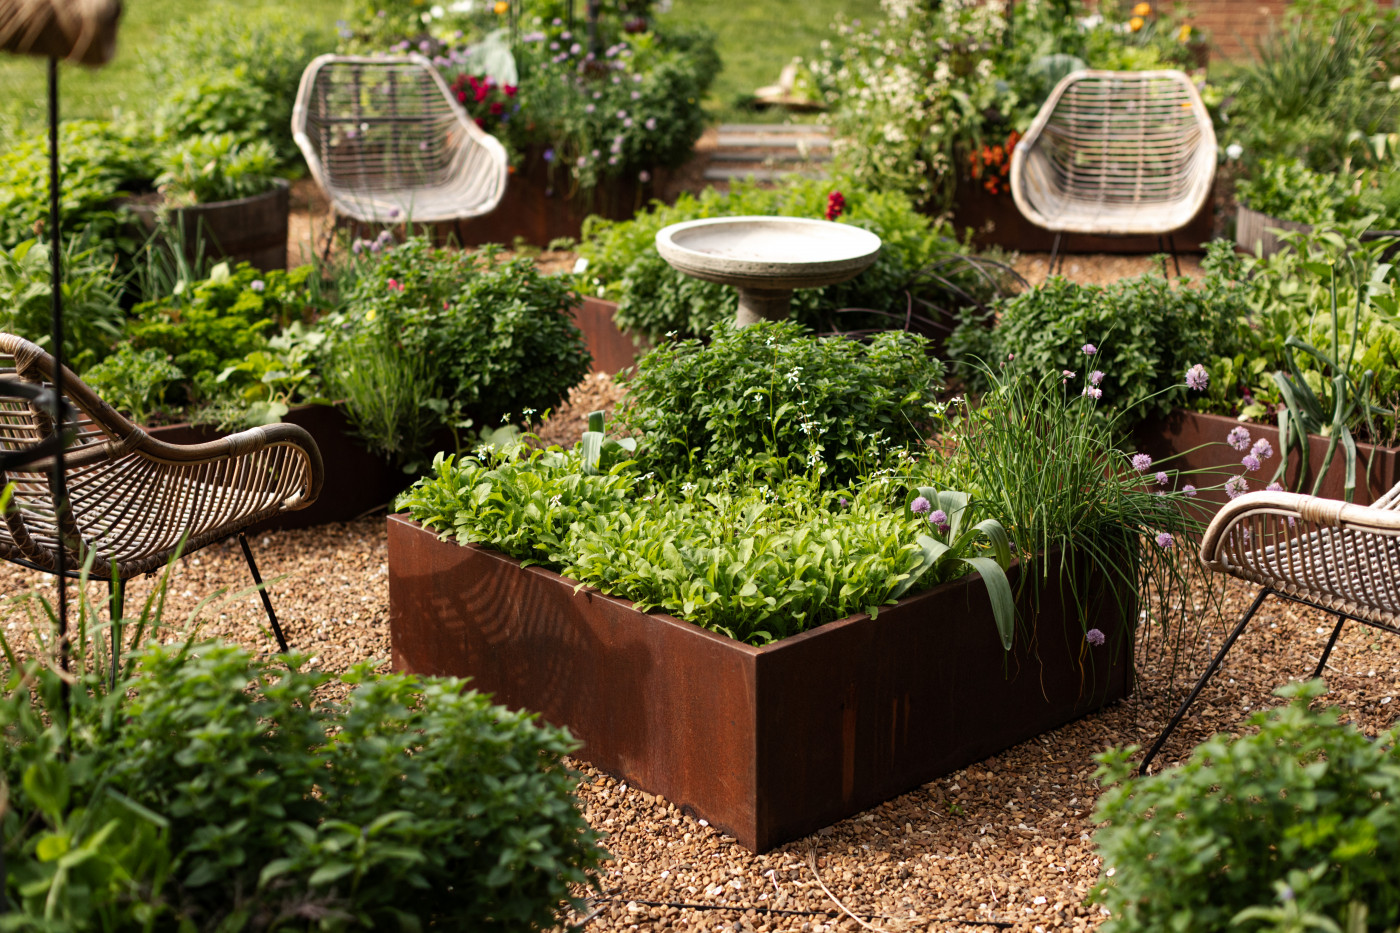
I loved the look of the steel beds. They were sleek and modern, and they held up beautifully. But there were a few things I personally missed about cedar raised beds because of my gardening style.
Benefits of Cedar Raised Beds
- Being able to sit on the edge of the bed while planting or harvesting
- Taller beds reduce bending and strain
- A warmer, more natural feel in the garden space
The steel beds were only about 16 inches tall. That's definitely better than shallow beds, but it wasn't tall enough for how often I'm out there. I wanted beds that were 24 inches tall, so I could tend the garden while standing or bending slightly.
Cedar beds also gave me wide, sturdy edges that I could actually sit on. That might sound small, but it completely changed how enjoyable gardening felt day to day.

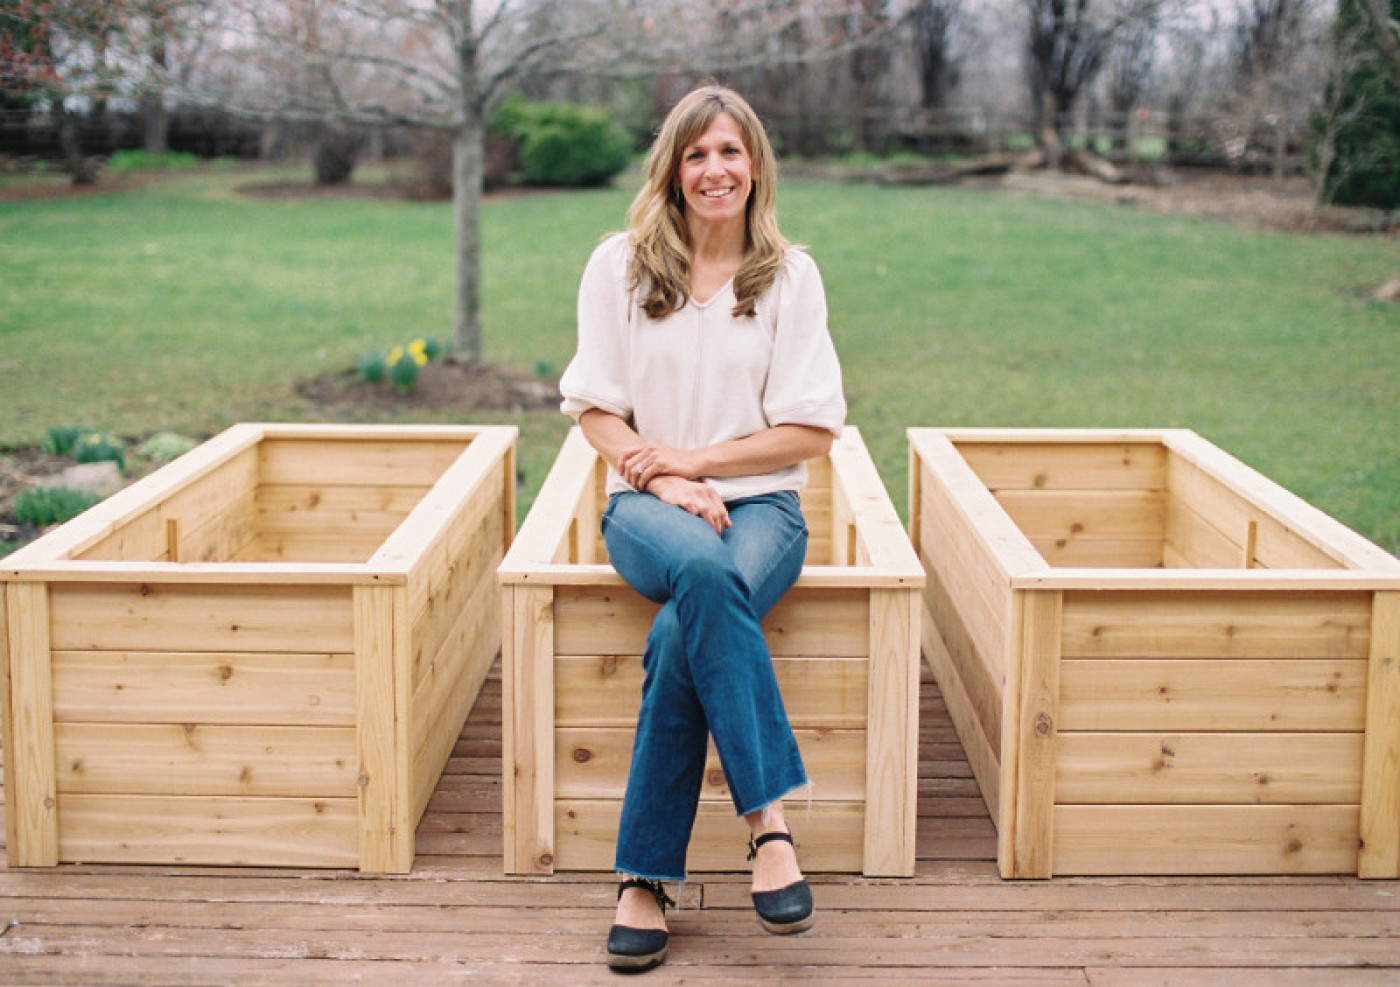
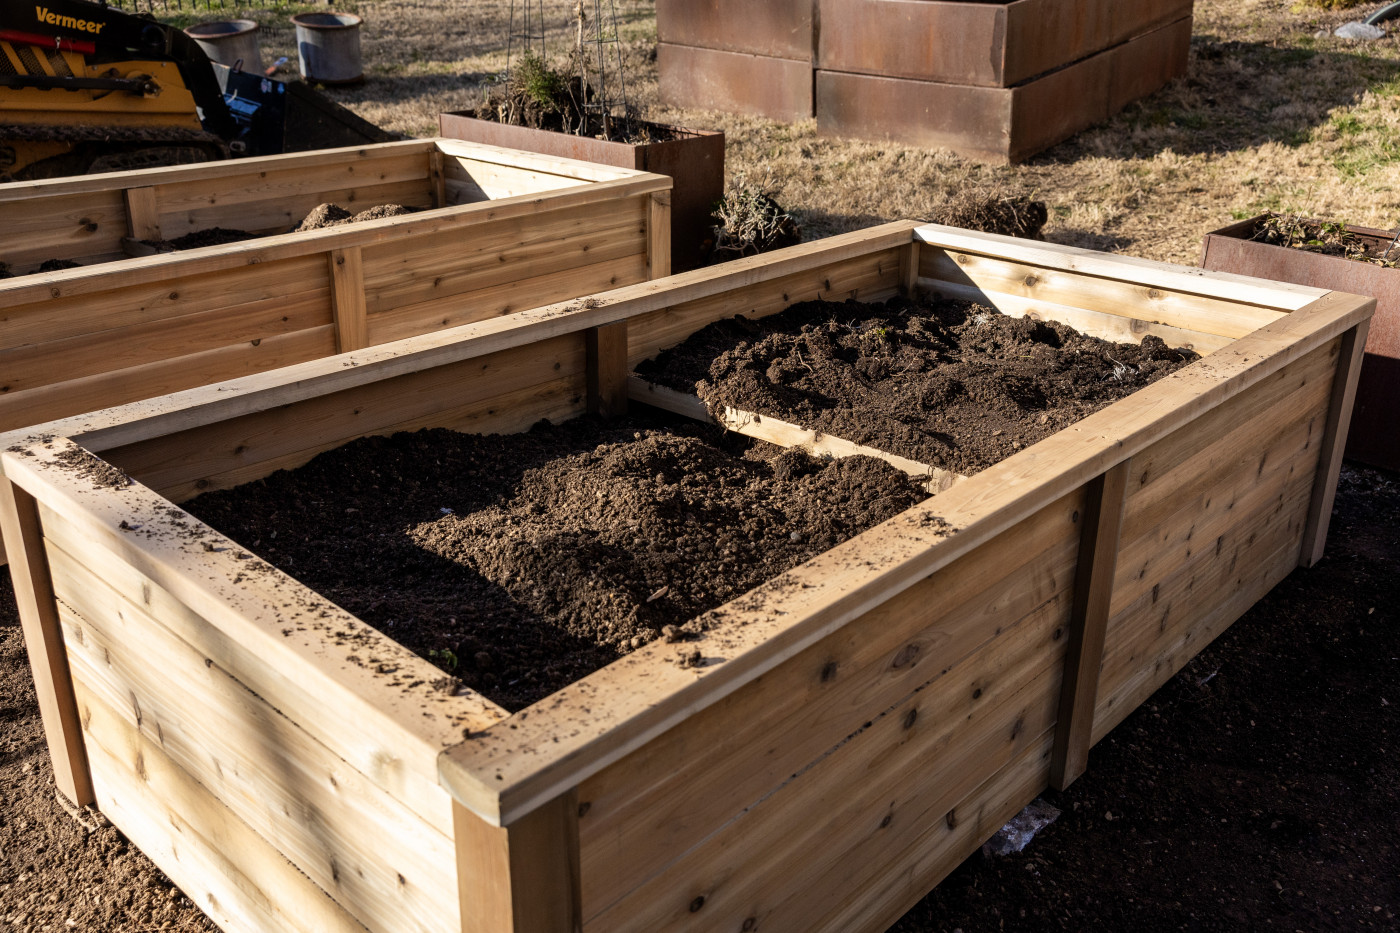
Building the Cedar Raised Beds
I'm not naturally good with tools. I don't enjoy complicated instructions, and I am not someone who wants to troubleshoot construction issues. That is exactly why I wanted to build these beds myself. If I could do it, anyone could.
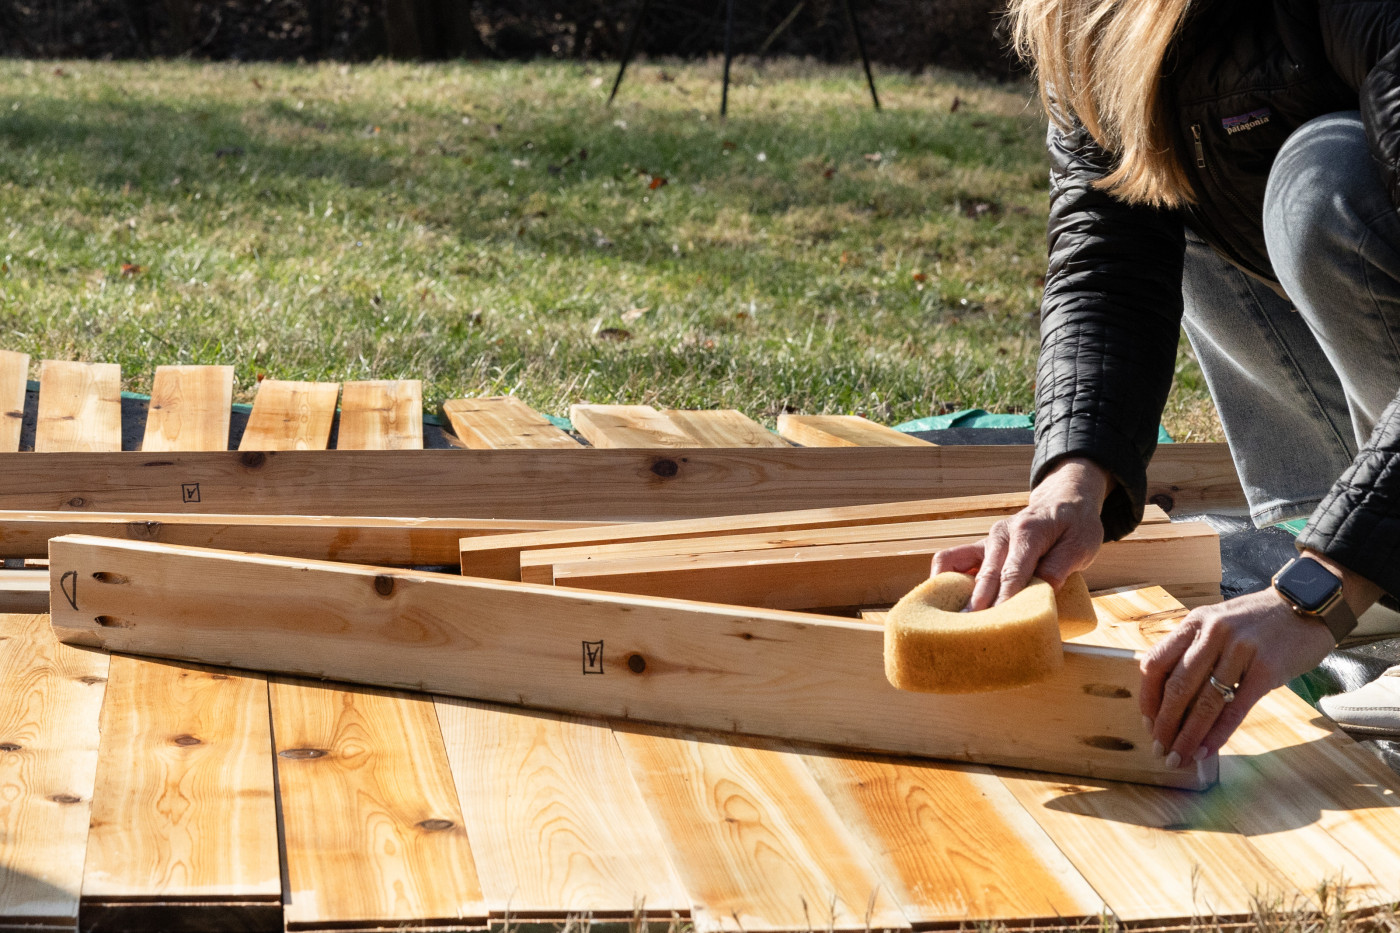
Before assembly, we stained all the wood with an eco-friendly mineral-based stain. This step matters. It extends the life of the wood and protects it from moisture without introducing harmful chemicals into the garden.
We laid all the boards out, used a sponge to apply the stain evenly, and let everything dry before assembling anything. That part took time, but it was worth it.
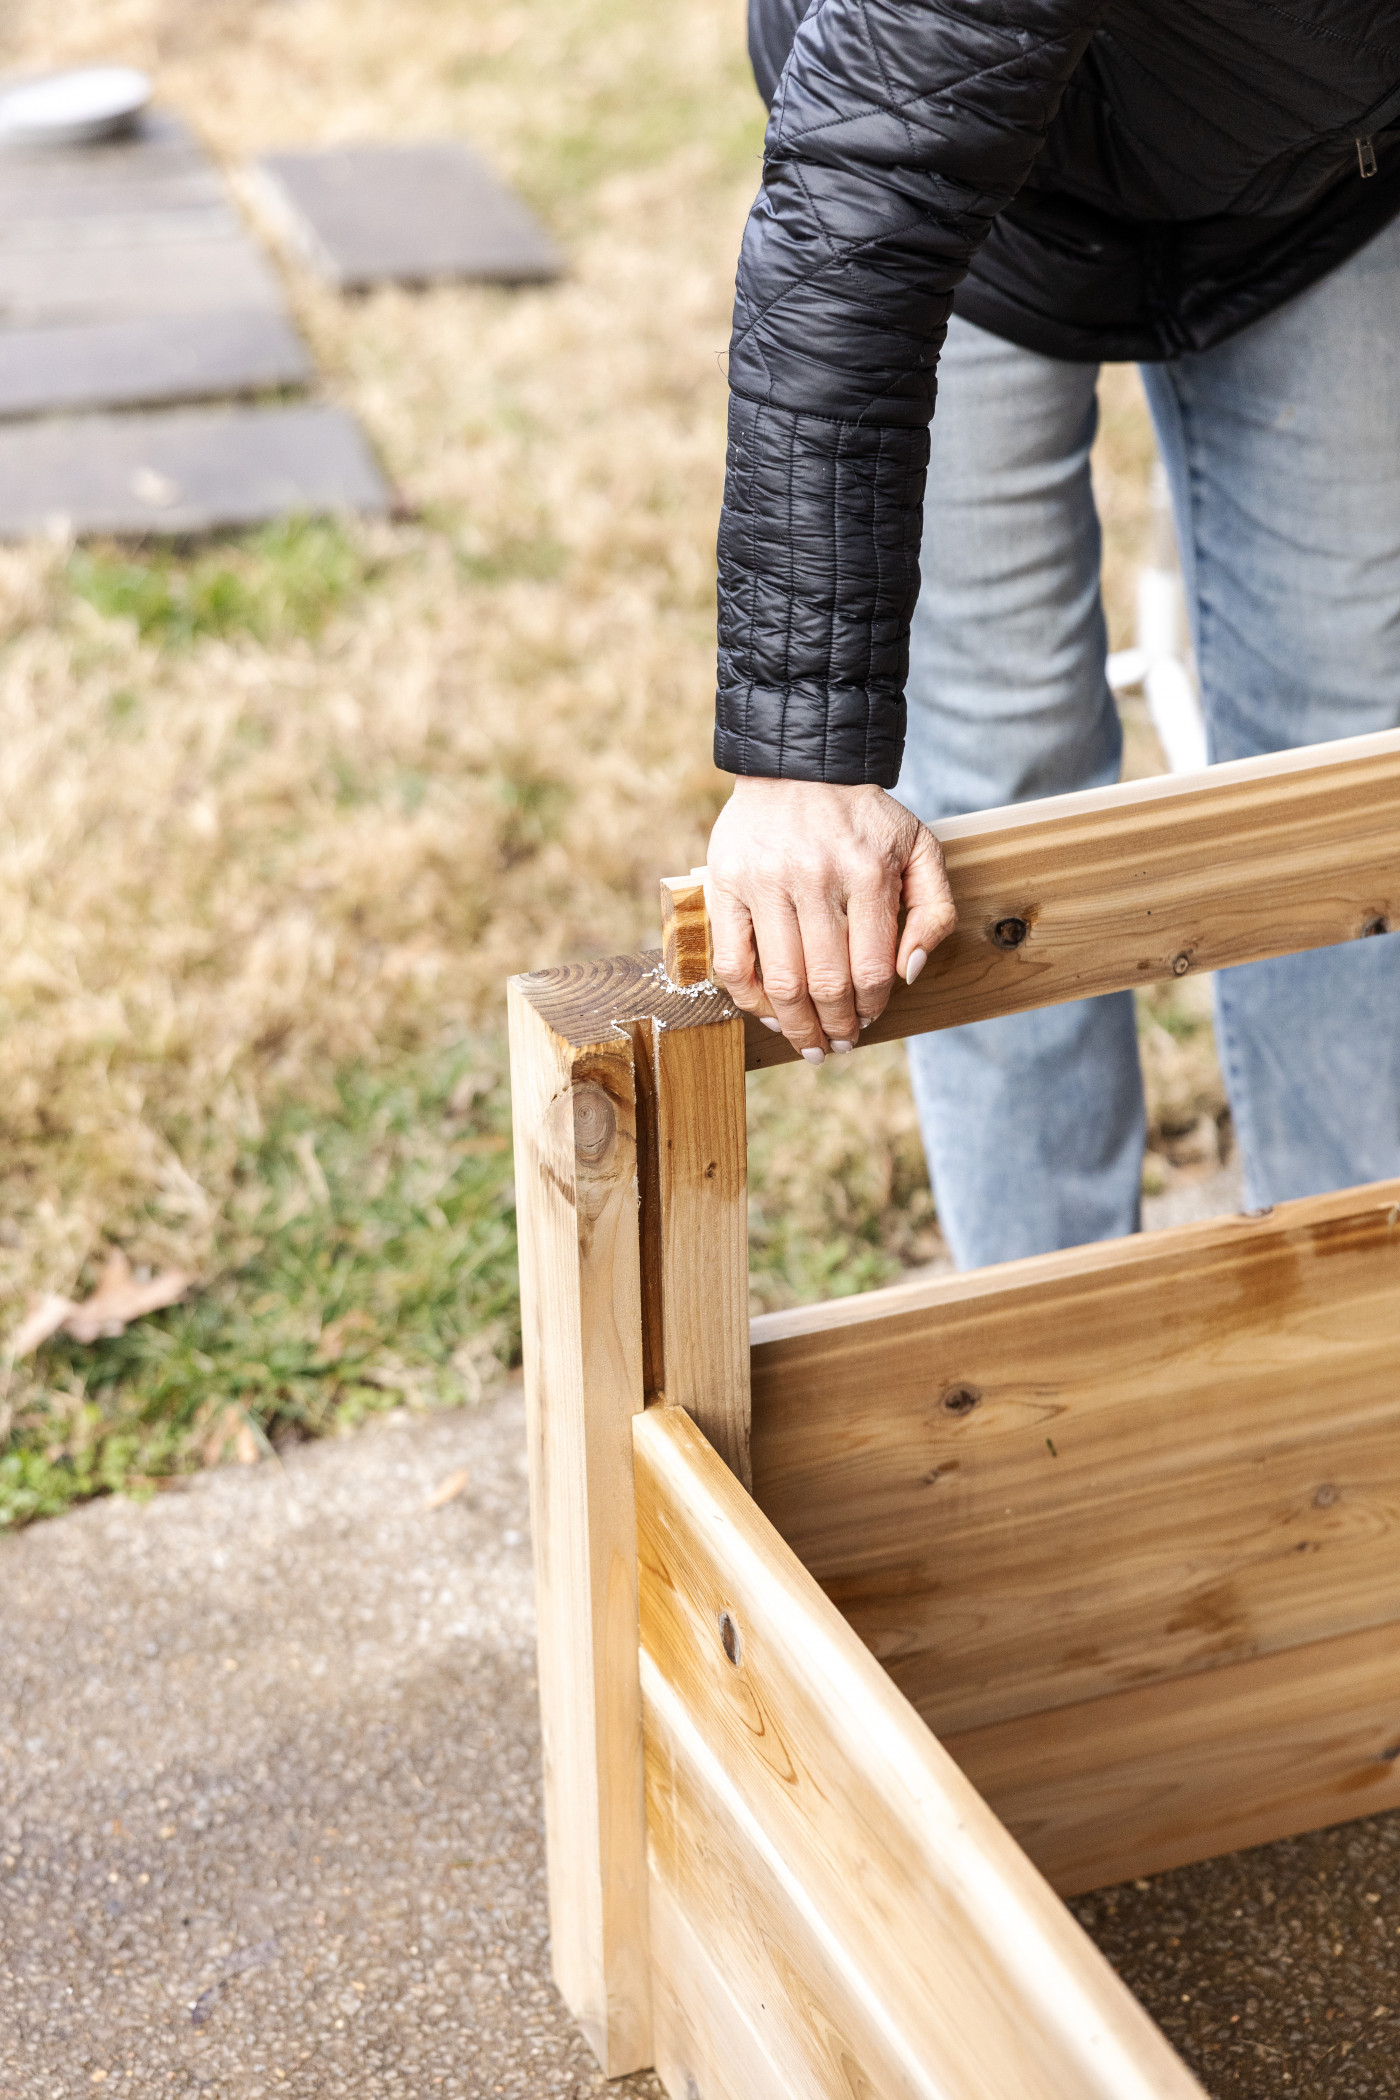
The beds themselves were designed to slide together using corner posts with grooves. Once we figured out the rhythm and worked as a team, the process was straightforward. The most important tip is to assemble the trim on a flat surface.
When the first two cedar beds were set in place, the difference was immediate. The garden felt taller, more grounded, and more inviting.
Shop Our Favorite Wood Treatment
Made from naturally occurring plant and mineral extracts, this wood preservative penetrates wood fibers to provide protection from sun and water. A single application results in a long-lasting, maintenance-free surface. Will not wear off, peel or fade; treated wood develops a beautiful patina. This plant- and mineral-based formula is based on a special family recipe and has been used for 60 years.


Shop Our Cedar Raised Beds
Gardenary's new line of quality cedar garden beds are easy to assemble and will provide years of gardening enjoyment. Choose from numerous different garden sizes to fit your space.
Adding Automated Irrigation (Major Upgrade)
The second big issue I wanted to fix was watering.
When I lived in Chicago, I could get away without irrigation. Summers were milder, and rain was more consistent. Nashville summers are a different story. High heat, intense sun, and long dry stretches made hand watering unreliable, especially when I traveled.
I lost entire plantings simply because no one was home to water.
That was not happening again.
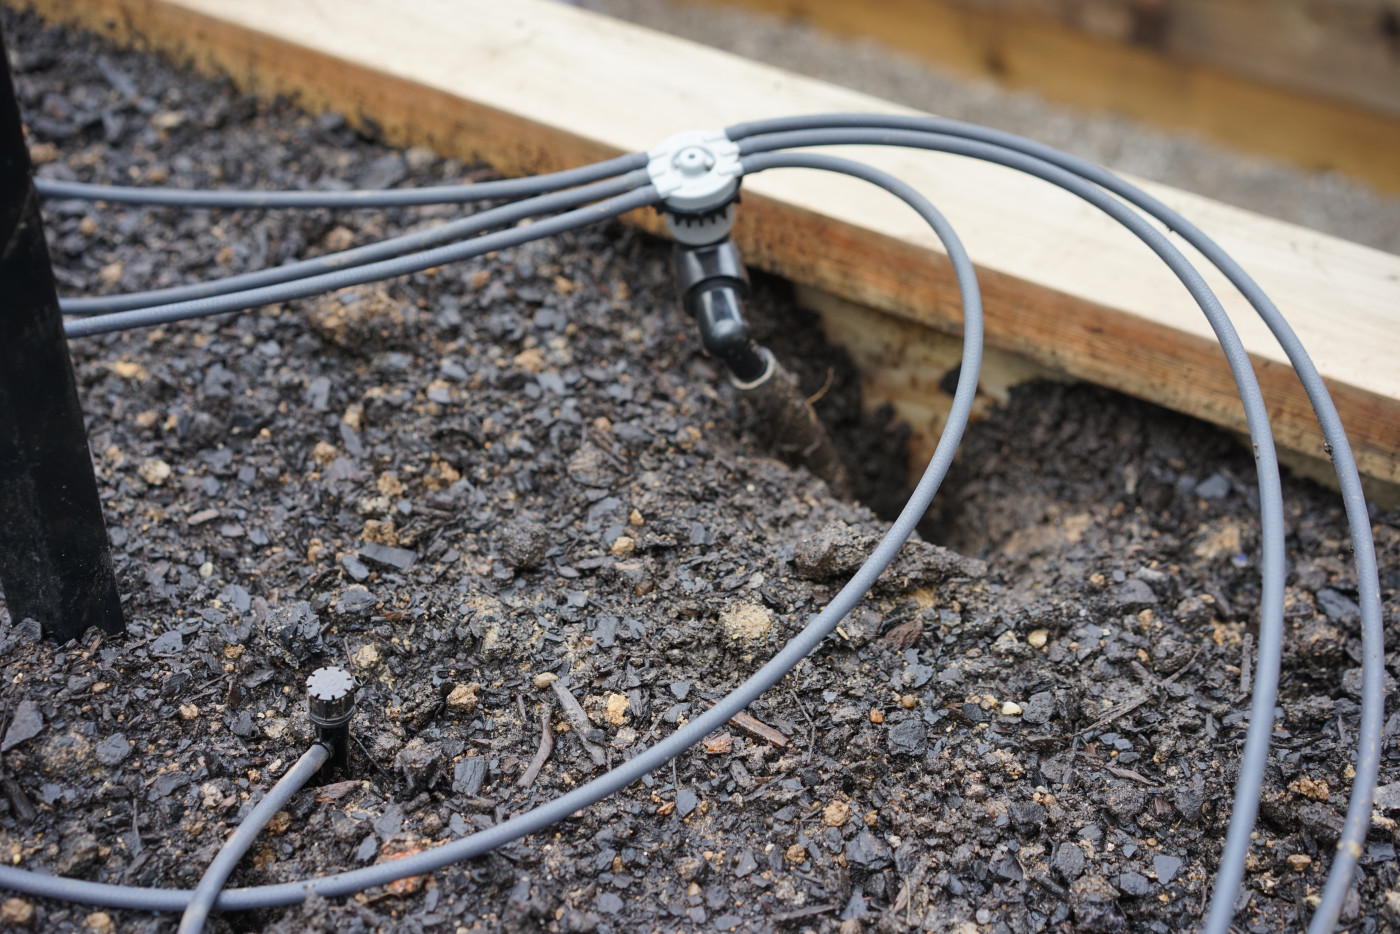
We tied the garden into an existing irrigation system and created a separate zone specifically for the raised beds. This matters because raised beds need a gentler, more targeted watering approach than lawn sprinklers.
Instead of spray heads, we used low-profile emitters placed throughout each bed. I wanted water to reach the soil surface as well as the roots. This is especially important when you are planting from seed. Drip irrigation alone does not always keep the surface moist enough for germination.
For the first time, I could leave town without worrying about whether my garden would survive.

Fixing the Soil
The third issue was the soil.
When I rushed to build the original garden, I ordered bulk soil without ever touching it first. That was a mistake I now warn everyone against. The soil that arrived was heavy, full of gravel, and high in clay. It drained poorly and compacted easily.
Instead of removing all the soil, we regenerated it.
I kept the base layer in place and rebuilt the top 12 inches using my preferred soil mix. That top layer is where most vegetable roots live, and improving it made an immediate difference.
Raised Bed Soil Mix Components
- Compost as the primary foundation
- Quality topsoil
- Coarse sand for drainage
- Earthworm castings for biology and nutrients
Layering this on top allowed me to improve structure, drainage, and microbial life without wasting what was already there.

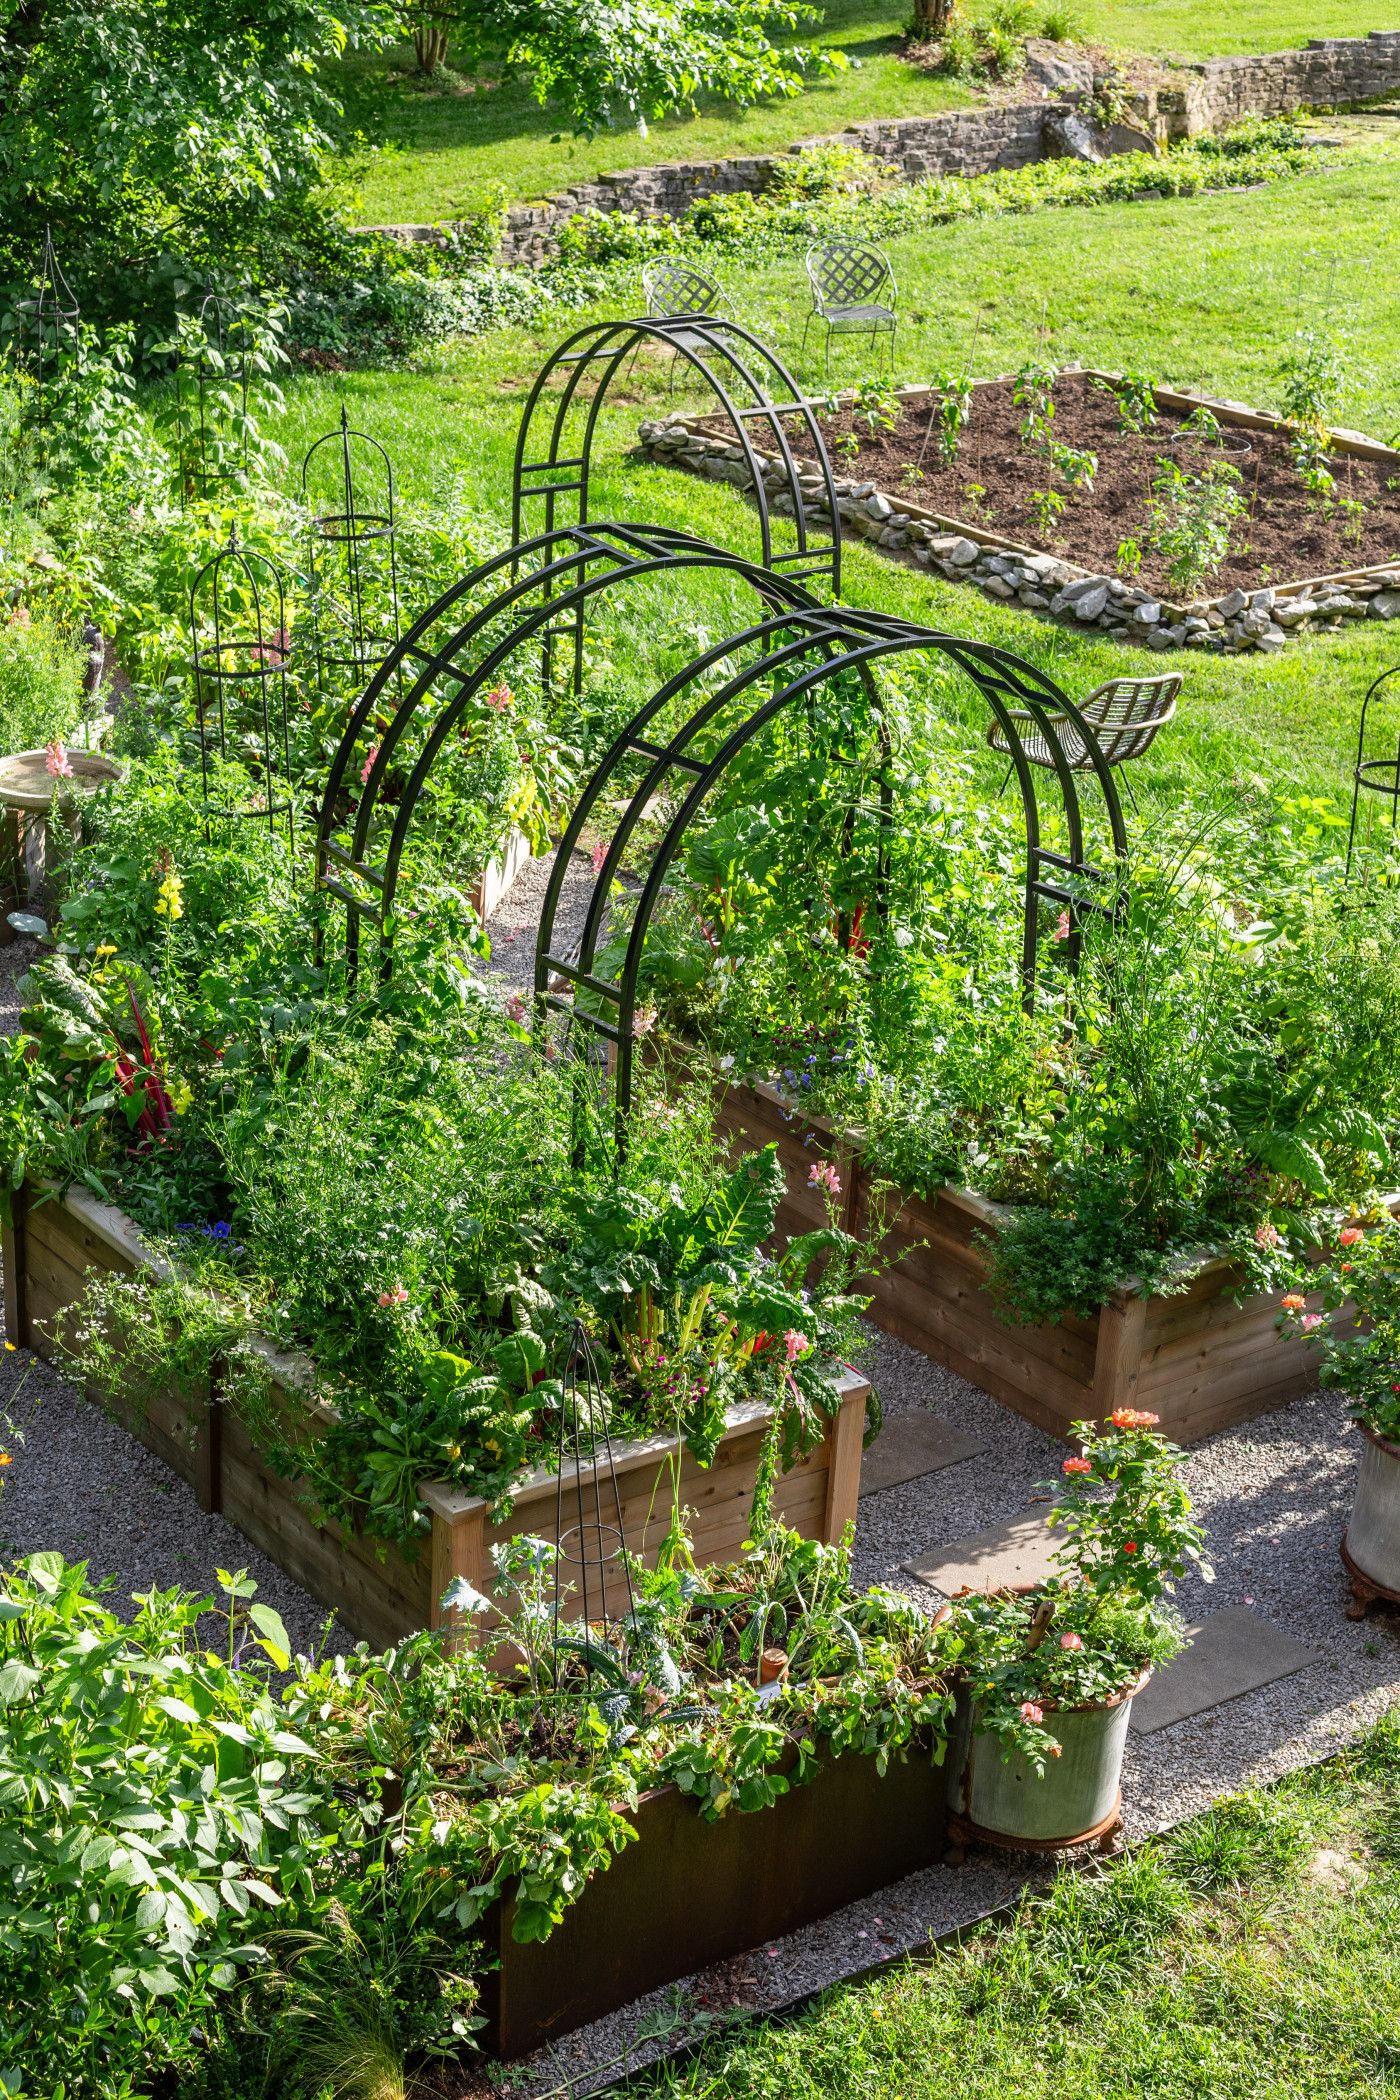
Doubling Trellises for Vertical Growing
While we were adding soil, I took the opportunity to upgrade my trellising.
In the original garden, I had one arch trellis per bed. It was never enough. Every season, I wished I had more vertical space for tomatoes, cucumbers, and pole beans.
This time, I doubled the arches on the outer beds and added obelisk trellises in the center beds. The key is timing. Trellises should go in when the beds are about 12 inches full. Then you add the remaining soil around them. That locks them in place and keeps them stable once vines start climbing.
More trellises meant more food in the same footprint, without crowding plants.


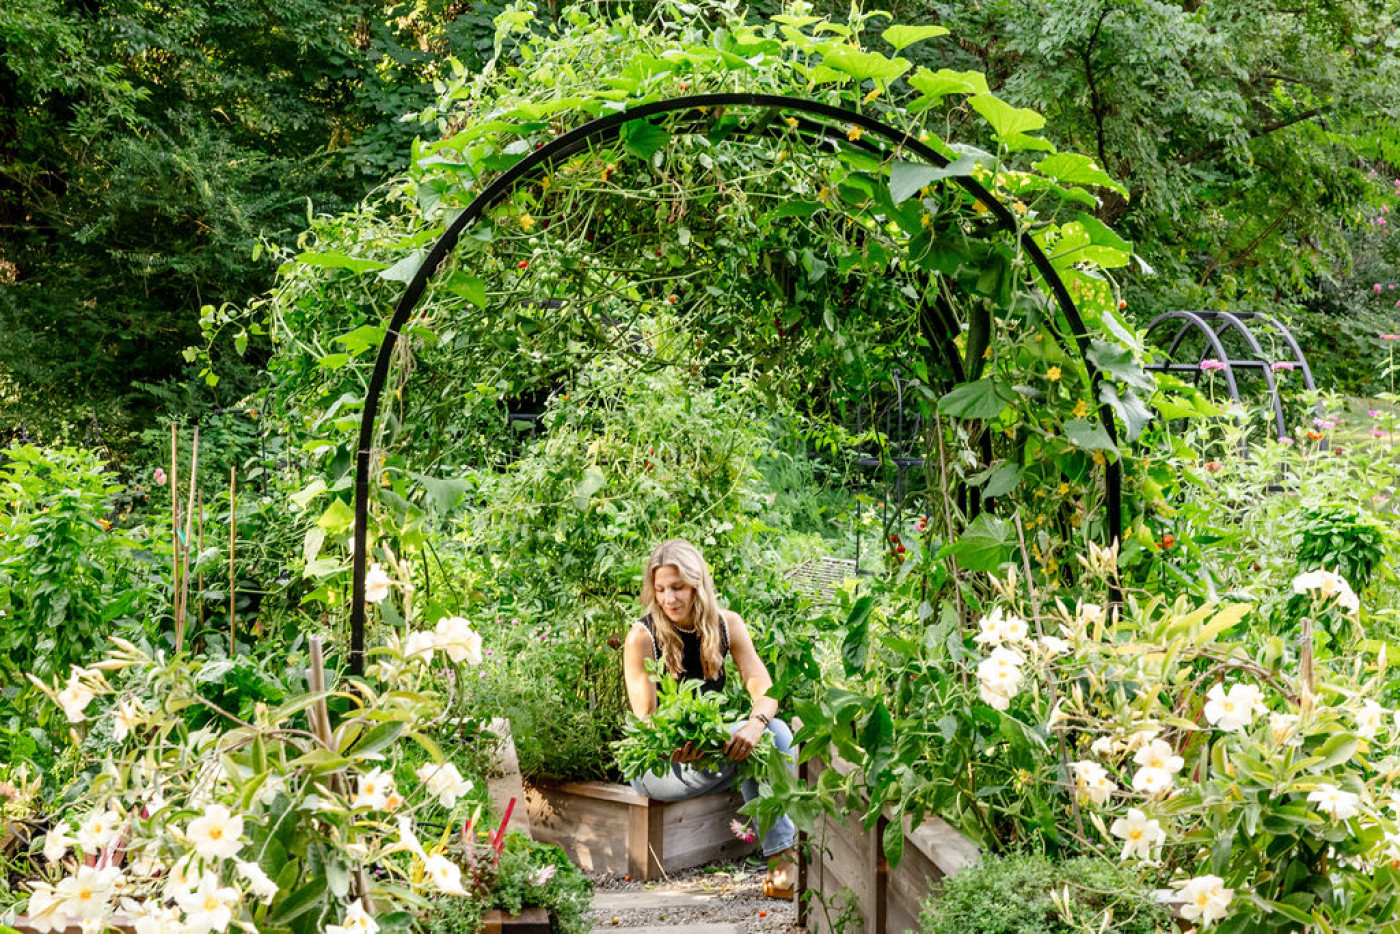
A Successful Garden Makeover
We finished the rebuild in February, which was perfect timing. The beds were in place, the soil was ready, the irrigation was set, and the trellises were secured.
Later, the garden made it through its first Nashville summer scorcher with automated irrigation, and that alone made the entire project worth it.
If there is one takeaway from this rebuild, it is this: a garden makeover may be a lot of work, but it's worth it in the long run. Now that my new garden is up and running, I have absolutely no regrets about the time and effort that it took because I can enjoy gardening with ease and comfort.
See My Garden Transformation on YouTube
Free Class! Plan Your 2026 Garden.
Save your spot and learn from Nicole! This masterclass gives you a simple, seasonal plan so you can grow with confidence. Learn how to plan, plant, and grow a garden, no matter your experience level.
Click the image below to save this article for later!