At a Glance
- Know when it’s time. Yellowing vines, fewer healthy fruits, or disease are clear signals to start pulling tomatoes, and you can harvest any unripe ones for frying, salsas, or ripening indoors.
- Choose your method. Snip and untangle vines from a trellis, or cut and lift them from cages and stakes. Always compost healthy plants and trash diseased ones to protect next season’s garden.
- Prep for what’s next. Wash and store your supports, add a fresh layer of compost, and replant with cool-season crops to keep your garden productive in the fall.
Join Our Free Online Workshop!
Ready to finally grow a garden that works? Join our free Garden Game Plan workshop and walk away with a clear, simple plan so you know exactly what to plant, where to plant it, and when, without the overwhelm.
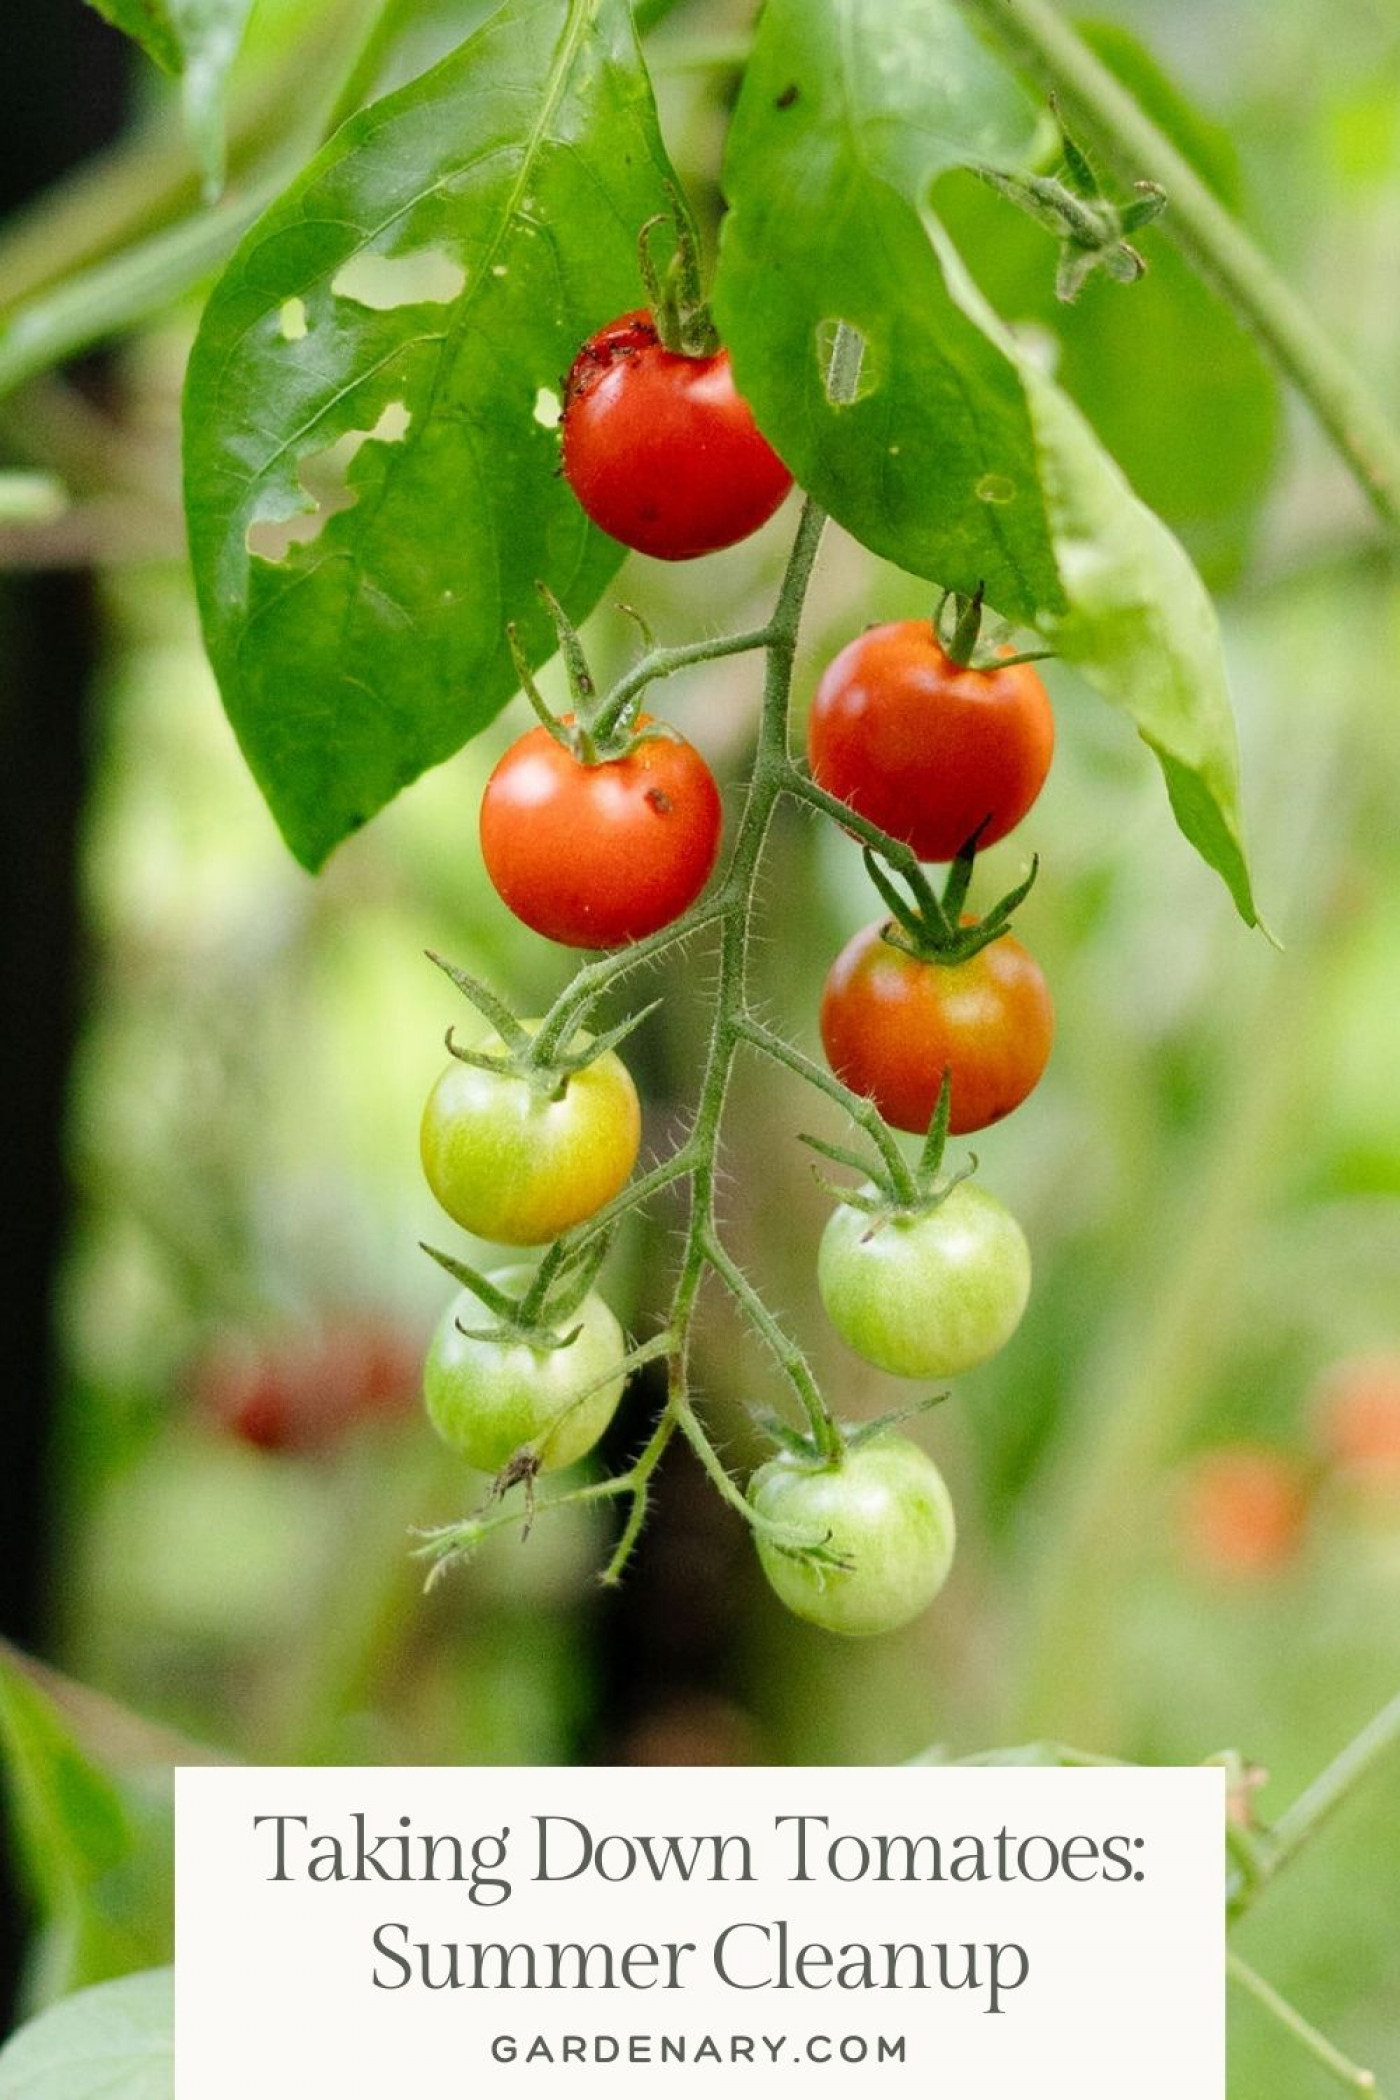
Saying Goodbye to Tomatoes: Summer to Fall Transition
Let me tell you a little truth from my garden: all good things really do come to an end. I felt it the other morning when I stepped outside. It was a subtle but undeniable feeling that the tomatoes had reached the end of the road. Their vines were drooping heavily, their leaves were yellowed, and the whole garden seemed to tell me, “It’s time.”
And honestly? I was ready. I had loved those tomatoes all summer, but I woke up with that satisfied, “enough is enough” kind of feeling. You probably know it, too—the moment when you stop trying to coax one more fruit from tired plants and instead look forward to what’s next.
This is what seasonal gardening is all about. We love our summer crops, but we also learn how to let them go, making space for the freshness of the new season. At some point, it's time to embrace the cool-season fall crops.
Today, I’ll walk you through when to remove tomato plants, what to look for, and exactly how I take mine down. I’ll cover two methods—removing tomatoes from an arch trellis and removing them when they’ve been staked or caged in the ground. Along the way, I’ll share little stories (like the time I accidentally gifted myself the “wrong” trellises for my birthday) and practical tips to make summer cleanup less of a chore and more of a ritual.
Knowing When It’s Time to Pull Tomatoes
You don’t need a calendar to tell you when to clear out tomatoes. The plants themselves do the talking. Here’s what I look for:
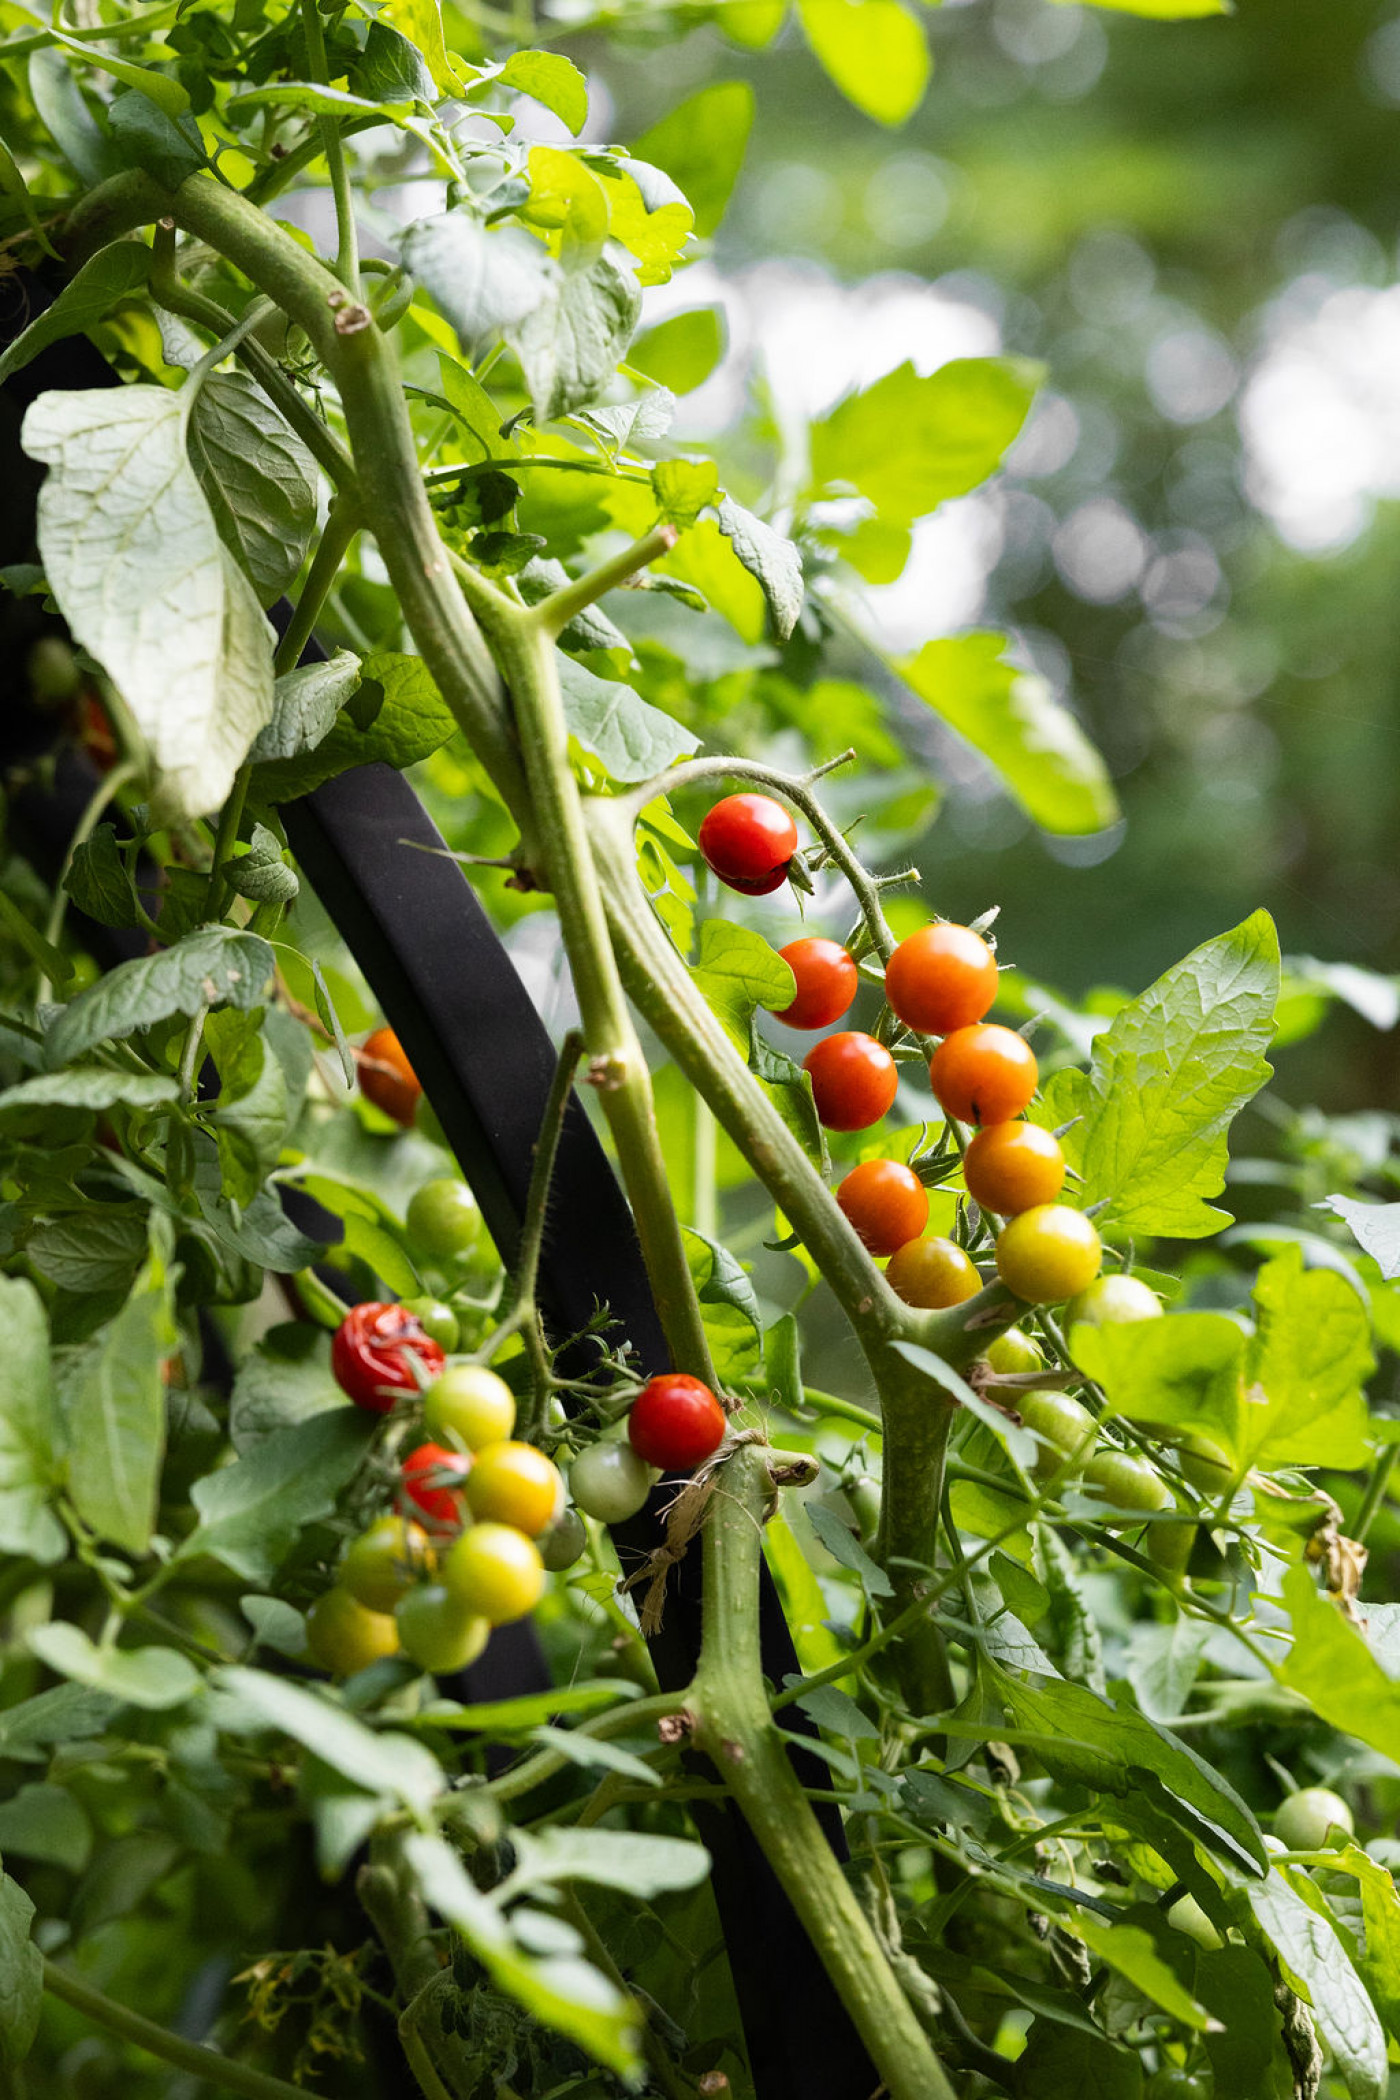
- Drooping, yellowing foliage. By late summer, indeterminate tomatoes (vining tomatoes) look less like thriving vines and more like tired laundry strung across the garden.
- Fewer healthy fruits. When most of what’s left on the vine is split, spotted, or half-ripe, it’s time to start fresh.
- Diseases or pests. If blight, hornworms, or mildew have set up camp, removing plants protects the rest of your garden.
- Garden rhythm. Sometimes, I simply know in my bones it’s time to move on. I call it the “goodbye feeling.”
Here’s a little story: one year, I stubbornly tried to keep my tomatoes producing into October. I strung up sagging vines, plucked the occasional tomato, and ignored how sad the plants looked. By the time frost finally arrived, my once-beautiful archway was a tangle of brittle vines and mushy fruit. Lesson learned: it’s far more satisfying to pull them while you can still smile at what they gave you, not frown at what they’ve become.

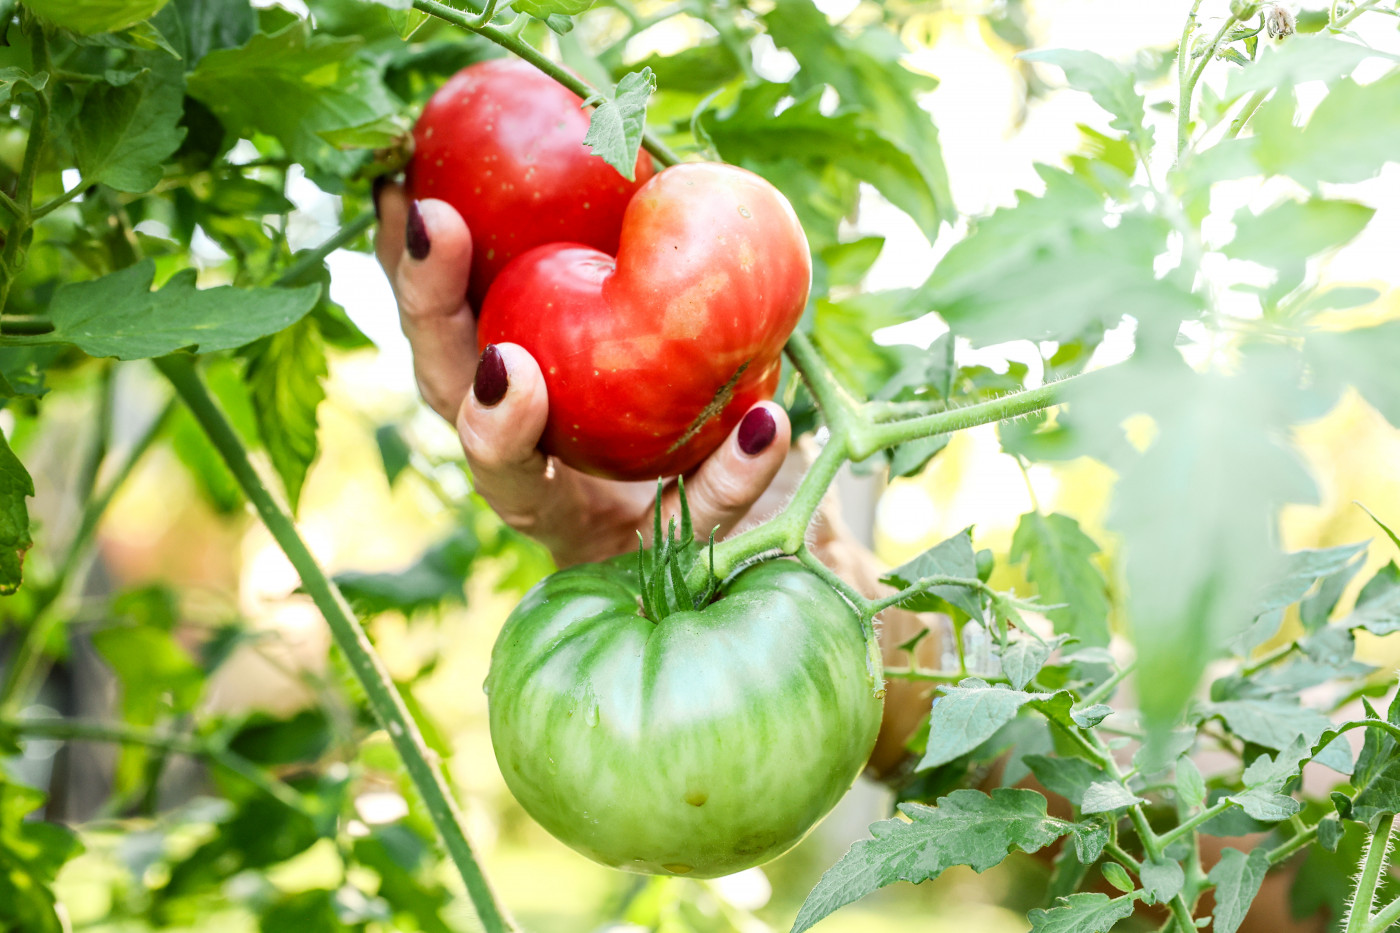
Step One: Gather What’s Left
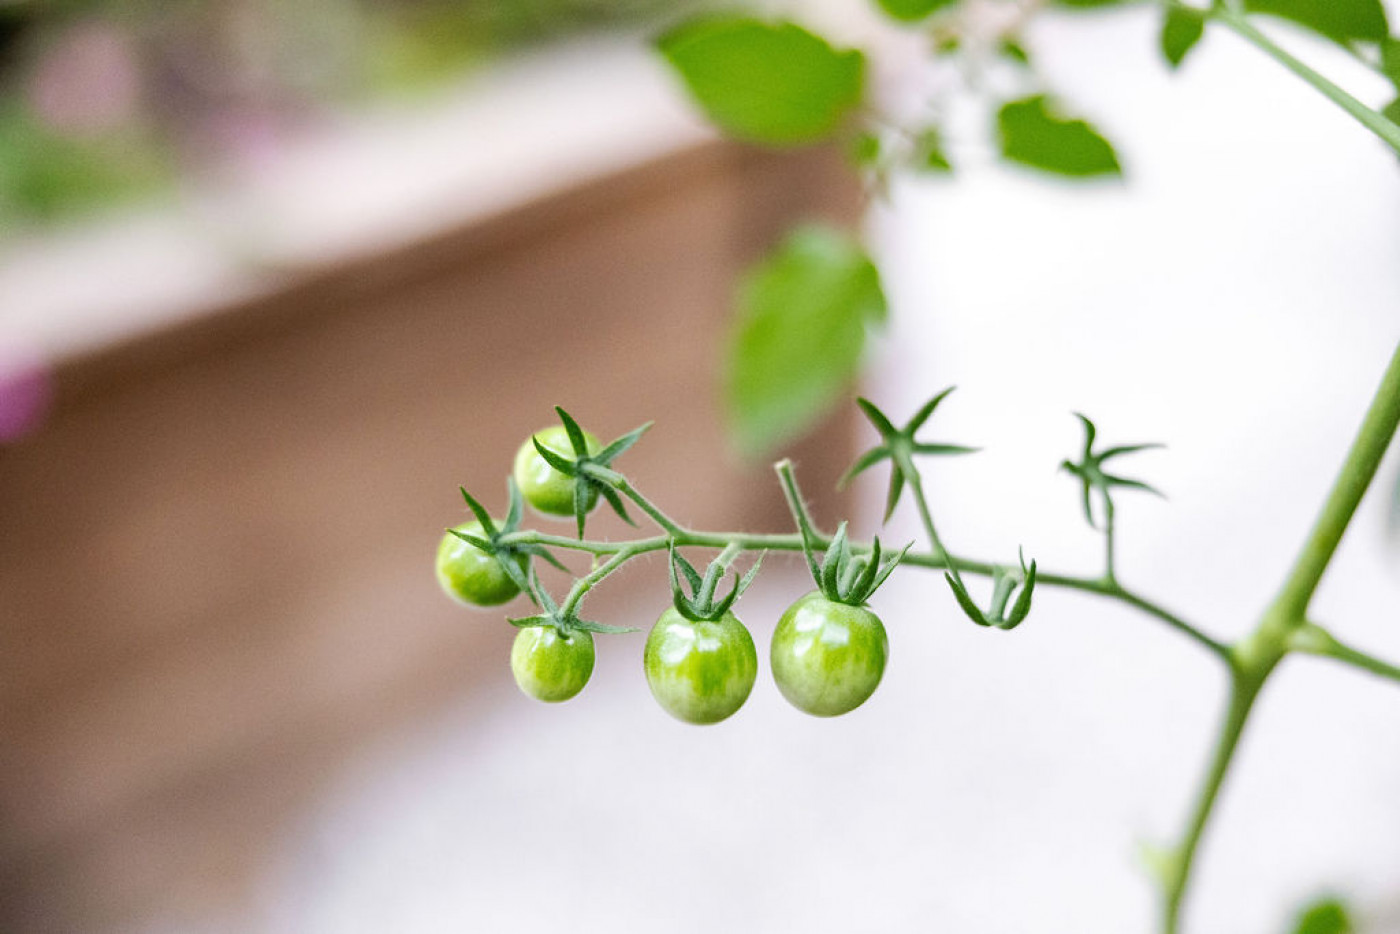
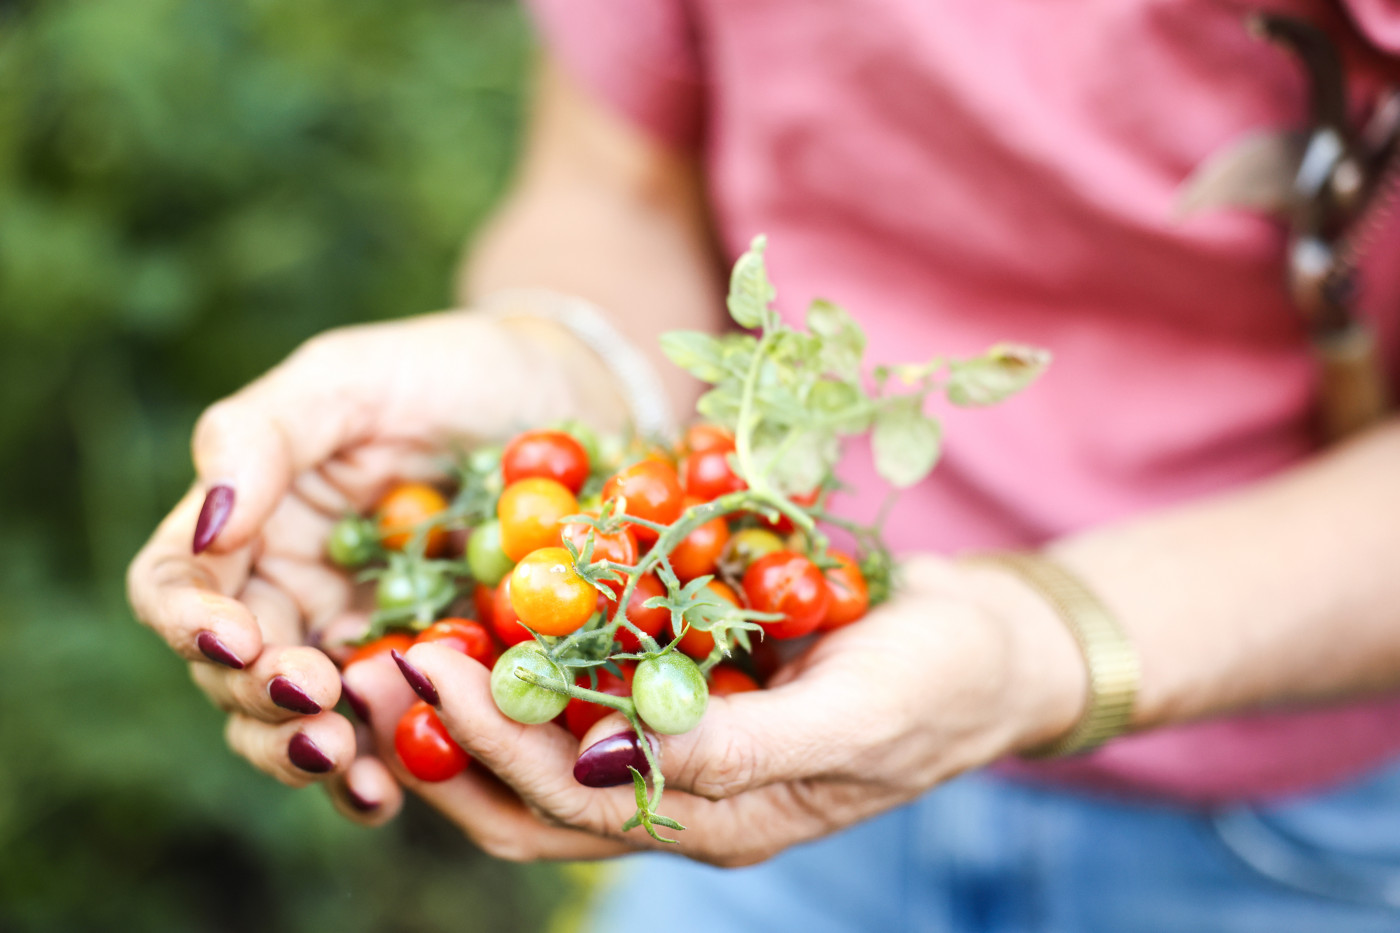
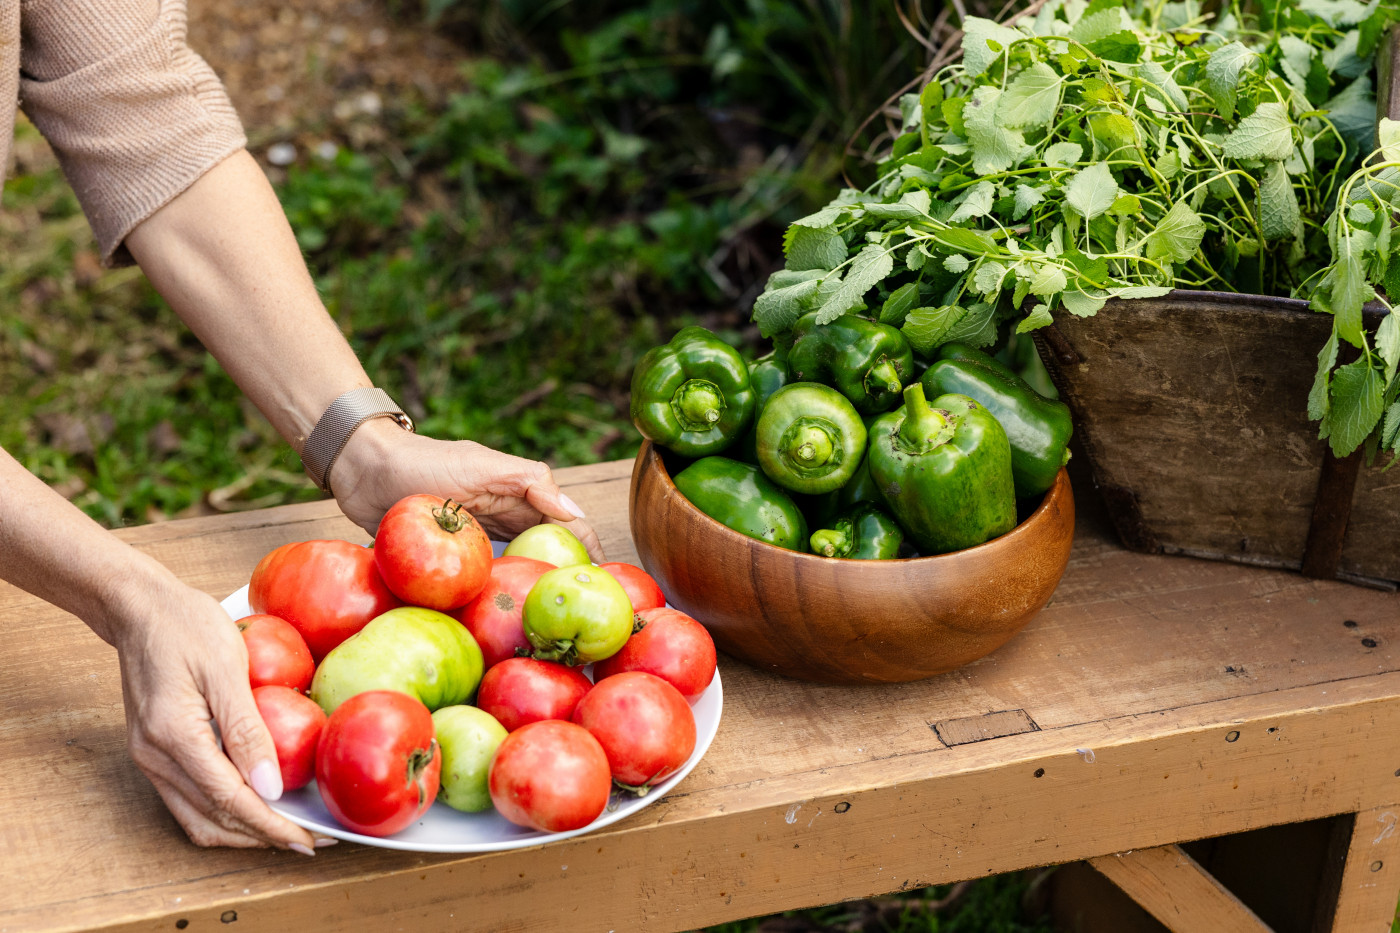
Before you start cutting, check for fruit. Even when plants look rough, they often hide stragglers. Some might be fully ripe; others might be firm and green. If you don't want to toss them in the compost, then go ahead and enjoy your last harvest!
Ideas for using unripe tomatoes:
- Let them ripen indoors on a sunny windowsill or inside a paper bag with a banana.
- Slice them for fried green tomatoes.
- Make a tangy green tomato salsa or chutney.
- Pickle them for crunchy snacks.
I’ve salvaged bowls of green tomatoes on cleanup day, and it always feels like one last surprise gift from the summer garden.

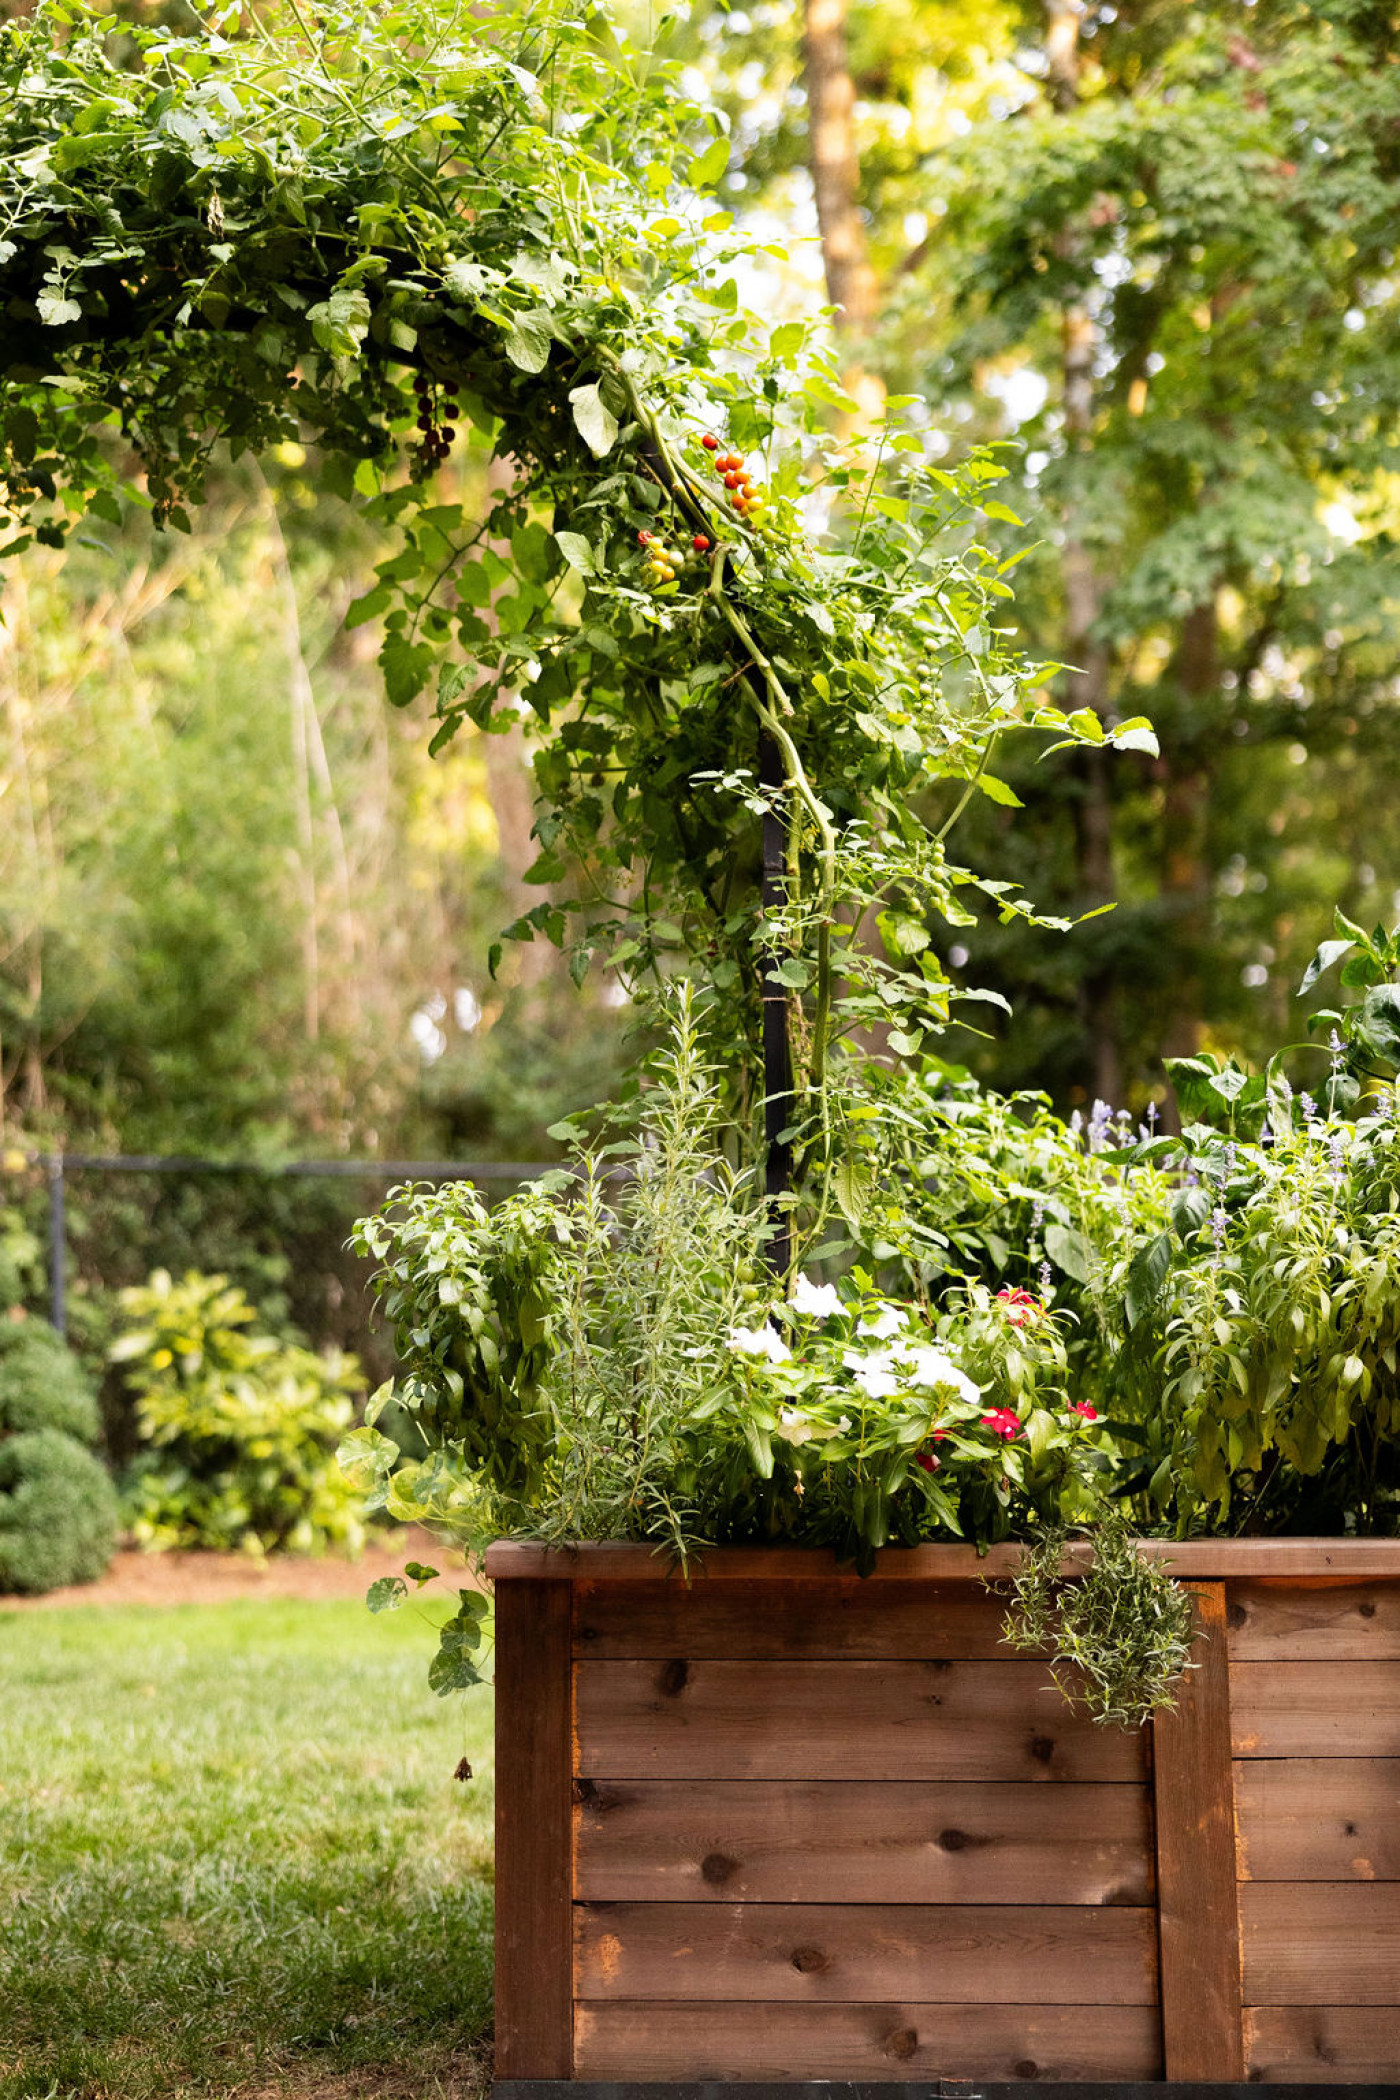
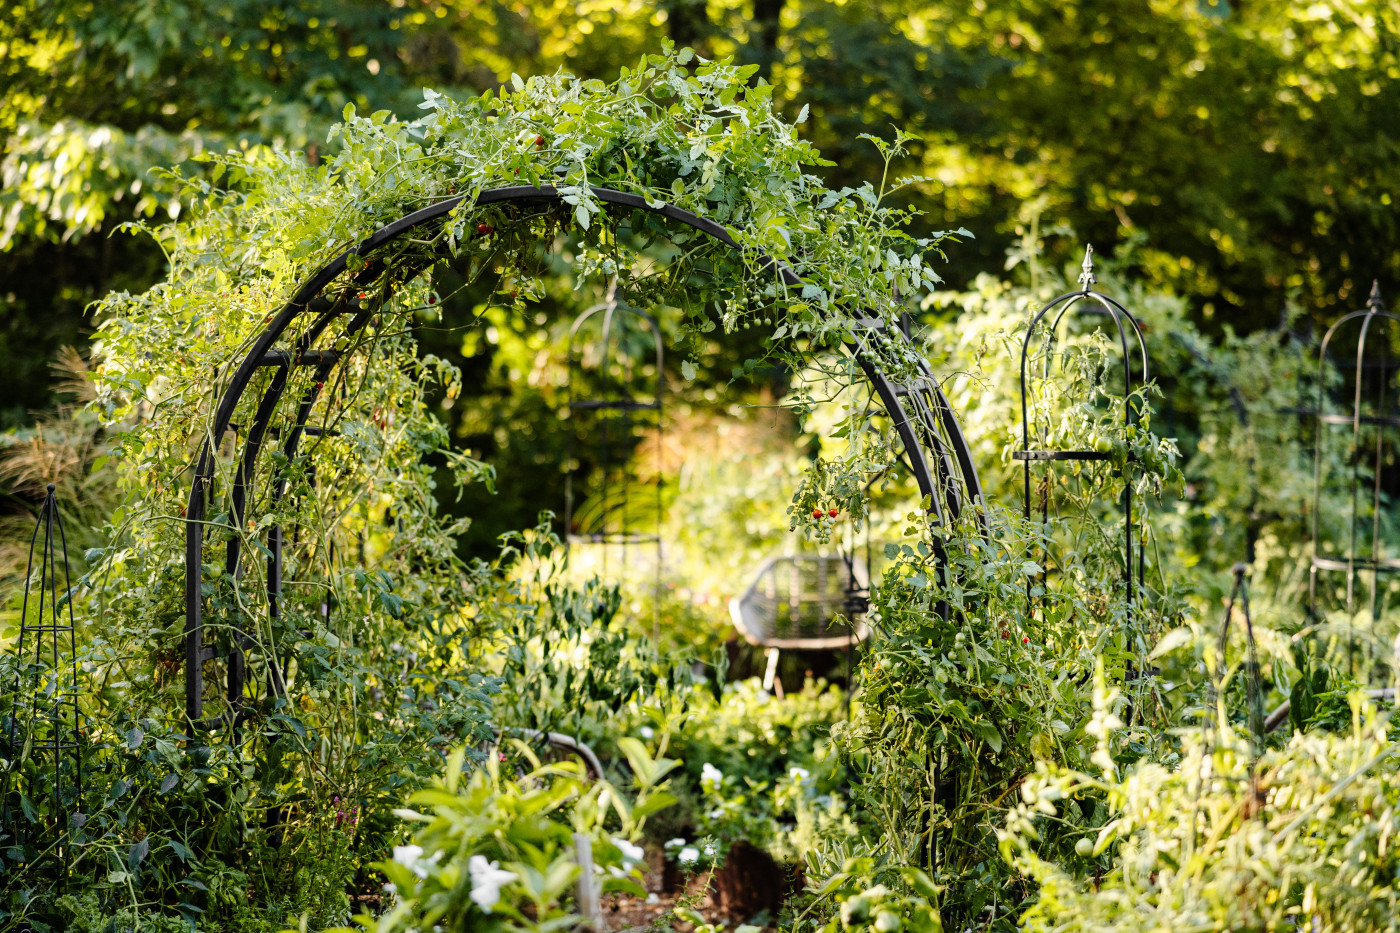
Method One: Removing Tomatoes from a Trellis
I grow indeterminate tomatoes that can climb like wild things. Years ago, I tried keeping them in cages. By midsummer, those cages collapsed under the weight, and I realized I needed something sturdier. That’s when I discovered arch trellises.
Funny story: once, I ordered custom arches to match a client’s house. When they arrived, they weren’t what I’d designed, just simple half-circles. I sent them back, but later I called the company to see if they still had the “mistake arches.” They did, and I ended up buying them for myself as a birthday present. Those arches became my signature tomato setup, all because of an error.
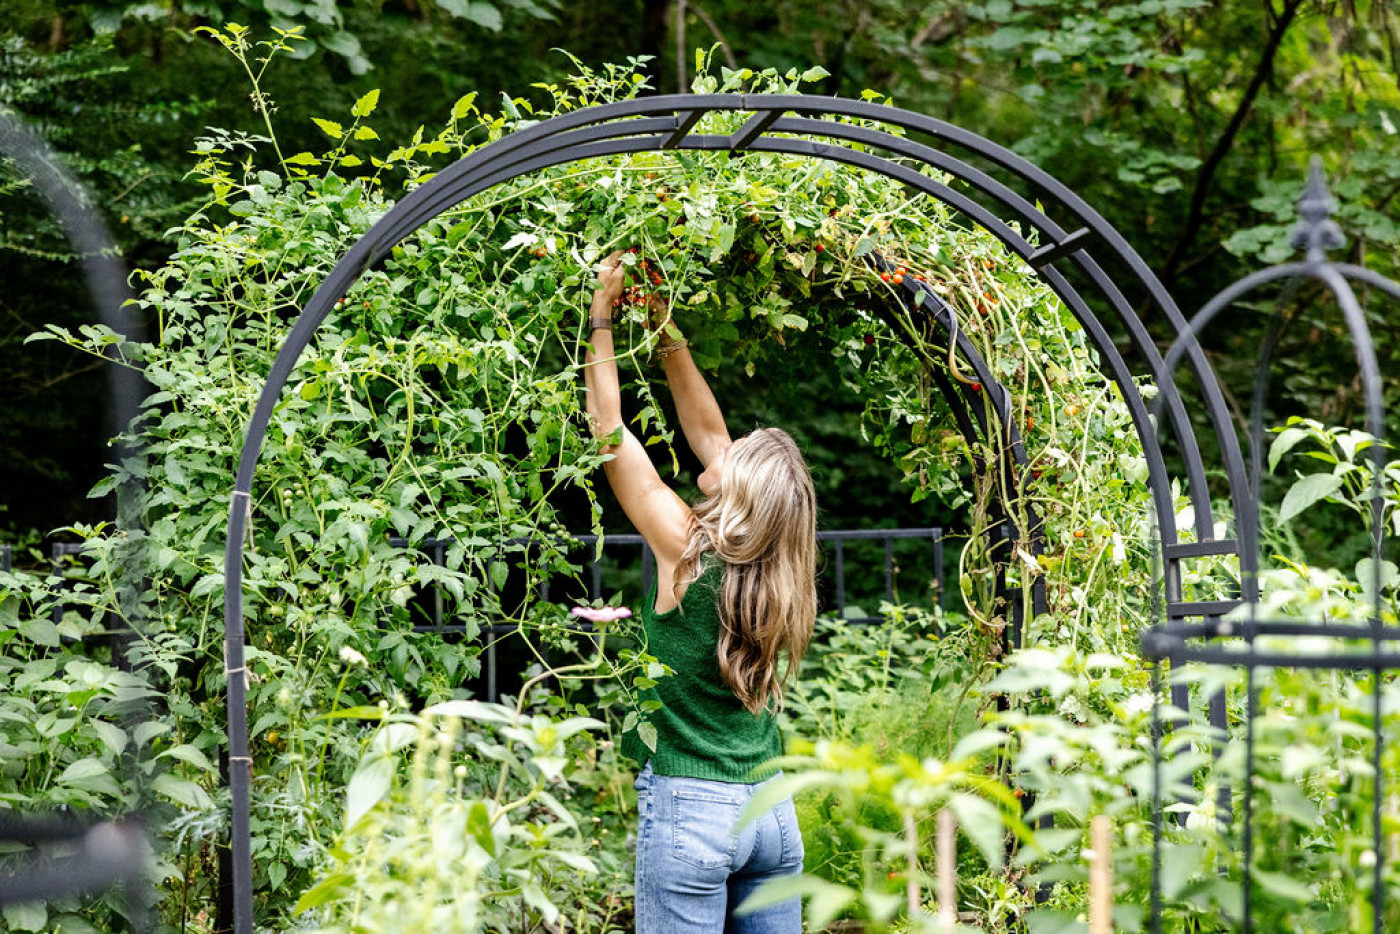
How to remove tomatoes from a trellis:
- Start with pruners. Snip vines in a few strategic places so they’re easier to handle. Make several cuts at the base near where the plant goes into the soil. Don’t try to wrestle the whole plant at once.
- Work top to bottom. Carefully pull down sections of vine, untangling them from the arch. It feels a little like peeling off layers.
- Pile as you go. I make a compost pile nearby or spread a tarp on the ground. Drooping vines are messy, and having a landing spot keeps you from tripping.
- Clean the trellis. When all the plants are gone, wash or brush off any stuck-on debris. I like to leave my arches looking fresh and ready for fall peas.
One year, I actually timed myself and laughed when I realized it only took about 30 minutes to clear an entire trellis I’d been dreading for weeks. The garden looked instantly brighter and more open. Cleaning up the trellises allowed new sunlight to stream down on the plants underneath.

Method Two: Removing Tomatoes from Cages or Stakes
Not every garden has arches. Some tomatoes grow in simple cages or are tied to wooden stakes. Cleanup here has its own rhythm.
How to remove tomatoes from cages or stakes:
- Trim first. Use pruners to cut stems at ground level. I often cut large vines into smaller chunks for easier handling.
- Loosen ties. If you used twine or clips, remove them as you go. I toss twine in the trash and reuse clips.
- Lift the cage or stake. Once the plant is cut, gently wiggle the support out of the soil. I often find roots clinging to it, so go slowly.
- Shake off the soil. Tap the bottom of the cage or stake to release dirt and roots.
- Compost or dispose. If plants were diseased, I don’t compost them; I send them to the trash can.
When I used cages, I once grew four tomato plants that turned into a monster jungle. By cleanup day, the cages were leaning like tired old men, and I couldn’t believe all that tangled chaos had started from just a handful of seedlings. It was embarrassing and hilarious all at once.

Step Two: Decide Where the Debris Goes
I’m a big believer in composting. Healthy tomato plants can be chopped up and added to the pile. Diseased plants, however, need to go in the trash or municipal yard waste. Trust me, nothing feels worse than spreading compost that’s full of blight spores.
If I have a huge haul, I’ll spread some of the vines in a back corner of the yard to dry out before composting. It lightens the load and makes the pile more manageable.

Step Three: Wash and Reset Supports
This step makes future me so grateful. I wash trellises, cages, or stakes before storing or reusing them. A quick spray with the hose, sometimes a scrub brush if they’re especially dirty, keeps them from carrying pests or diseases into the next season.
Then I either:
- Reuse the trellis right away for a cool-season crop like peas, or
- Stack cages and stakes neatly in the shed.
Clean supports are like a blank canvas for the next chapter of the garden.

Step Four: Prep the Beds for What’s Next
With tomatoes gone, the soil feels bare and ready. Here’s what I do:
- Clear leftover debris. Small stems and leaves can harbor pests, and I like the look of a clean garden anyway.
- Add compost. A fresh layer builds soil health and replaces what tomatoes consumed. This step should be done at the beginning of each new season.
- Plan a cool-season crop. In September, I often plant arugula, spinach, radishes, or peas. It’s amazing how quickly beds come back to life once you clear them.

Step Five: Enjoy the Feeling
Honestly, the hardest part of garden cleanup isn’t the physical work, it’s the emotional goodbye. Tomatoes stick around for months, and by the end of summer, they feel like part of the family. Saying farewell feels bittersweet.
But here’s what I’ve learned: once the old vines are gone, the garden breathes again. The light shifts, the air feels clearer, and suddenly I can imagine fresh greens and fall crops. It’s a reminder that gardening is not about holding on; it’s about flowing with the seasons.
So here’s to moving forward, one task at a time. The garden is always ready for its next chapter, and now, so are we.
Click the image below to save this article for later!