Transition Your Garden Gradually from Summer to Fall
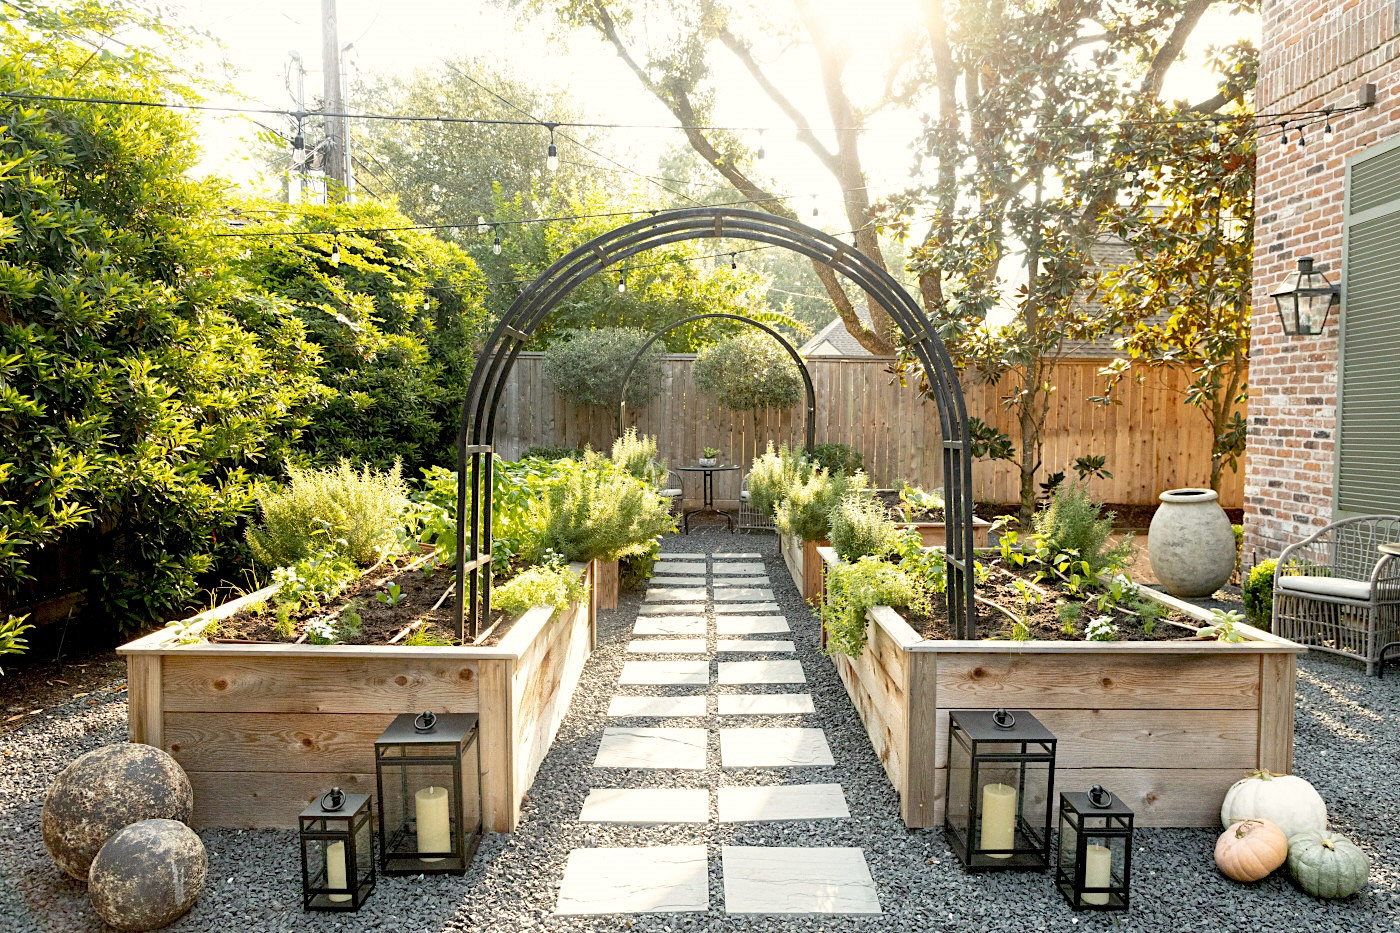
Picture a raised garden bed filled with gorgeous tomato plants, eggplants, and herbs that have been growing all summer. As you tend this bed, you notice the days are growing shorter and there's a sudden chill in the air. Fall is on its way.
It's time to plant things that will grow better in the cool autumn months, but let's say you're not ready to get rid of your tomato plants. Your eggplants need a couple more weeks to mature, and you're still harvesting regularly from your basil. How then do you get your garden ready for fall without just ripping up your summer plants and starting completely over?
At a Glance
- Harvest as many leaves and pieces of fruit as you can from your summer garden plants as they finish up their peak productivity for the season; take extra harvests from herbs to dry for winter.
- Remove any plants that are finishing up, and prepare the soil in the newly empty spaces for your fall plants.
- Add seeds and plants for your fall garden continuously as you harvest from and pull summer plants.
What's Wrong with Starting Over Each Season?
I'm usually all for "out with the old, in with the new". But...
If you rip everything out of your garden at the end of each growing season, you have to wait months for the next plants to grow in. You won't have anything to harvest in the meantime.
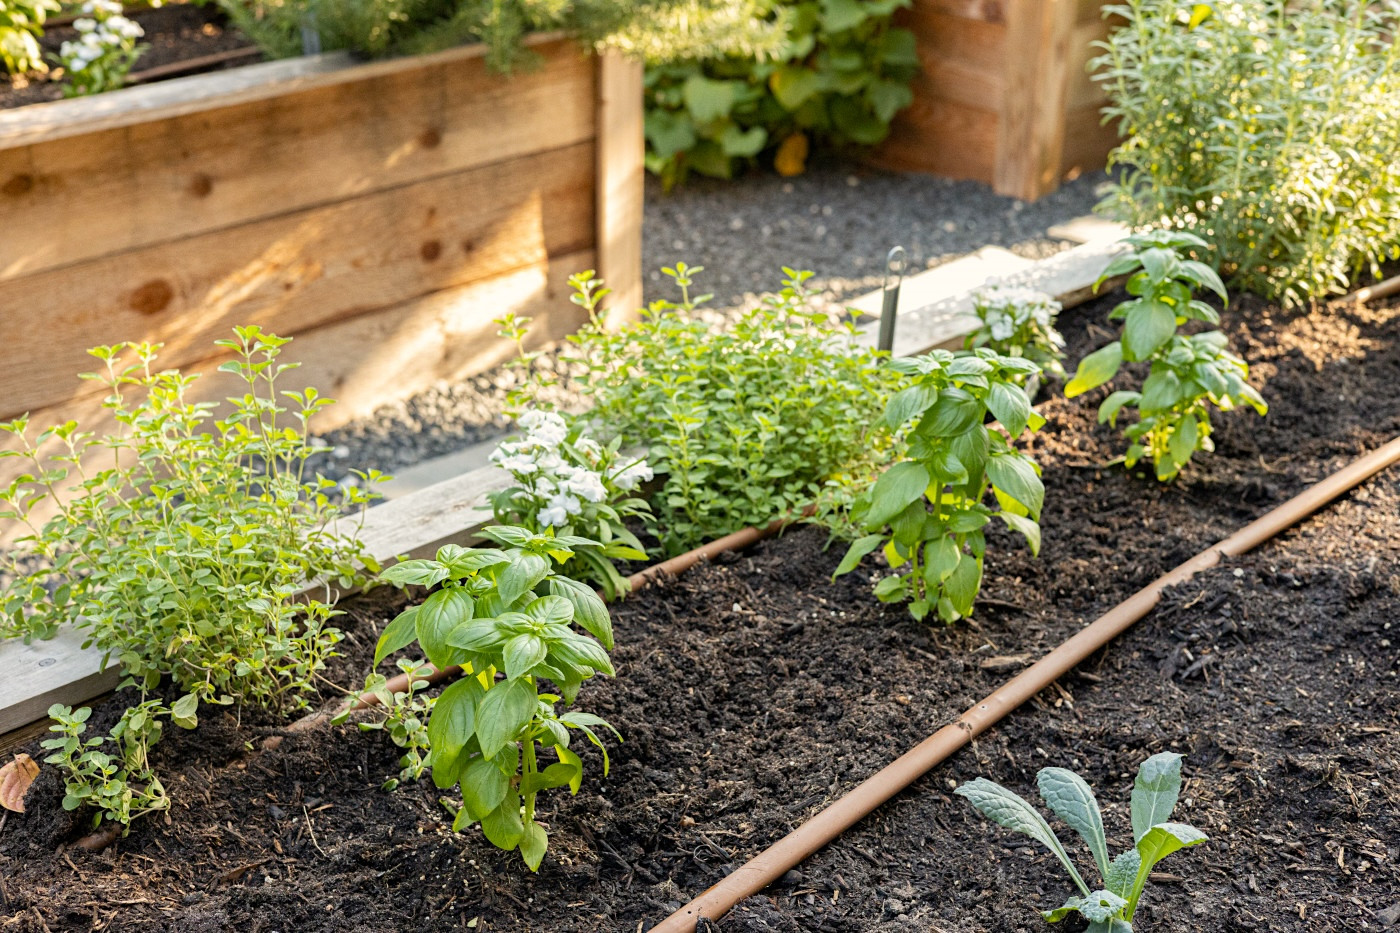
That's why it's better to view each season's end as a gradual turning over instead of a clean sweep. Here's what that can look like: During the months of September and October, you're harvesting from last season's plants as they finish up their time in the garden, you're tending plants you've recently added, and you're planting things that will do well in your upcoming growing season.
If you're transitioning from a warm season to a cool season, as many of us are, you can enjoy several more weeks of harvesting from plants like cucumbers and basil while your kale and broccoli are already getting established for their growing season.
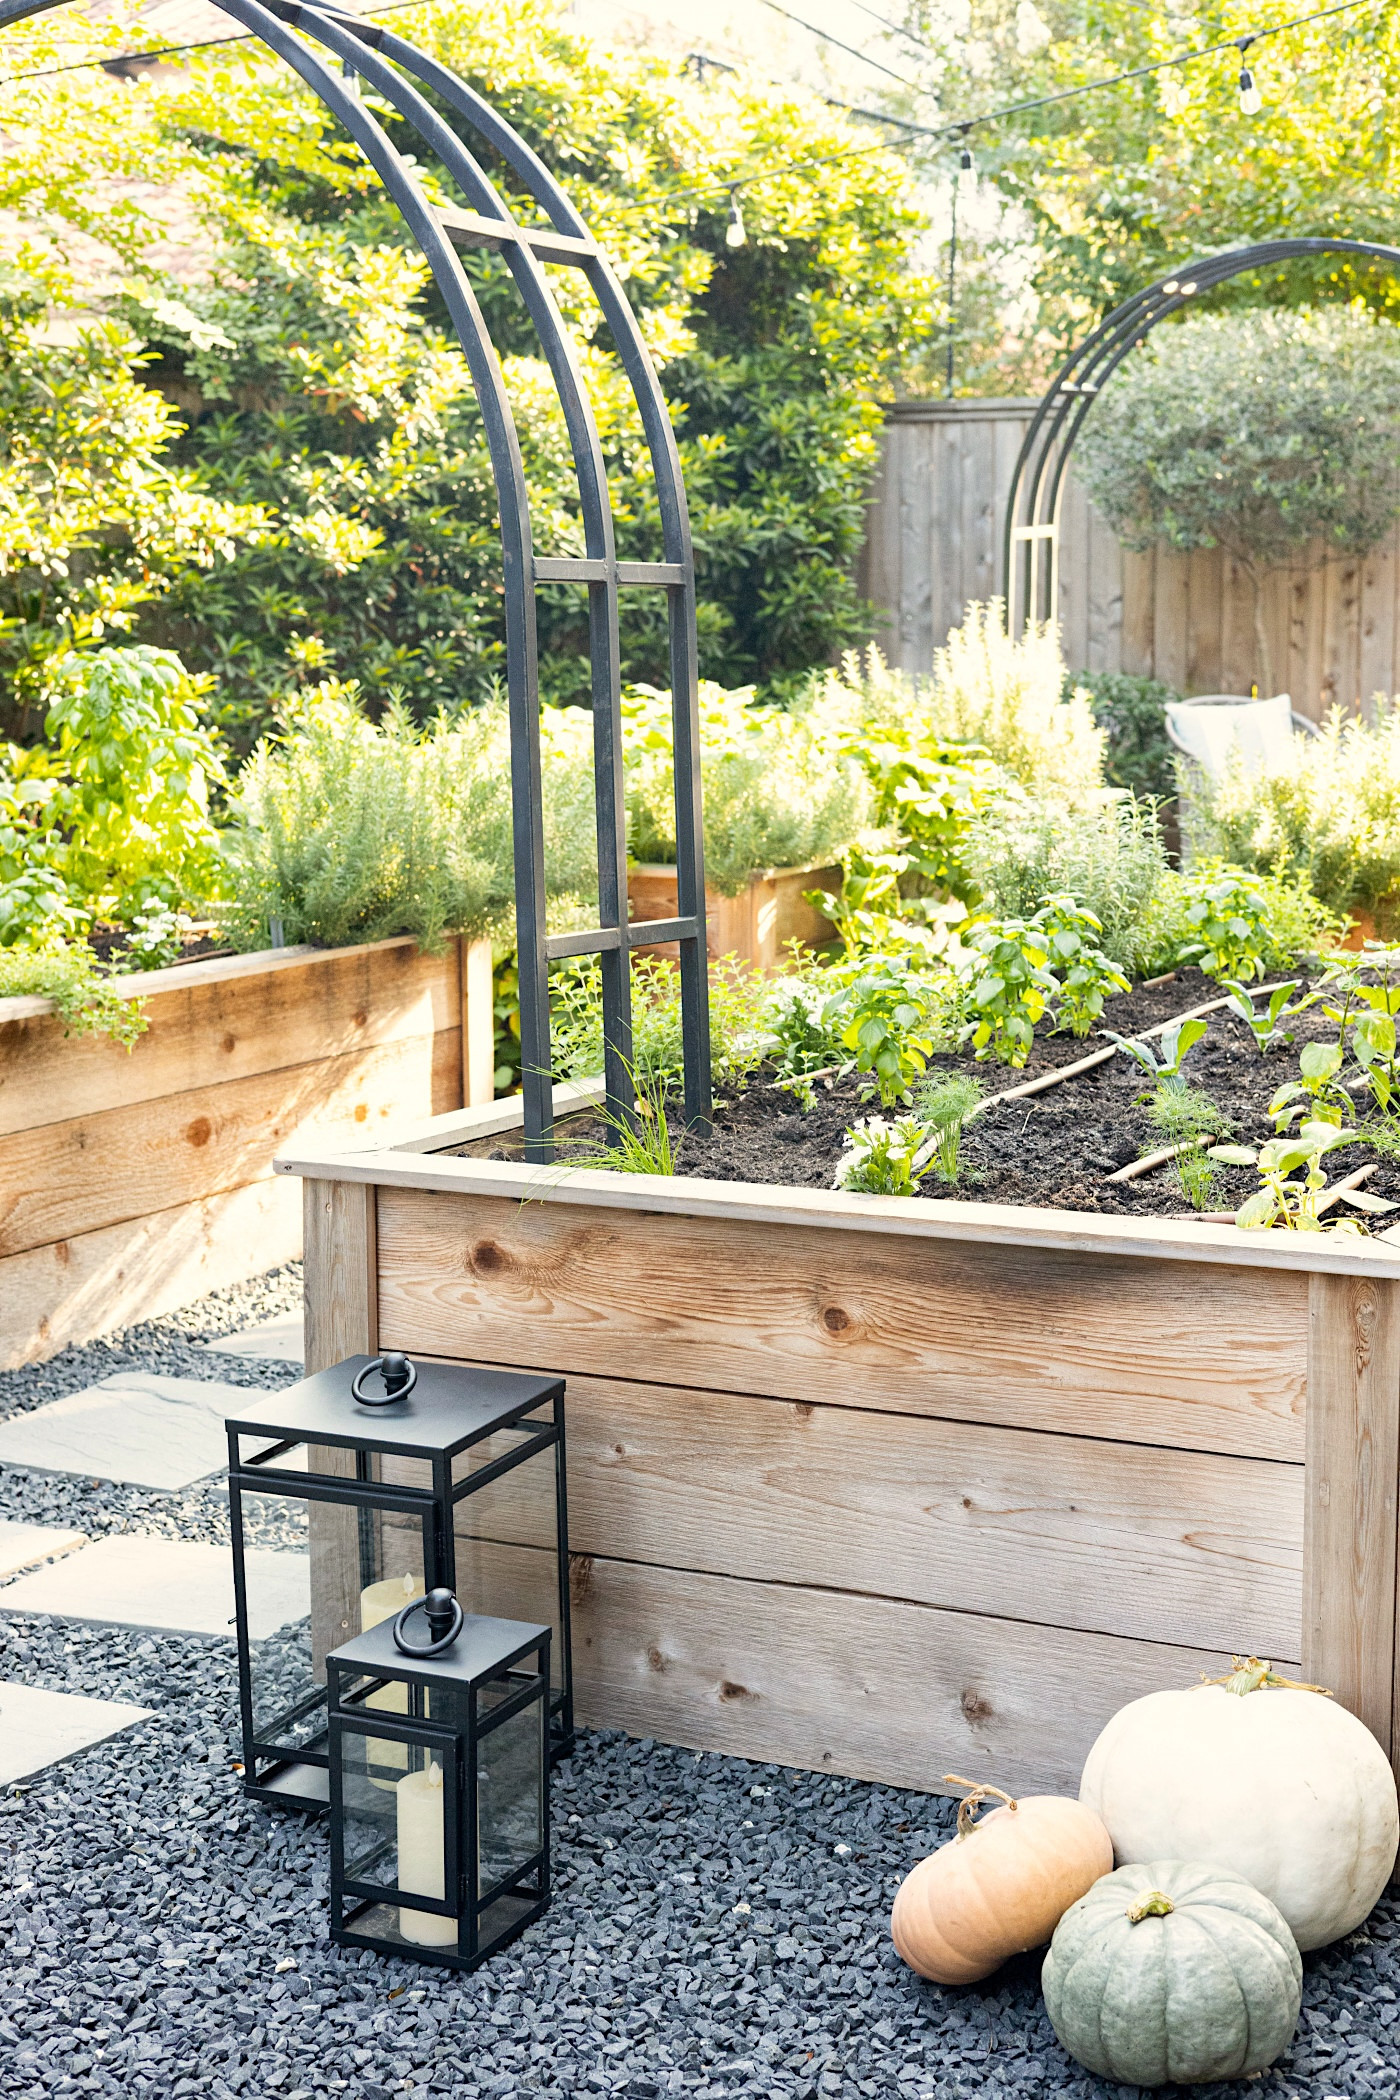
This kind of transition can be tricky, so I'll walk you through the steps I follow to refresh and replant a garden that's already filled with plants, all while keeping the beds as full and healthy as possible. (By the way, adding pumpkins at the foot of your bed to get you in the fall spirit is strongly encouraged!)
5 Steps to Transition a Garden Bed from Summer to Fall
Step 1: Harvest from Last Season's Plants
Harvest as many leaves and pieces of fruit as you can. For vining plants, this takes the pressure off the plant to support that ripe fruit so it can finish up forming the last of its fruits before the end of its growing season. Plants like cherry tomatoes and peppers, plus all the herbs, will continue producing until your first frost of the season.
These warm season plants will, however, slow their production with fewer hours of sunlight and cooler temps. Grab as many harvests as you can and enjoy your last fresh tastes of summer.
Go ahead and remove any plants that are bolting (going to seed), struggling, or just not producing well for you.
Pro Tip:
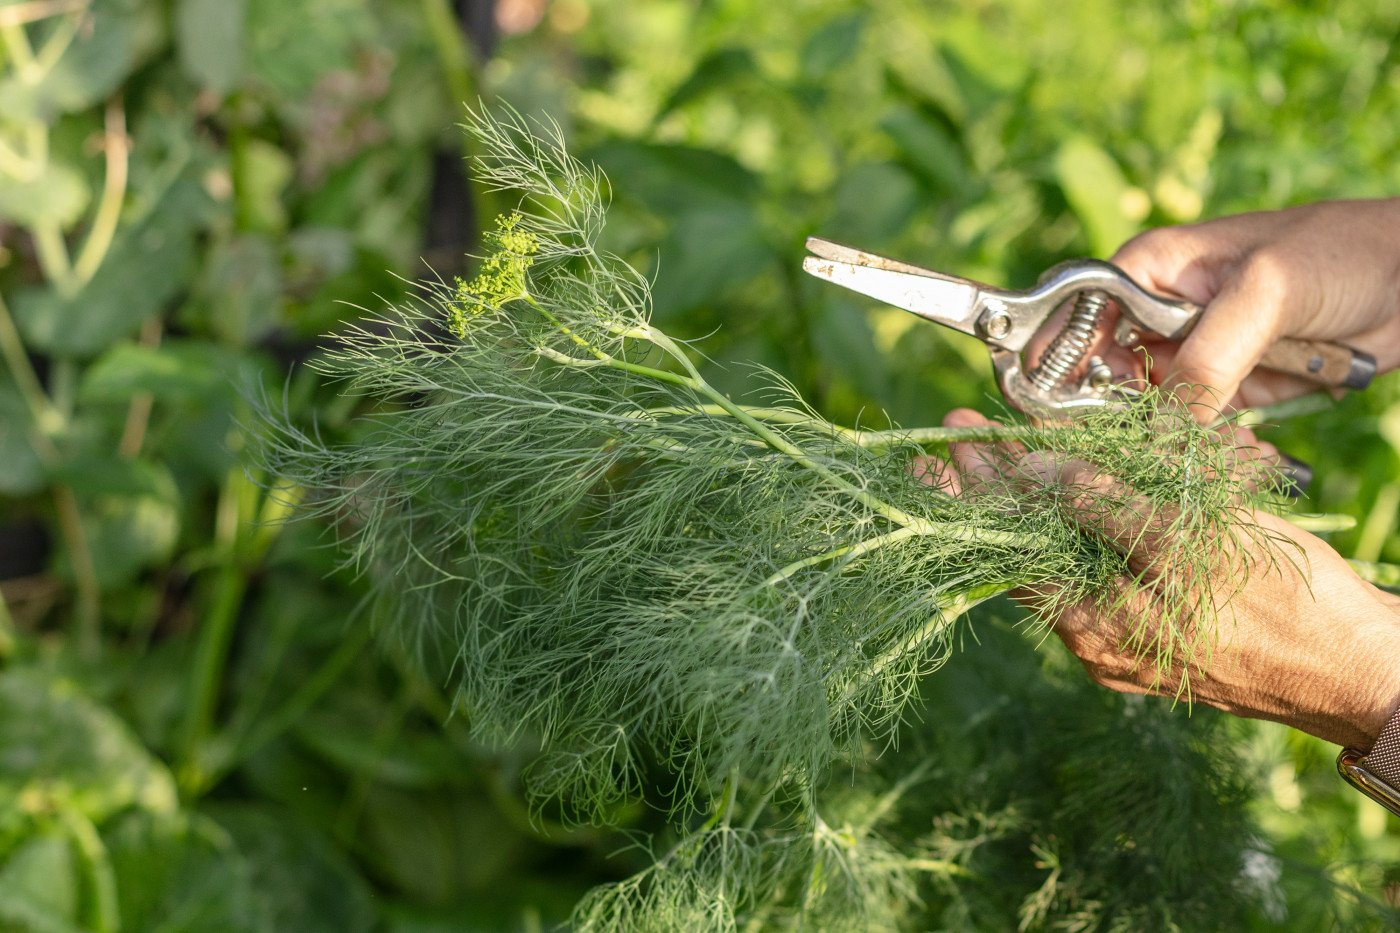
The best way to remove plants without pulling them up, roots and all, and upsetting their neighbors, is to cut the base of the plant just above the soil line with a pair of pruners or the serrated edge of a hori hori knife.
Step 2: Prune
Keep your pruners that you used in the first step handy. It's time to cut back perennial herbs and flowers that you want to keep. Prune the older, lower leaves from the rest of the plants still growing in the garden. This creates lots of new space for the next season's plants to be planted.
With herbs, pruning is really just another form of harvesting. Dry these herbs so that you can enjoy them all winter long. Save your basil, cilantro, and dill in oil and freeze.
Step 3: Clear the Soil
The next step is to pull any weeds in the raised bed and remove dead leaves and other debris from the soil surface, either with your hand or a small rake. You should have some empty spots in the garden after all that harvesting, removing, and pruning, so this is the perfect time to clear the garden space of anything else that's not wanted.
Healthy-looking leaves and plants removed from the garden space can be tossed into your compost bin. Anything that shows signs of disease should be bagged up and put in your trash.
Step 4: Turn the Soil
This step is not really needed if your soil is already nice and loose. Sometimes the soil can become compacted over a growing season, and compacted soil isn't able to absorb water anymore. It's also not ideal for supporting root crops like radishes, carrots, and beets, which are some of my favorite fall plants to grow.
If your soil surface is like cement, use a hori hori or a trowel to loosen up the top 6 inches or so. Just insert your gardening tool into the soil, twist, and then pull up. You don't have to flip everything over. You're not tilling it. The idea is just to add more air pockets in the soil for the roots of your new plants.
Step 5: Add Compost
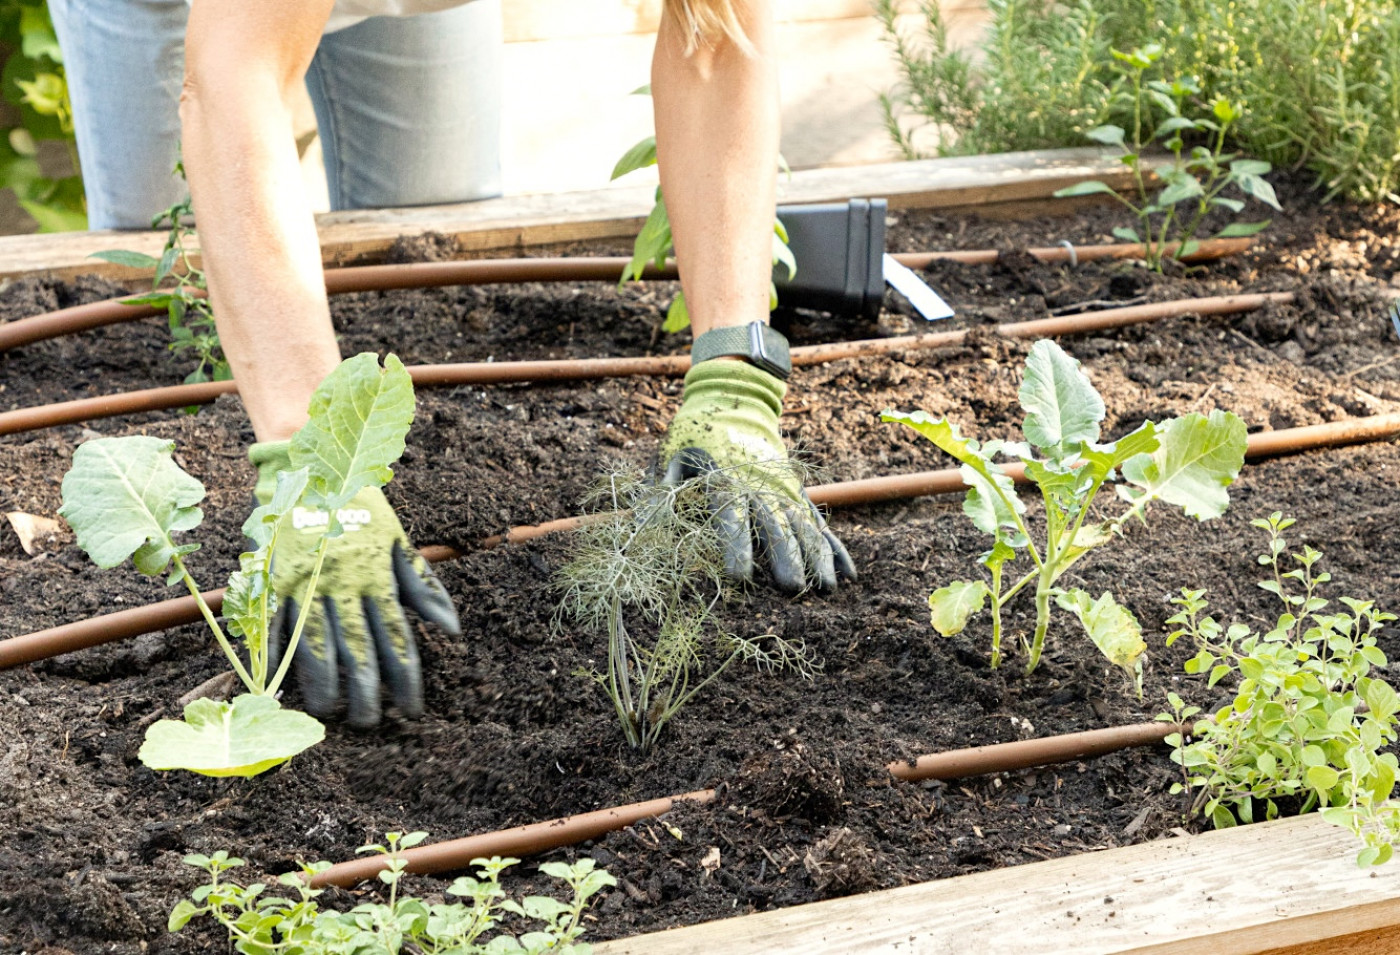
The last step is to add some soil amendments. I recommend sticking with something simple but nutrient-rich like mushroom compost. Spread a 1- to 3-inch layer of compost over the top of the garden bed—no need to mix it in. If you have plants already growing tightly together in the space, avoid just dumping out a bag of compost and getting their leaves dirty. I add almost all my compost by hand.
This compost will ensure there are enough nutrients in the soil for the next set of plants and support the plants already growing in your garden.
Now You're Ready to Add Next Season's Plants
All right, housekeeping (or I guess, garden keeping) is over. You're ready to transplant and sow seeds for next season's planting.
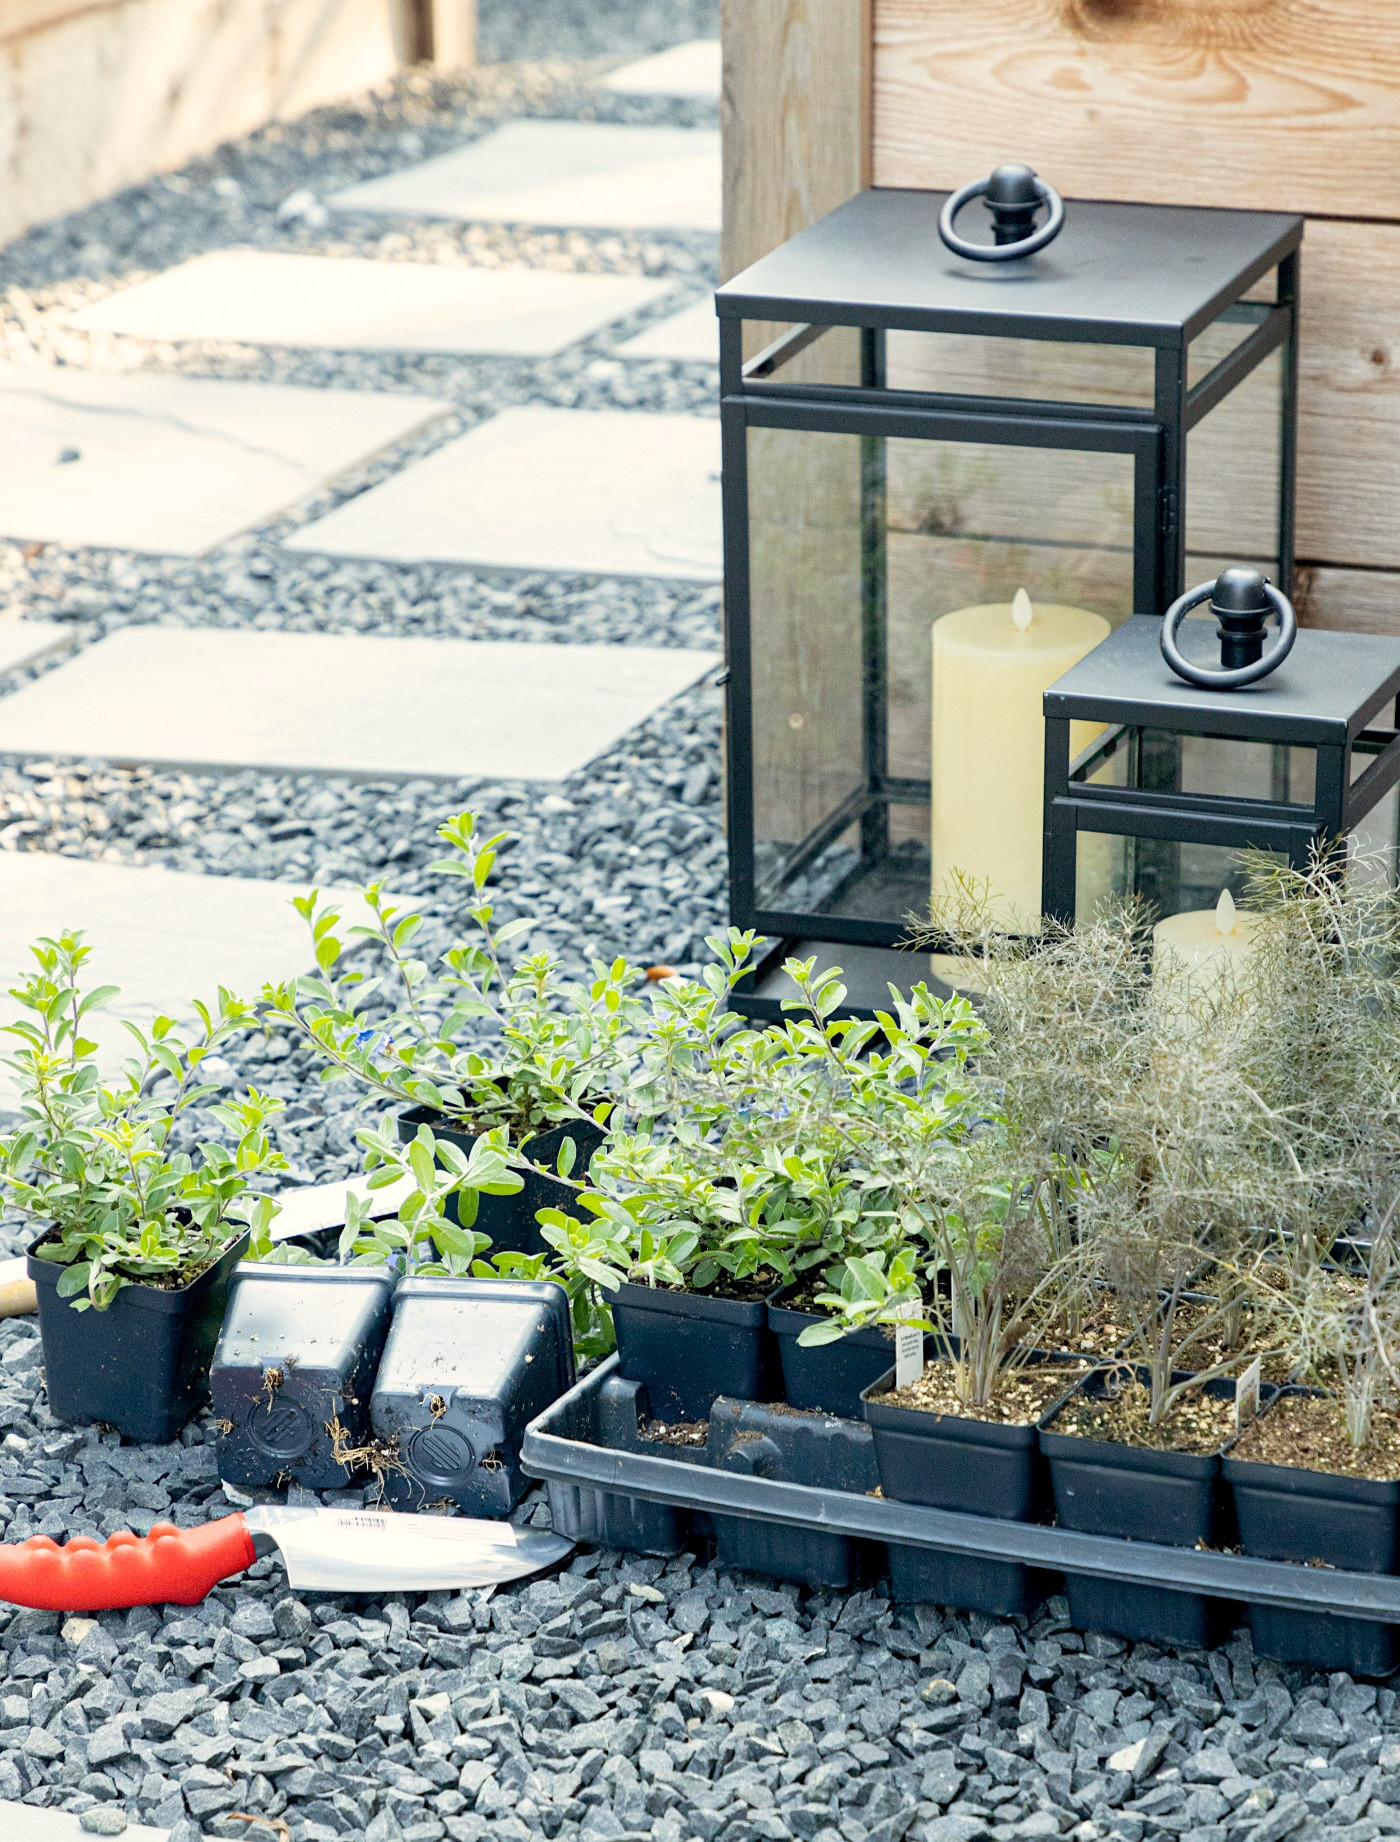
Plants that love the cool season and can handle a touch of frost include cabbage, kale, radishes, spinach, Swiss chard, and carrots. This is also a great time to grow cool season herbs like dill and cilantro. If you're looking to add some fall color, my favorite flowers for the cool season are calendula, pansies, dianthus, and snapdragons.
As the fall growing season progresses, pull any remaining plants from summer out of the garden as they fade.
This is how you transition your garden for the next season without wiping your garden beds clear and starting all over.
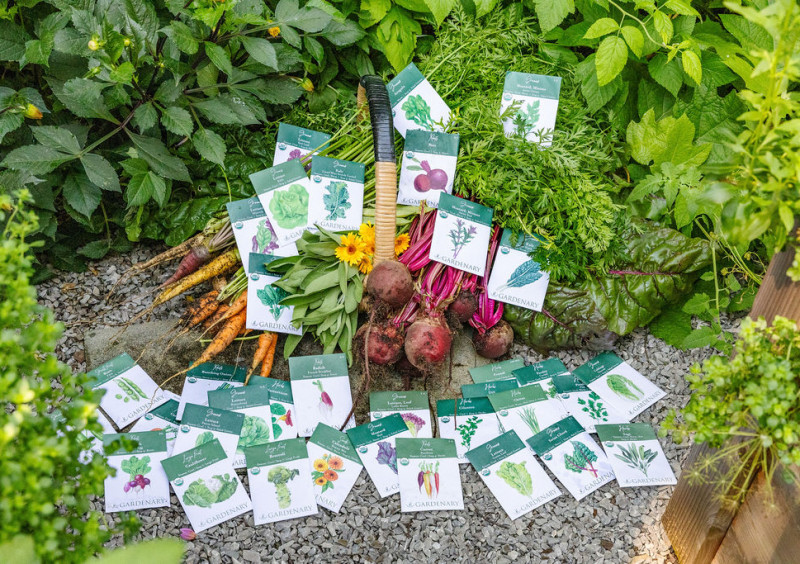
Gardenary's Fall Seed Collection
Get 34 Organic Fall Garden Seeds—Plus Planting Plans & 300 Pages of Growing Guides to Harvest More This Season!
Fall Gardening Resources
More ways to make the most of your garden this fall:
- Grab our Cool Season Garden Planner (this is perfect for fall for those of you in cooler climates and will take you through the winter months if you're in a warmer climate).
- Shop our Fall Seed Collection to get our curated batch of the best herbs, leafy greens, and veggies to grow in the fall.
- Grab our Fall Planting & Growing Guide to get planting, tending, and harvesting guides for 25 fall plants, plus 11 done-for-you planting plans.
- Save your seat for our free Fall Garden Kickoff Workshop.
Whatever you grow in your garden, don't grow alone! We're here to help you have confidence and find success in the garden this fall.
Learn More About Fall Gardening
