At a Glance
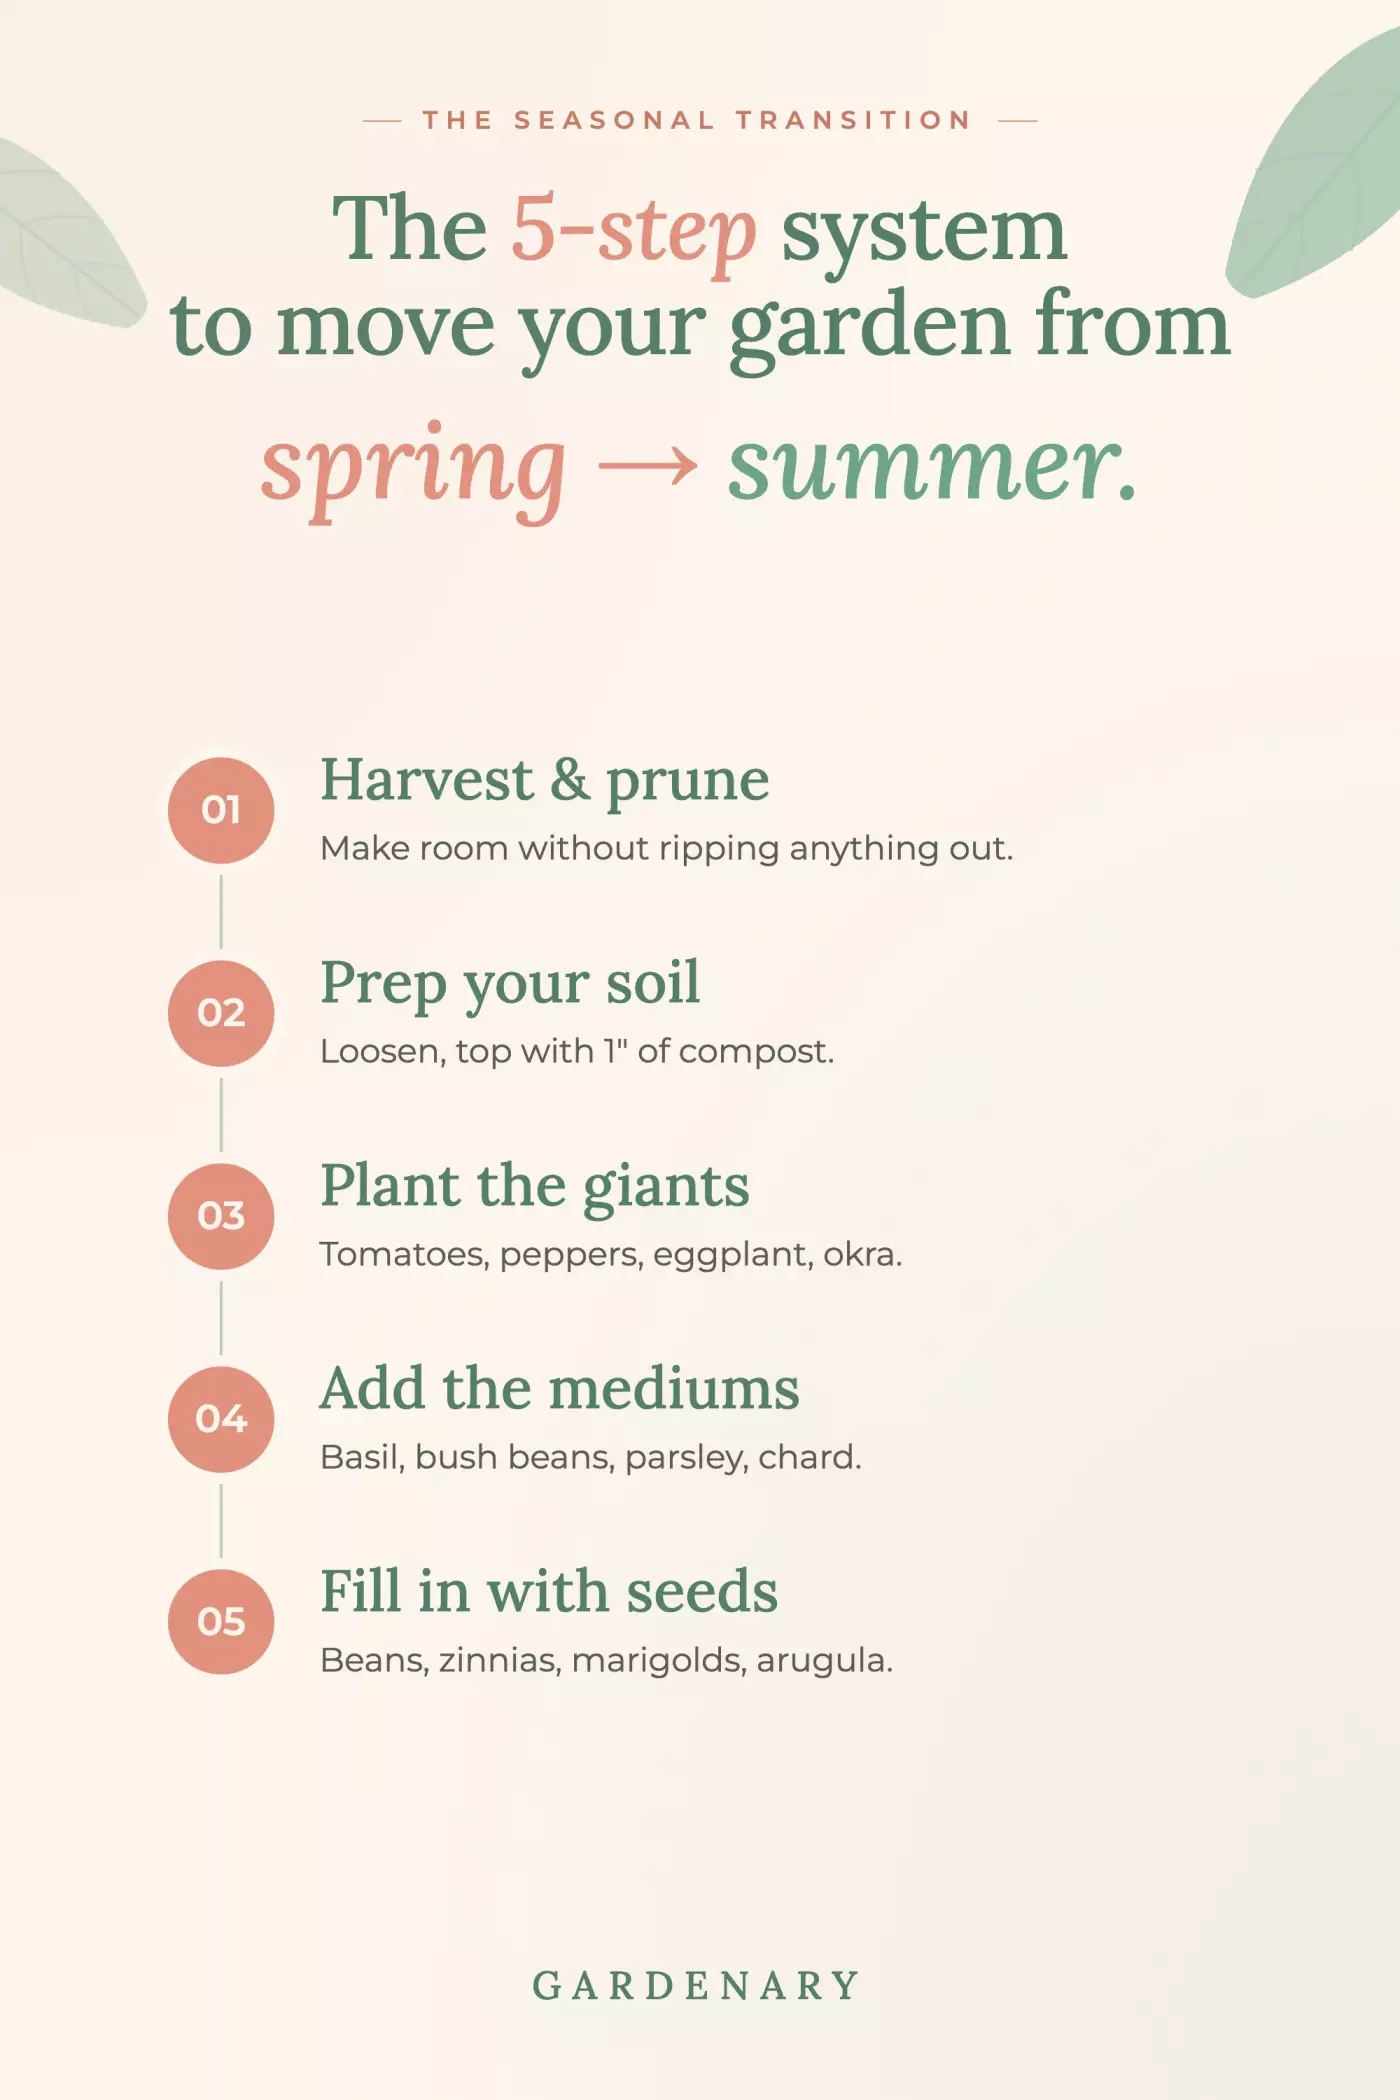
- This 5-step system teaches you to plant at least three times per year so your garden produces almost every month.
- You don't need to tear out your spring garden to add summer plants — a slow, staggered transition protects your soil and your new seedlings.
- Each step follows a large-to-small planting order that mimics how nature layers plants, making your garden more productive and more beautiful.

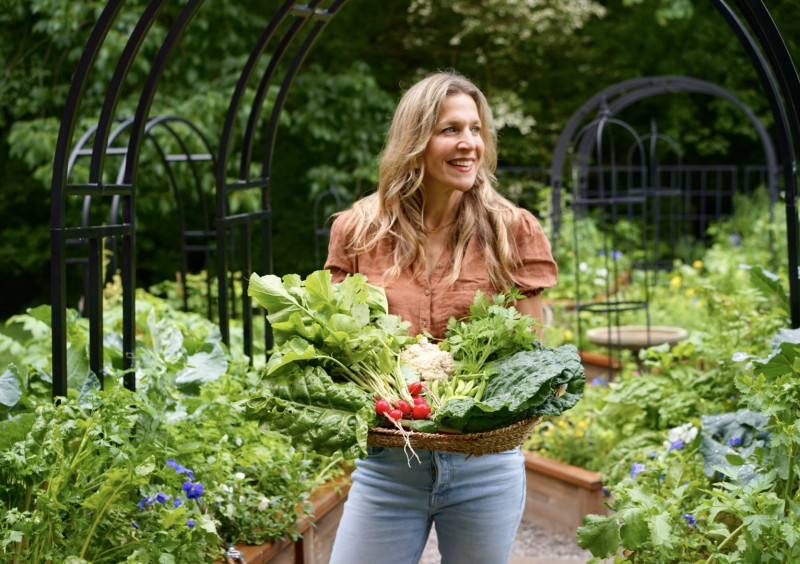
By Nicole Johnsey Burke: Founder of Gardenary and Author of Kitchen Garden Revival
Most people plant their gardens once a year. I plant mine at least three times.
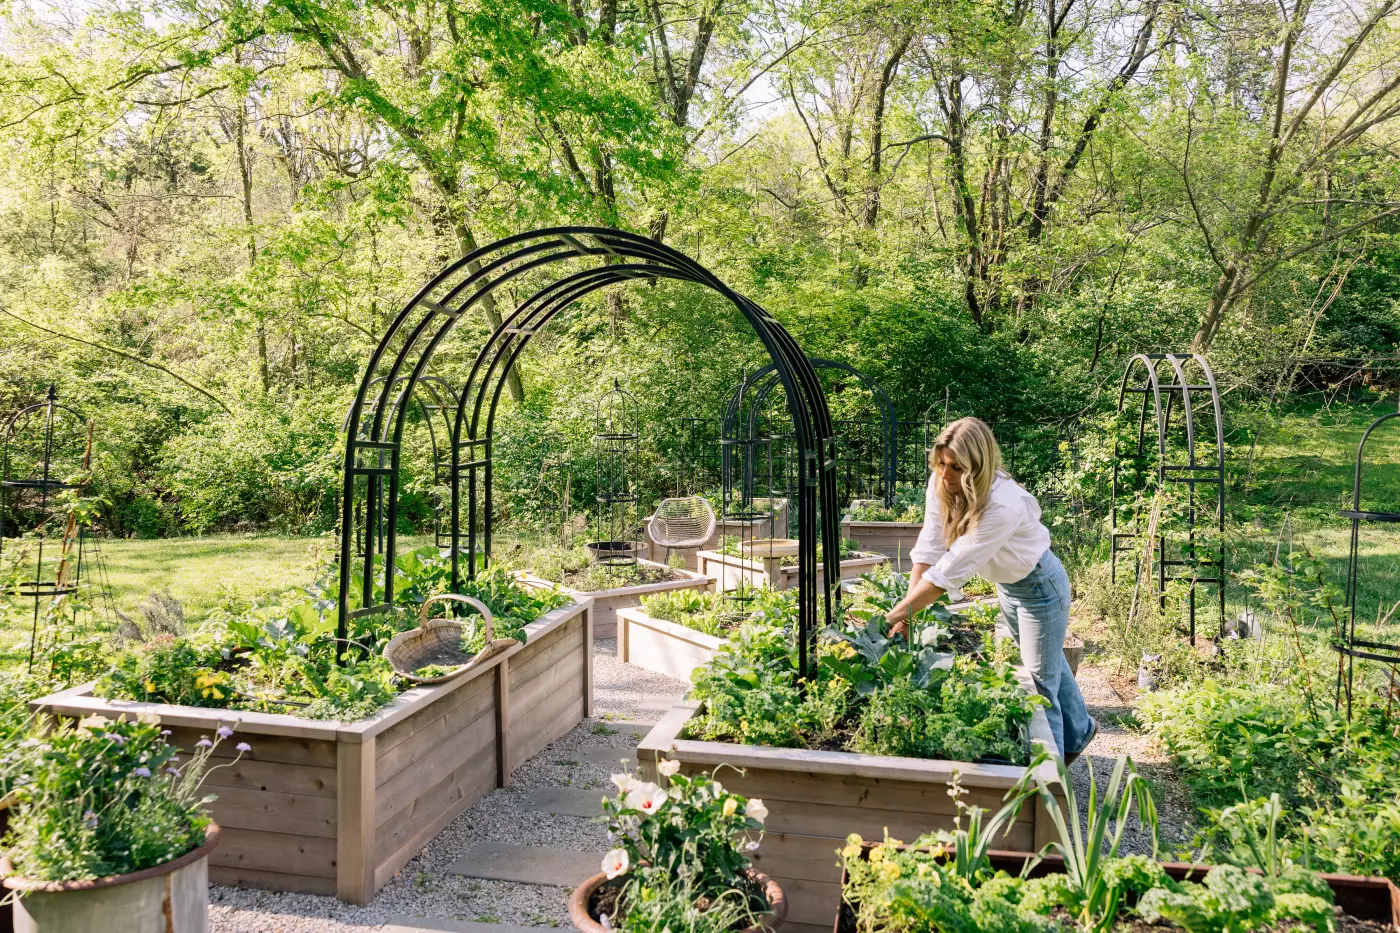
That single habit — planting in layers, season after season — is what keeps my garden producing almost every single month. It's what keeps the soil covered, the beds full, and the harvests coming. And it's what I've been teaching clients for over a decade, from Houston to Nashville to everywhere in between.
If you've ever stood at the edge of your spring garden in late April or May thinking, there is absolutely no room in here for anything new, then this article is for you. You don't need to tear everything out. You don't need to start over. You just need a system.
What "Spring Garden" and "Summer Garden" Actually Mean
Before we get into the steps, let's get clear on terms, because this matters for timing.
A spring garden is a cool-season garden. These are plants that don't mind frost — they thrive when your high temperatures range from 45 to 65°F, and there's a chance of frost in the evenings. Think lettuce, kale, snap peas, broccoli, cauliflower, carrots, and beets.
A summer garden is a warm-season garden. These plants cannot tolerate frost, not even a light one. They want high temperatures between 65 and 85°F with no frost risk at all. Think tomatoes, peppers, eggplant, cucumbers, basil, beans, and zucchini.
The transition between these two gardens is exactly what this article is about. Once your last frost date has passed and your nighttime temperatures are consistently staying above freezing, it's time to start making the shift.
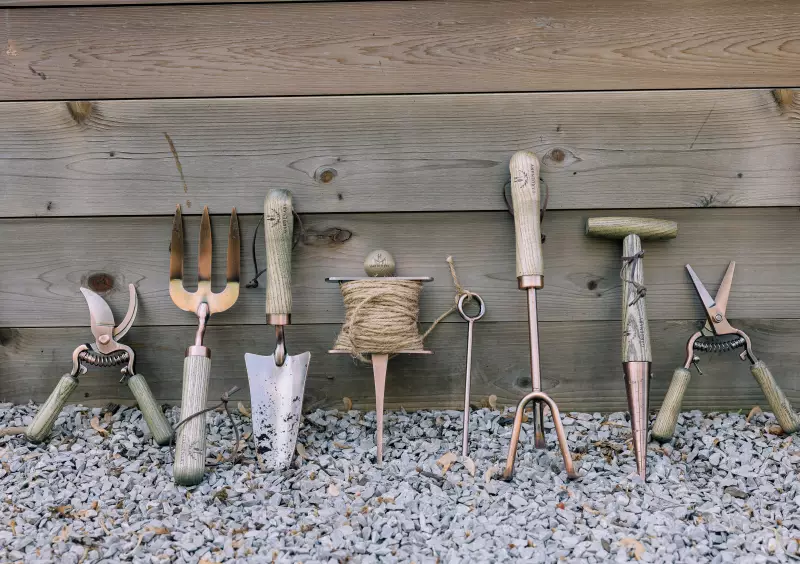
7-Piece Copper Plated Garden Tool Set
Tend your garden like a pro with our all-in-one tool package, thoughtfully curated for every kind of gardener. This essential set equips you with high-quality, durable tools to dig, plant, prune, and grow—season after season.
Step 1

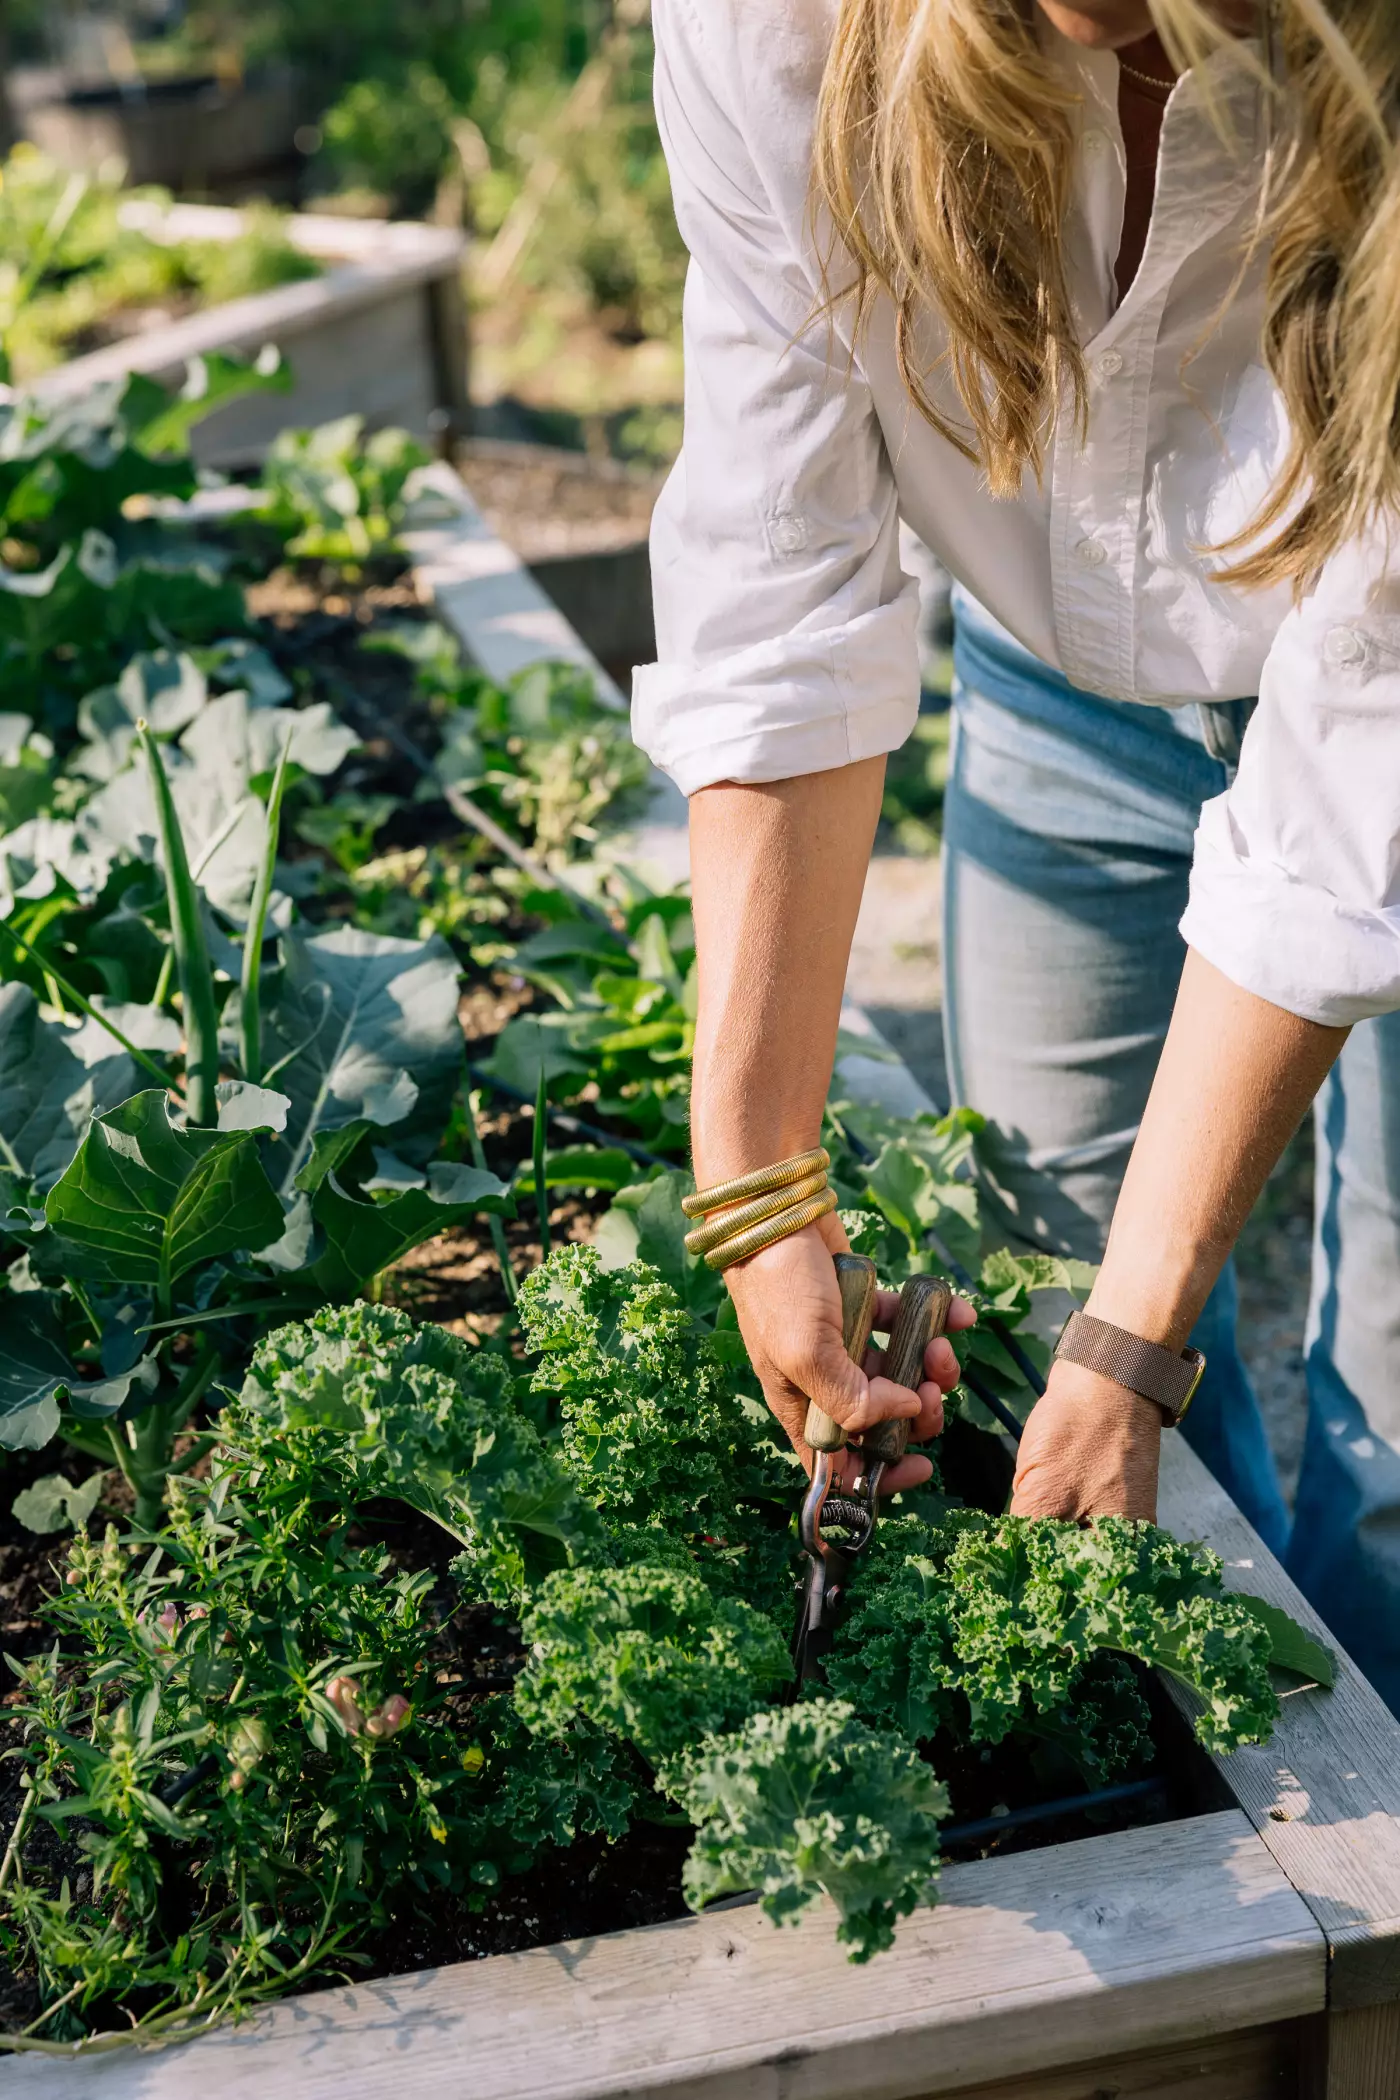
Step 1: Harvest and Prune Everything That's Ready
Before you add a single new plant to your garden, you need to make space. And the way you make space isn't by ripping things out — it's by harvesting and pruning strategically.
Walk into your spring garden and look at it with fresh eyes. Everything is probably at peak growth right now, which means it's also at peak crowding. Here's how to open it up without losing what you've grown.
Leafy greens: Cut the outer lower leaves of every lettuce, kale, arugula, and spinach plant. This opens up the canopy underneath and lets light reach the soil — which is exactly where your new summer seedlings are going to need to go. Cut for salads every single day if you can. This is not a one-time task.
Herbs: Same approach. Take the outer and lower leaves of your cilantro, dill, and parsley. They'll fill back in, and you'll have more room around them for what comes next.
Root crops: If your radishes are ready, pull them now. I love to quick-pickle mine when I've got more than I can eat fresh. For carrots and beets that still need time, prune back some of their leafy green tops to reduce the shade they're casting on neighboring plants.
Fruiting cool-season plants (broccoli, cauliflower, cabbage): These are nowhere near finished, so don't harvest them — just prune. Take your pruners and remove the outer lower leaves. What this does is open up the canopy underneath the plant so you can tuck in warm-season seedlings right below them while they continue to grow.
Once you've harvested and pruned, you'll be amazed at how much space appears.
Step 2

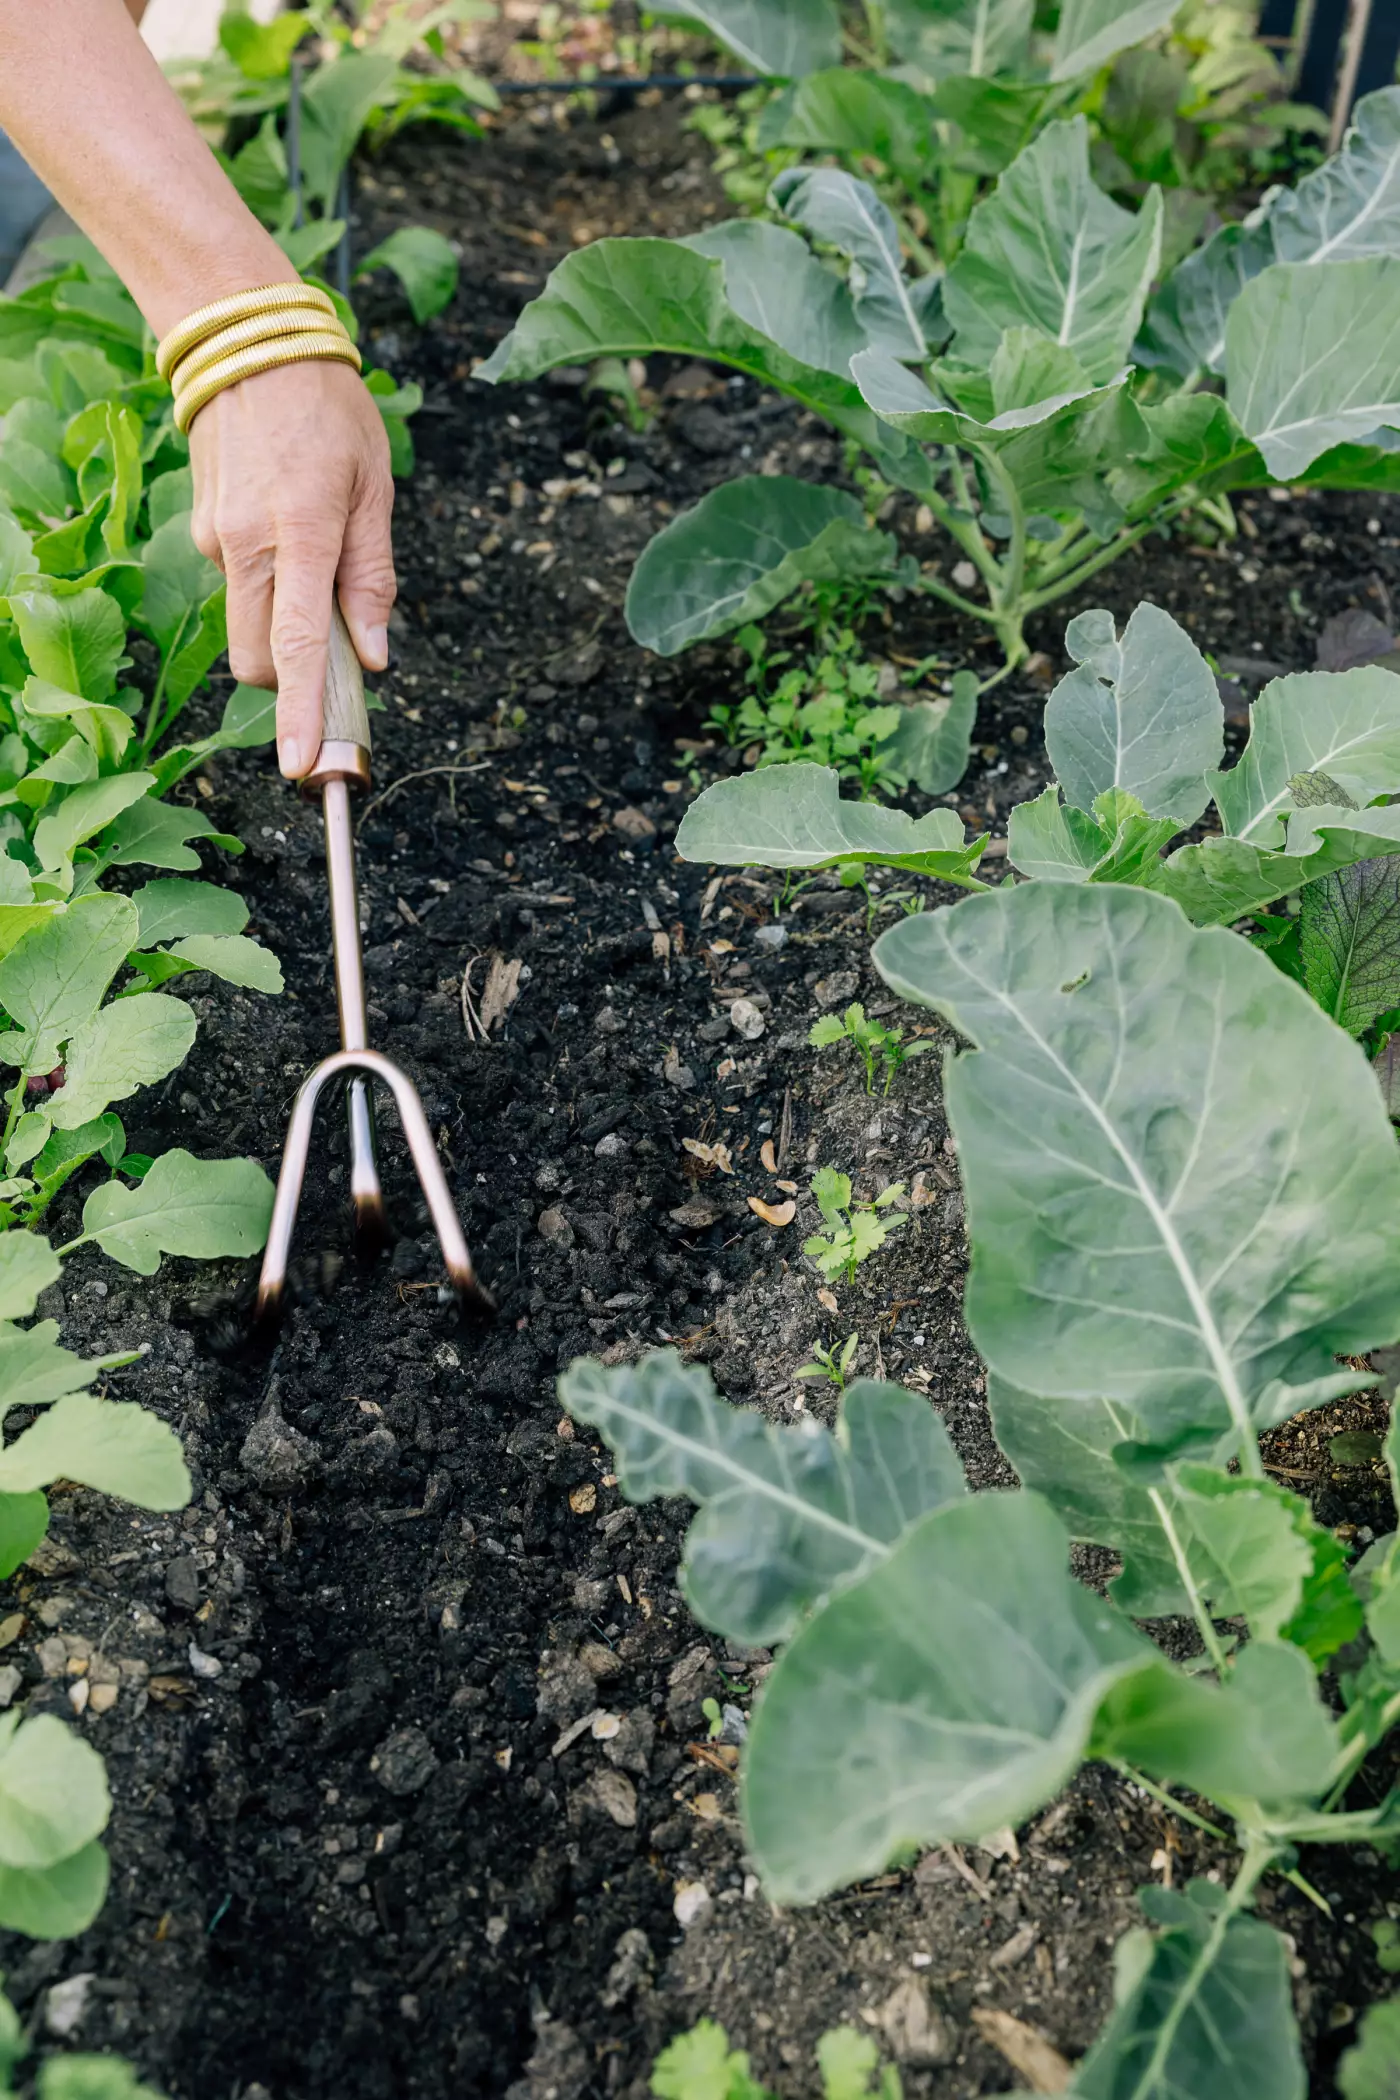
Step 2: Prep Your Soil
Here's some good news: your soil probably hasn't degraded much over the last two months. Most cool-season plants are gentle feeders, and some, like legumes, actually add nitrogen back into the soil. You don't need to do a major overhaul. But you do want to give it a little attention before the new season begins.
In any spaces where you've just pulled up plants, use a hand cultivator to turn the soil just a few inches deep. This loosens it up and makes it easier for new roots to establish quickly.
Then add about one inch of compost across those open areas. If you're going to be growing heavy-feeding warm-season plants like tomatoes, peppers, or eggplant — and you are — this compost layer is especially important. A little rabbit or chicken manure works beautifully here, too, if you have it.
While you're in there, take a good look for pest pressure. Spring gardens are prime habitat for slugs, snails, and roly polies, and you want to get ahead of them before your tender summer seedlings go in. If you're seeing a lot of slugs, a little diatomaceous earth around the base of your plants can help. Garlic barrier spray is my go-to if I'm seeing early signs of leaf damage.
Once your soil is loosened, amended, and cleared of visible pest pressure, you're ready for the next step.
Step 3

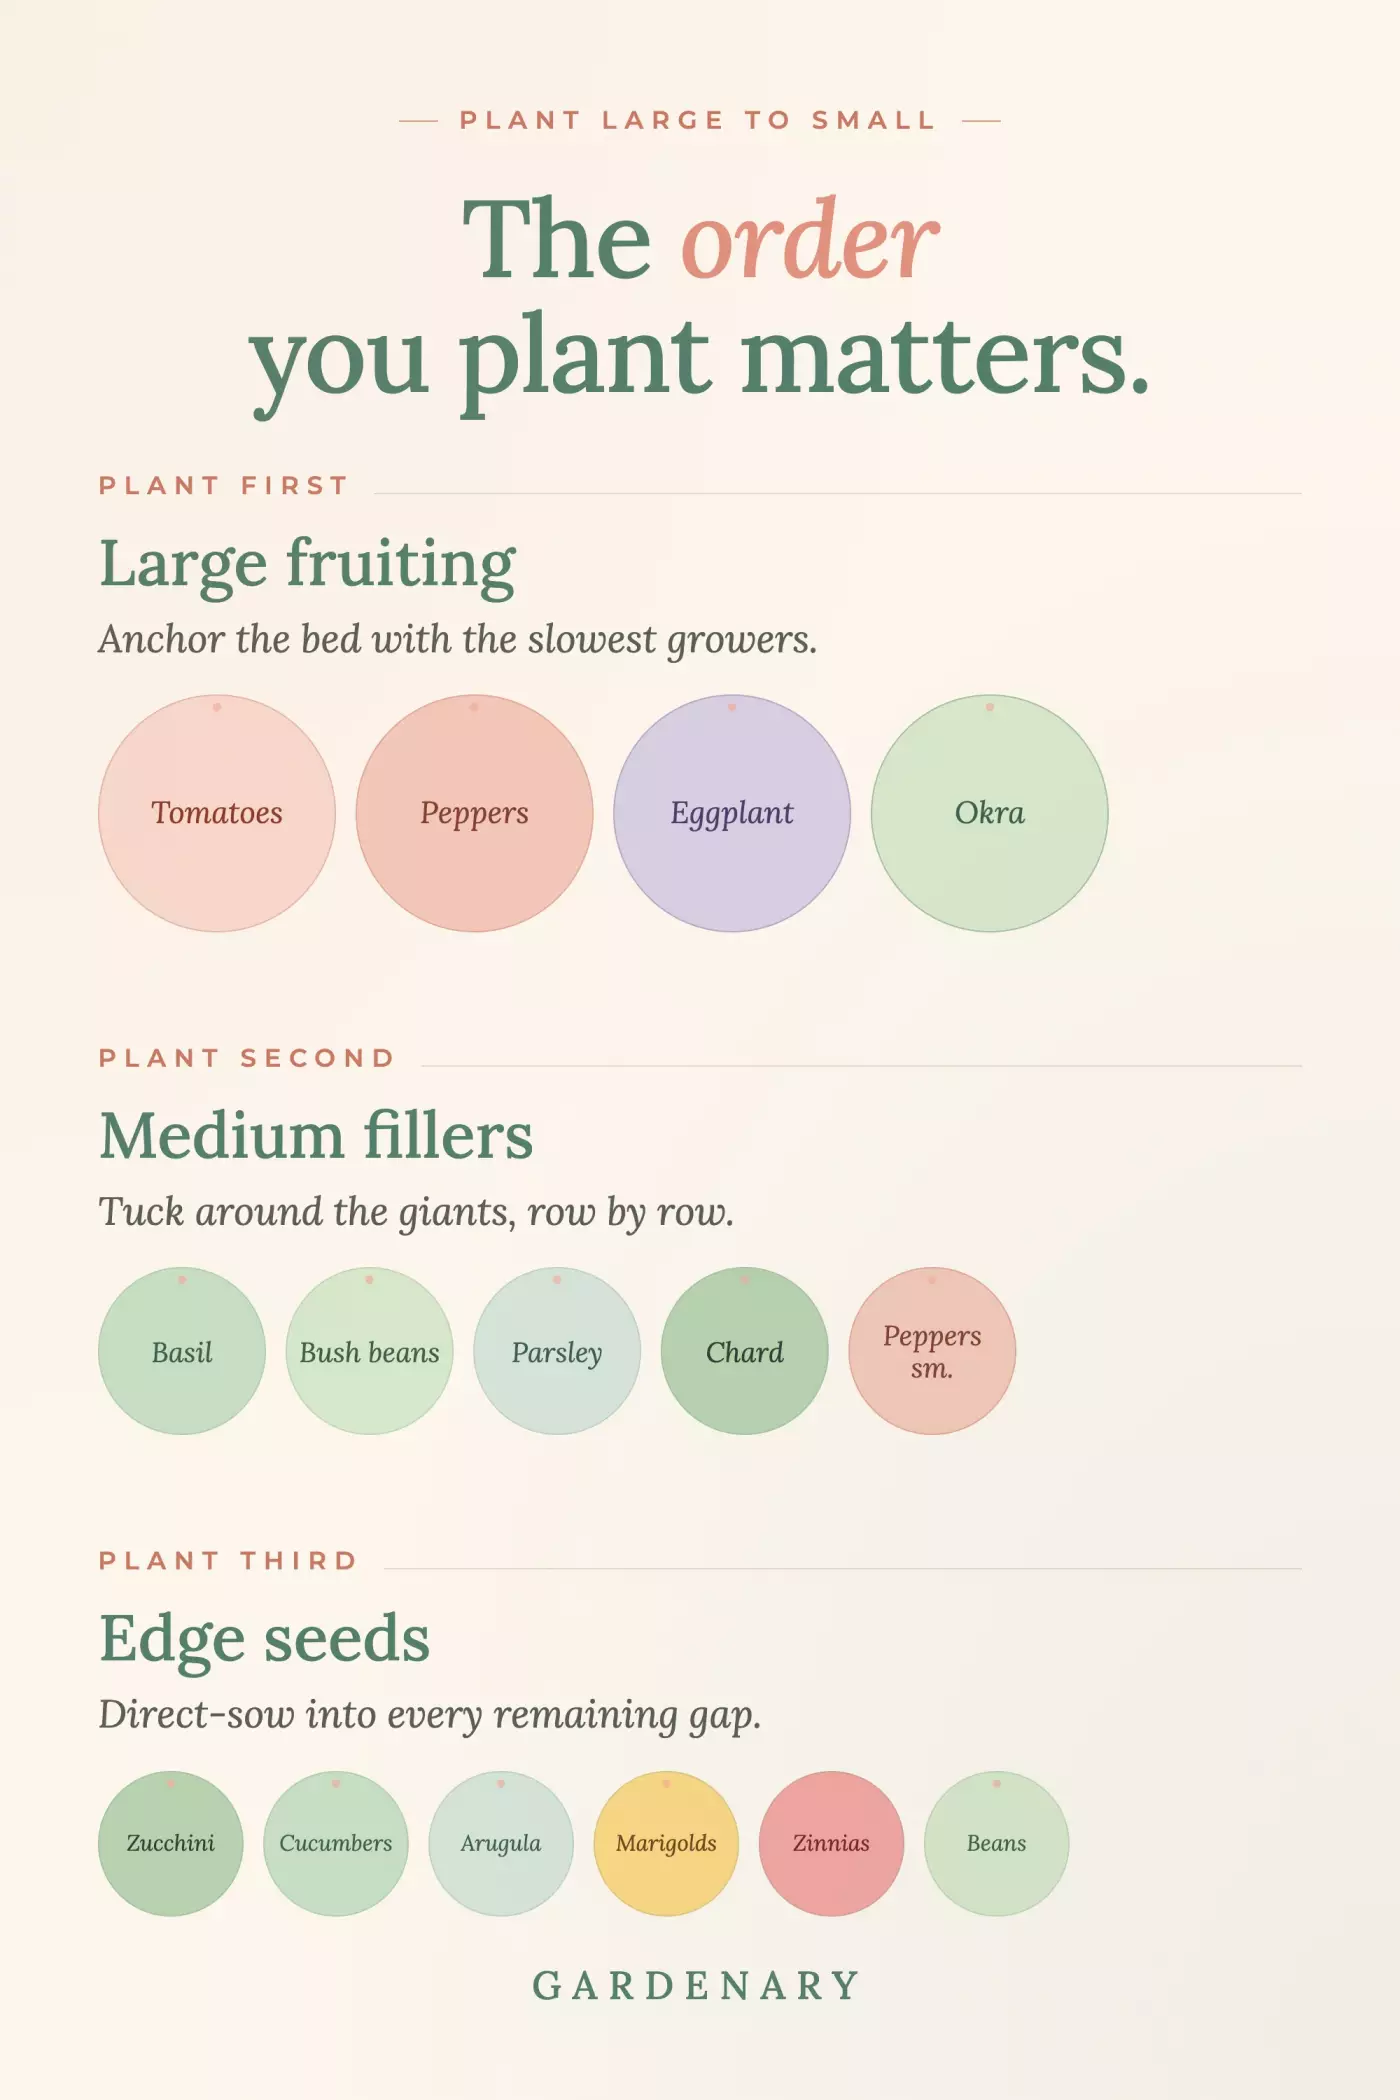
Step 3: Plant Your Large Fruiting Plants
This is the step that surprises most people. You're going to plant your large warm-season fruiting plants (tomatoes, peppers) right alongside your large cool-season plants that are still actively growing.
I know. It looks crowded. Trust me on this one.
Here's why it works: your large spring plants (cauliflower, cabbage, broccoli) are going to continue getting bigger over the next few weeks. But while they do, they'll create a natural nursery for your new warm-season starts. The cool-season plants shade the young seedlings from intense afternoon sun, help retain soil moisture around their roots, and give them a protected microclimate to establish in.
Meanwhile, the warm-season plants are growing tall and vertical. They won't compete with the cauliflower going wide. The cauliflower covers the soil and keeps it from drying out. The tomato or pepper starts to provide shade over the cauliflower as temperatures rise, which actually helps prevent the cauliflower from bolting too early.
It's a perfect seasonal synergy. I've seen it work in hundreds of client gardens.
Large, Warm-Season Plants:
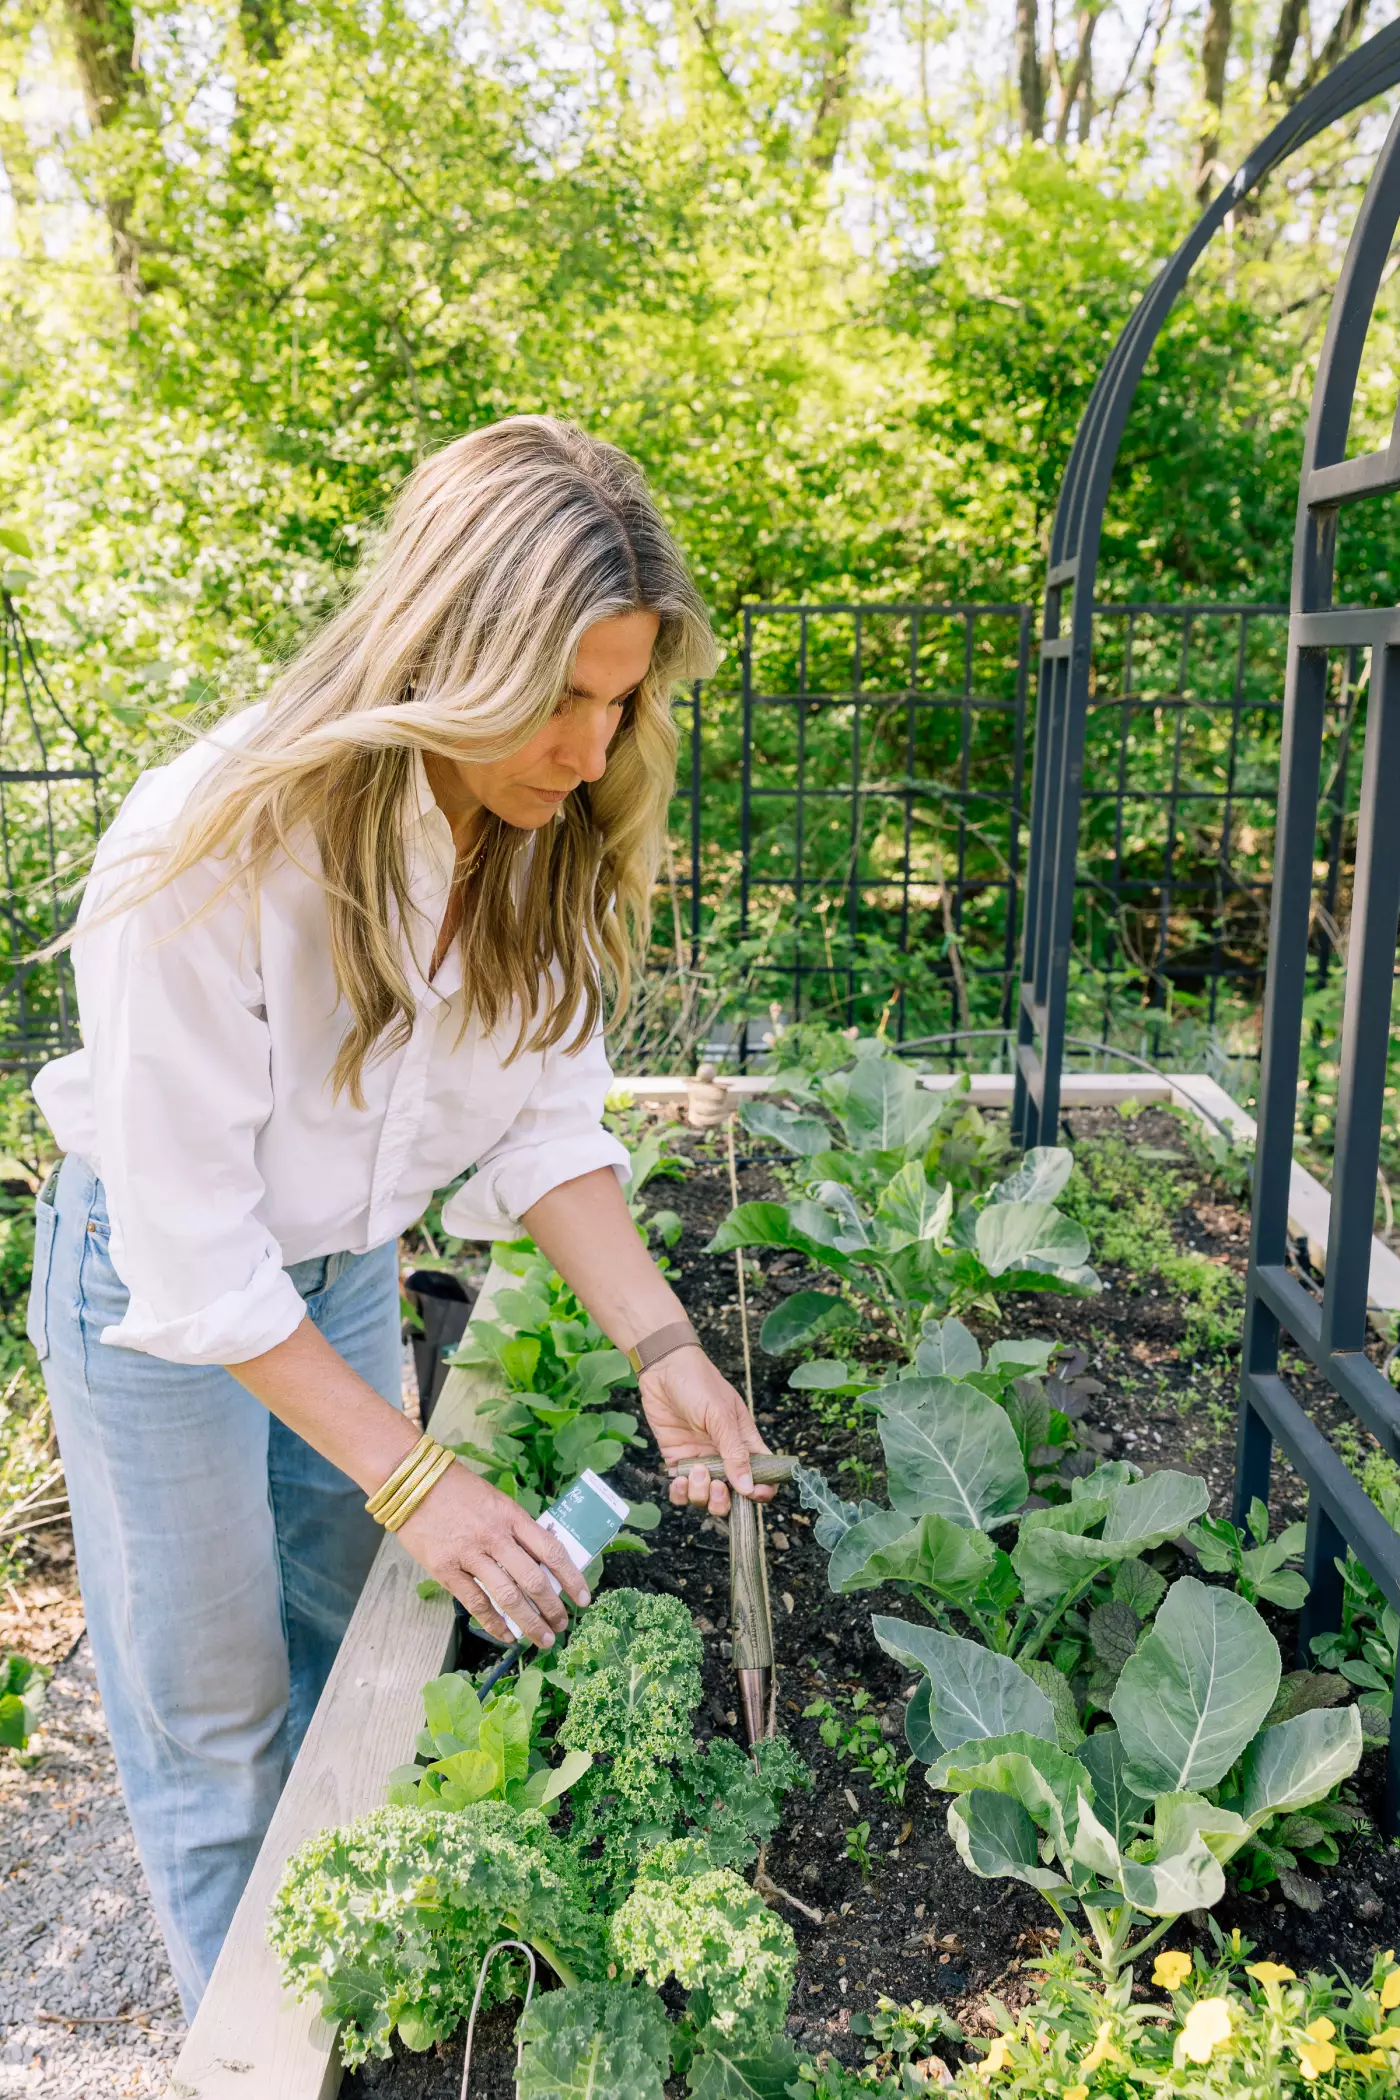
The technique: Look at where your large spring plants are spaced. Plant your warm-season fruiting plants in the stagger between them — not on top of them, but in the gaps. Use a hori hori knife to dig a compact but deep hole so you don't disturb existing roots more than necessary.
Tomatoes go in right next to your snap peas that are climbing the trellis. As soon as the peas finish producing, you'll cut them at the base, pull them off the trellis, and your tomatoes will be perfectly positioned to take over that vertical space.
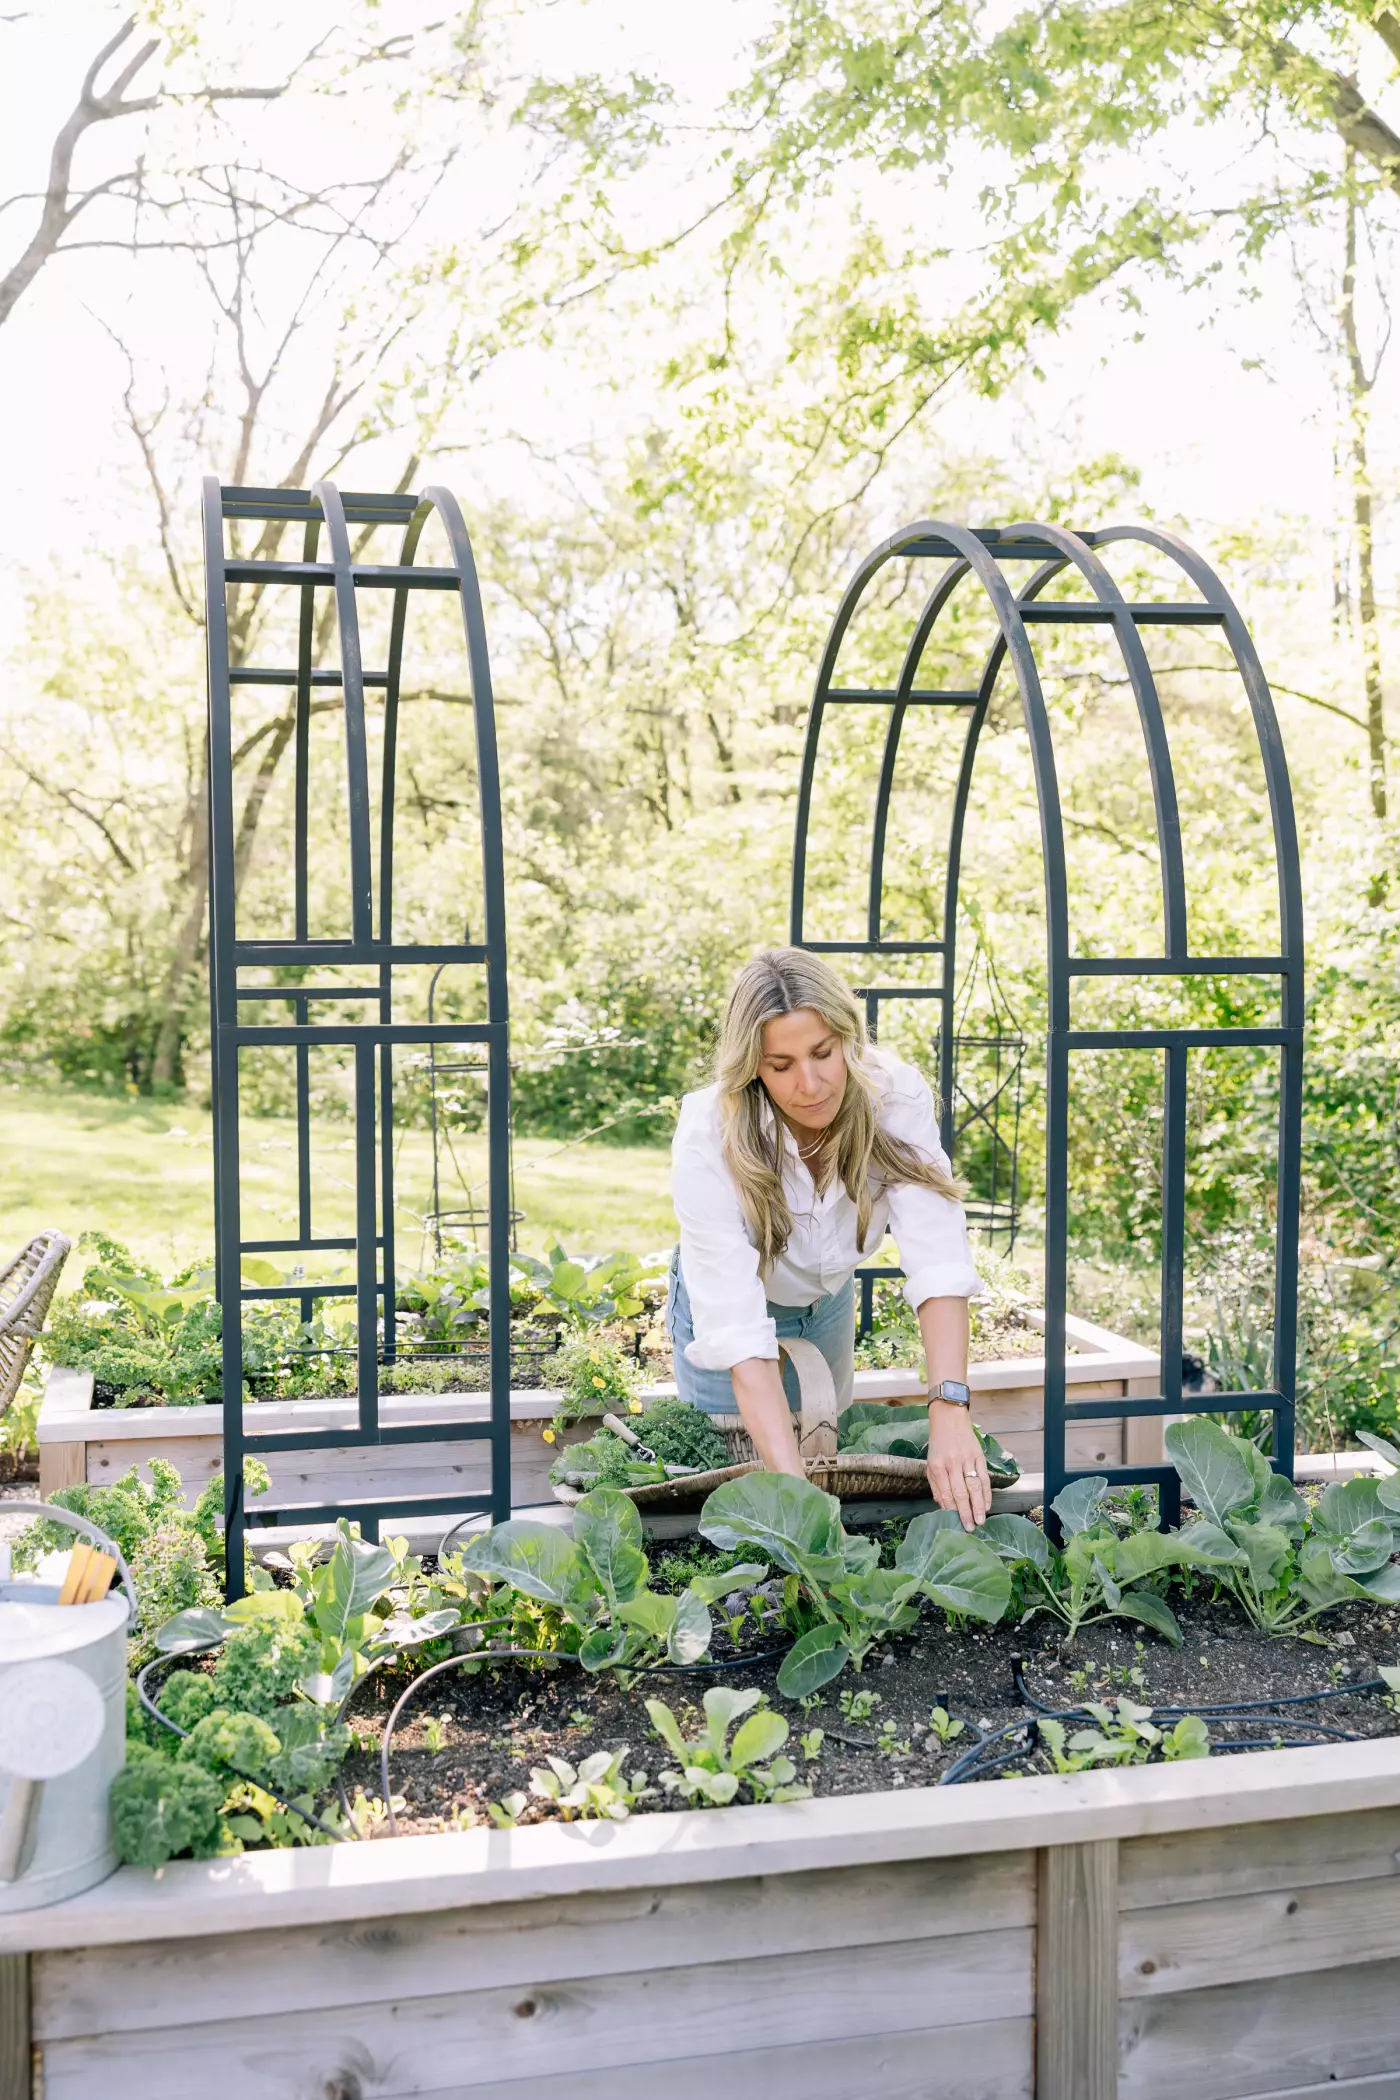
If you're growing tomatoes, cucumbers, or pole beans this summer, you're going to need a good vertical support. The Nicole Arch Trellis is exactly what I use in my own garden, and it handles everything from snap peas in spring to indeterminate tomatoes all summer long. It sells out every year, so if you've been thinking about it, now is the time!
Step 4

Step 4: Plant Your Medium-Sized Plants
Once your large fruiting plants are in, you move to medium. In my system, a medium plant is anything that takes up about a quarter of a square foot at full maturity.
Medium, warm-season plants:
Your medium cool-season plants are still growing, too — things like cilantro, dill, beets, and carrots. Just as you did with the large plants, you're going to plant your new warm-season mediums right alongside them, row by row. Those taller cool-season plants will shade and protect the new seedlings as they get established. And eventually, those warm-season plants will return the favor, shading the cool-season ones so they don't bolt as temperatures rise.
Bush beans deserve a special mention here. They're one of the easiest seeds to direct sow right now, they germinate quickly, and in about 50 to 60 days they'll give you a huge harvest. Tuck them in around your medium plants and let them do their thing.
Step 5

Step 5: Fill in the Blanks with Seeds
This is the step I call filling in the blanks, and it's one of my favorites. You've got your large plants down the center of the bed. Your medium plants are to either side. Now you're going to fill in every remaining edge and gap with seeds.
Here's what I love to use along the edges:
Greens that tolerate warmth:
Even though it's getting hot, plants in the brassica family do surprisingly well along the shaded edges of a summer garden. The taller fruiting plants protect them from the harshest afternoon sun. Scatter a pinch of seeds and let them fill in.
More beans:
Bush Beans are incredibly forgiving and productive. I often pull my radishes from the spring garden and stick a bean seed right in the same hole immediately after. They love the edges.
Vining plants:
These plants can be planted by seed right along the edge of your raised bed and allowed to trail out into your pathways. It's one of the best ways to grow something large and prolific without letting it take over your entire bed.
Flowers:
I save the flowers for last, but honestly, they might be my favorite part. Zinnias and marigolds direct-seeded along the edge of your bed will fill in beautifully over the next few months, bring in pollinators, and make your garden look like something out of a magazine. It's a win on every level.
Why This System Works (And Why Most Gardeners Skip It)
Most gardeners treat their raised beds like a single-crop container. They plant in spring, harvest in summer, and then let the bed sit empty until next year. That approach leaves the soil exposed, the space unused, and the gardening season unnecessarily short.
This layered system works because it mimics what nature does naturally. Plants protect each other. Taller plants shade younger ones. The soil stays covered. The roots of one season feed the next. And instead of one garden a year, you get three — and the kind of full, lush, productive raised bed that makes your neighbors stop and ask questions.
I've built this system across hundreds of client gardens, in Houston heat, Chicago cold, and Nashville's sweet middle ground. It works everywhere a raised bed works.

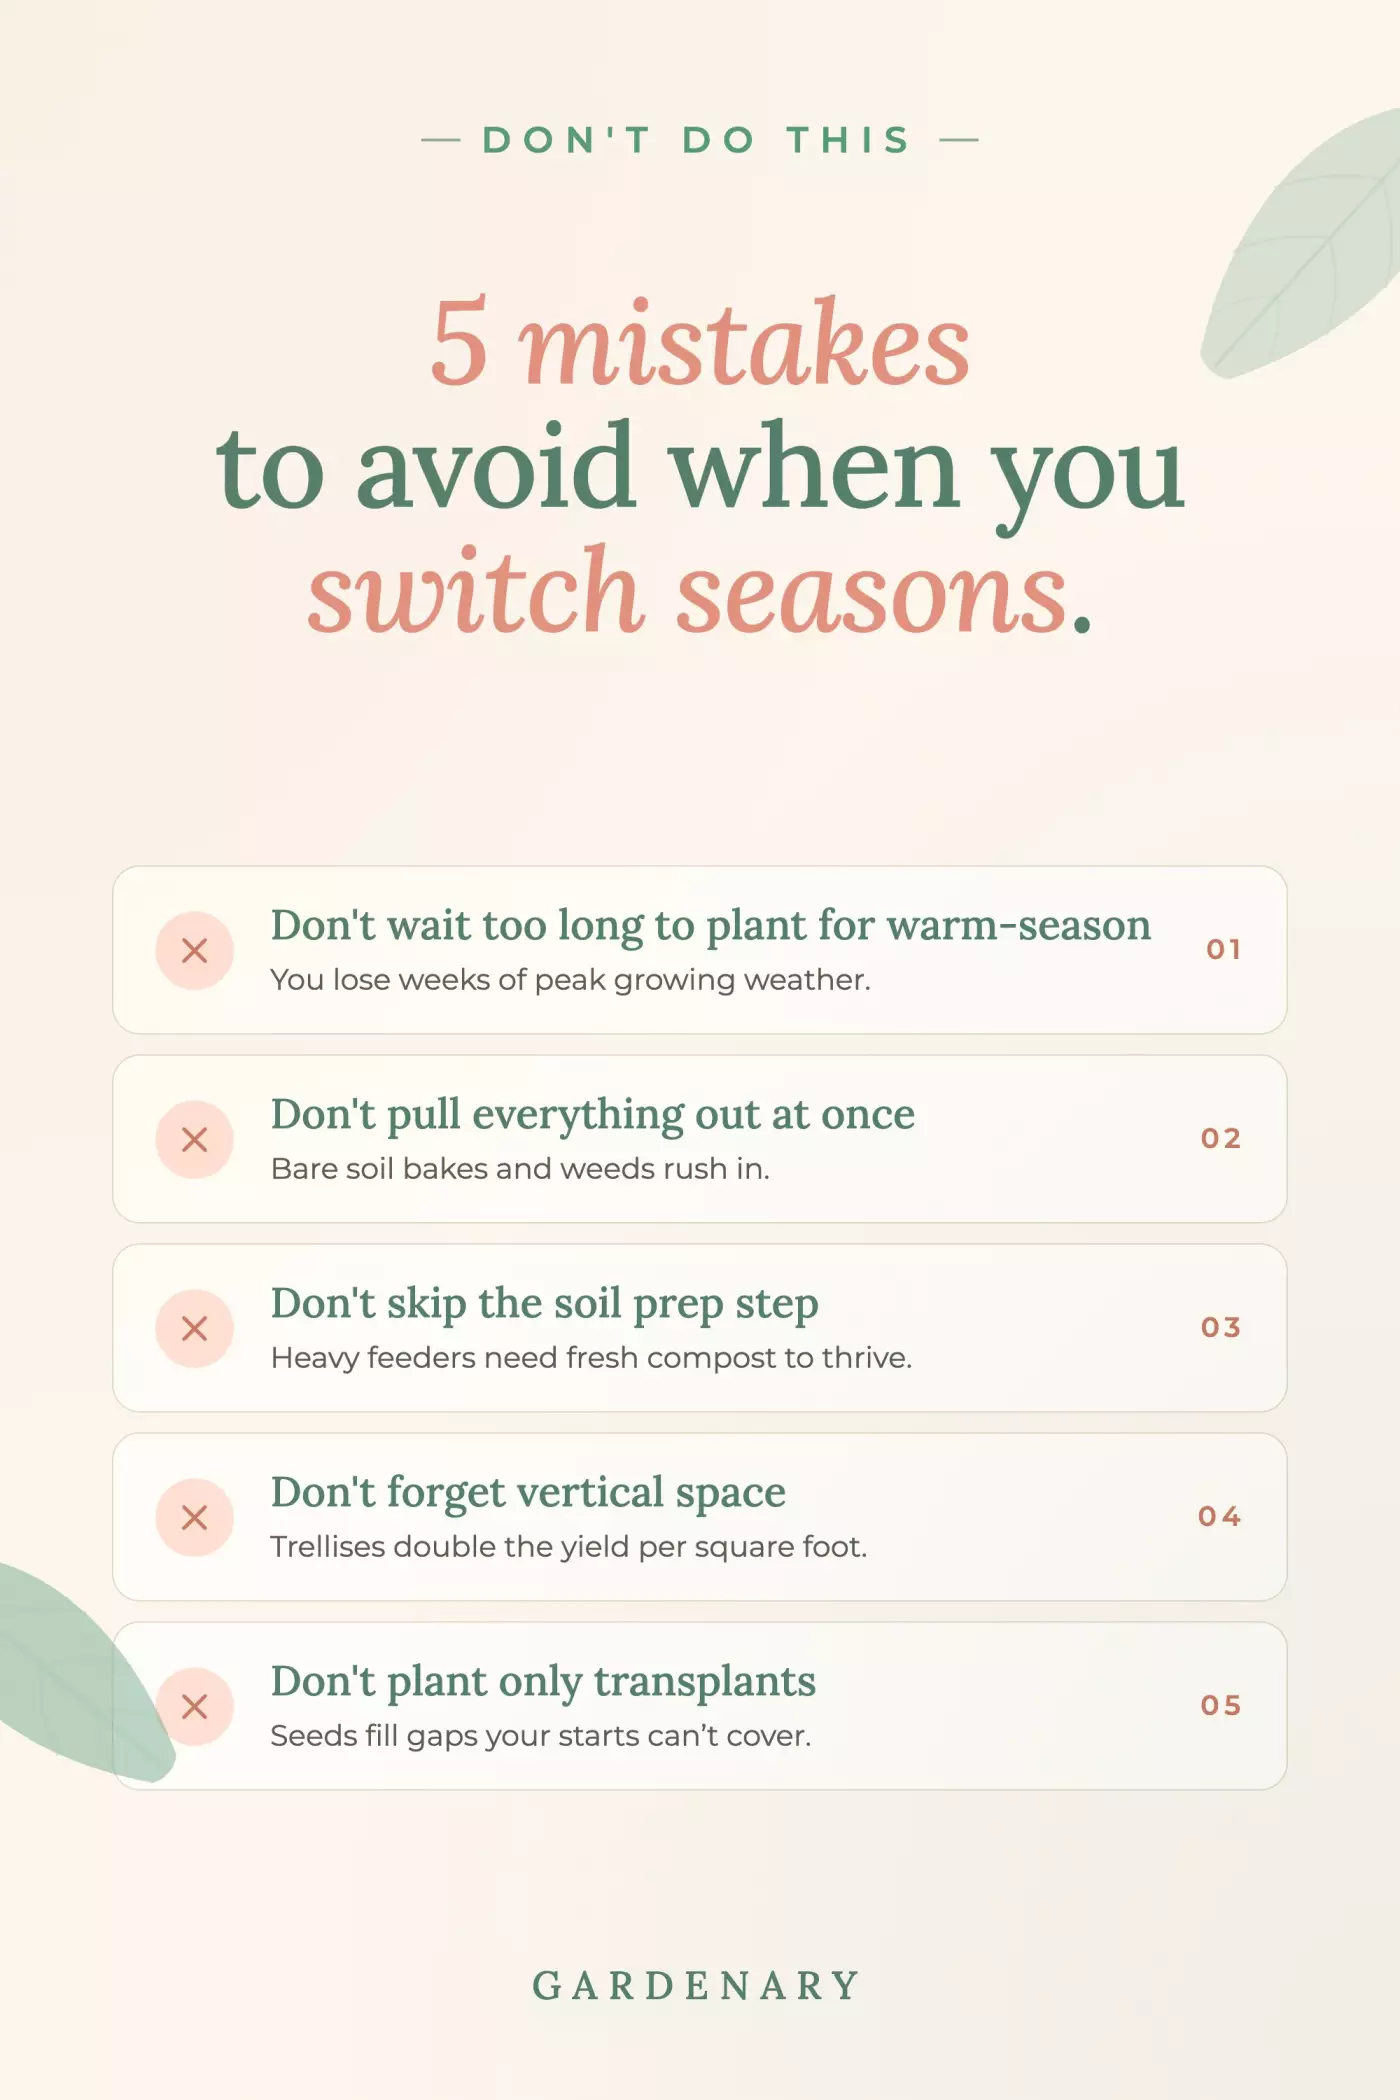
Common Mistakes to Avoid During the Seasonal Transition
Waiting too long to start. Warm-season fruiting plants like tomatoes and peppers need 90 to 150 days to produce. Every week you wait is a week less harvest. Get them in as soon as your last frost date has passed.
Pulling everything out at once. Bare soil dries out fast, invites weeds, and leaves your new seedlings without any protection. The slow, layered transition is always better.
Skipping the soil prep step. Even if your soil looks fine, a light cultivation and a thin layer of compost before your warm-season plants go in makes a real difference in how quickly they establish.
Forgetting about vertical space. Summer plants are climbers and vining plants. If you don't plan for trellises before you plant, you'll find yourself trying to retrofit support for a tomato that's already two feet tall and not happy about it.
Only planting transplants and ignoring seeds. Beans, arugula, mizuna, zucchini, marigolds, zinnias — all of these can go in right now as seeds. They're fast, they're easy, and they fill in the gaps that transplants can't.
Watch on YouTube!
FAQ: Transitioning Your Garden from Spring to Summer
When should I start transitioning my garden from spring to summer? Start transitioning once your last frost date has passed and nighttime temperatures are consistently staying above freezing. In most of the US, this falls between late March and mid-May depending on your zone. Don't wait until your spring plants are finished — start the transition while they're still actively growing.
Do I have to pull out my spring plants before I plant summer vegetables? No — and you shouldn't. The layered approach of planting warm-season plants alongside still-growing cool-season plants actually protects your new seedlings and extends your spring harvest. Pull spring plants gradually as they finish, not all at once.
What warm-season plants should I add first during the spring to summer transition? Start with your large fruiting plants — tomatoes, peppers, eggplant, and okra. These have the longest growing periods (90 to 150 days) and need to go in as early as possible. Then add medium plants like basil and bush beans, and finally fill edges with direct-sown seeds.
How do I prep my soil between spring and summer planting? Lightly cultivate any open areas with a hand tool and add about one inch of compost. If you're planting heavy feeders like tomatoes, a little additional organic fertilizer or composted manure is helpful. Your soil likely doesn't need a complete overhaul — cool-season plants are gentle on nutrients.
Can I direct-sow seeds during the spring-to-summer transition, or do I need transplants? Both work, and you should use both. Transplants are best for tomatoes, peppers, eggplant, and basil. Seeds work beautifully for bush beans, zucchini, cucumbers, arugula, mizuna, zinnias, and marigolds. Direct-sowing during this window is one of the most underused strategies in home gardening.
What do I do about pests when transitioning between seasons? The transition is a great time to do an organic pest sweep before your new plants go in. Look for slugs, snails, and roly polies. Apply diatomaceous earth if you have slug pressure. Spray garlic barrier on any leaves showing early pest damage. Getting ahead of pest pressure before tender summer seedlings arrive makes the whole season easier.
How do I know when to finally pull my spring plants out completely? Pull each spring plant when it has finished producing and is beginning to decline — not before. This keeps your soil covered, extends your harvest, and protects your warm-season seedlings. Most cool-season plants will finish naturally within four to six weeks of your warm-season plants going in.
Where can I find seeds for transitioning my garden to summer? Gardenary's seed collection at shop.gardenary.com includes vegetable, herb, flower, and leafy green varieties selected specifically for kitchen garden growing. All 2026 seeds are currently on sale. You can also access 10 free seed varieties — just pay shipping.