
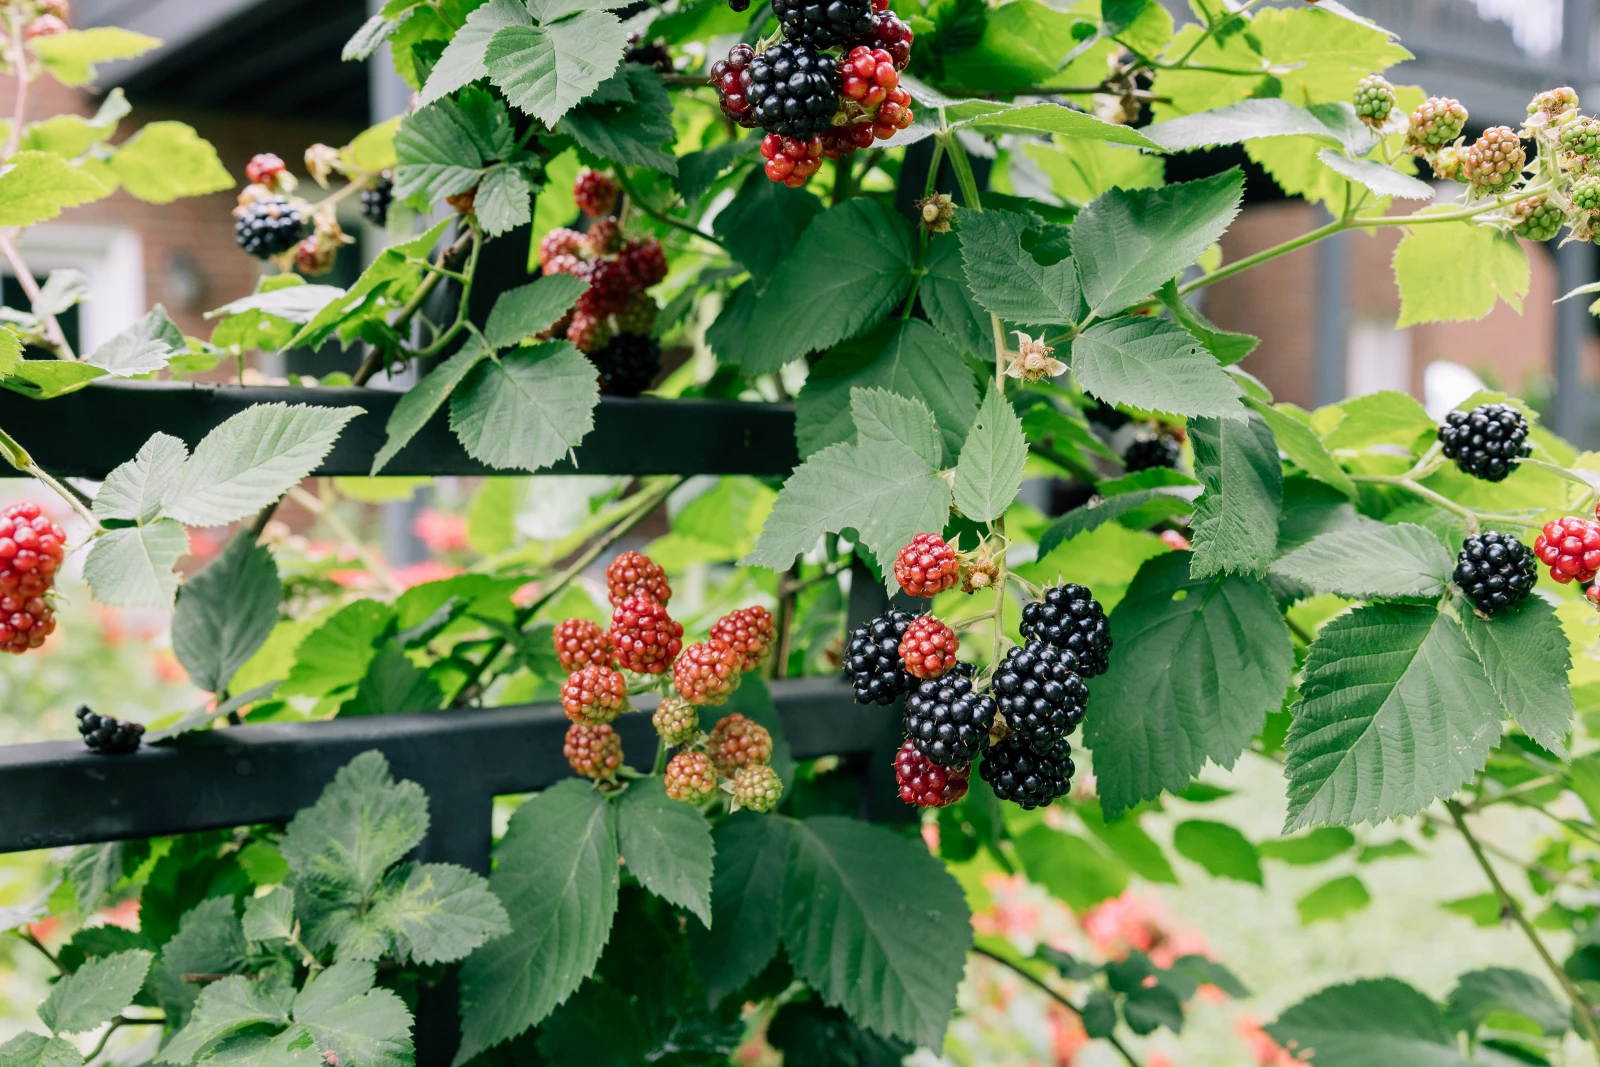
Nicole's Quick Take: A living berry fence is one of the easiest perennial projects in my garden lineup. Pick a support (a wooden fence, chain link, or a panel trellis like my Diamond Panel Trellis), space one raspberry or blackberry plant every 2 feet, and prune out the old canes every year so the new ones can fruit.
At a Glance
- Raspberries and blackberries grow on canes that only fruit once, so cutting out the old wood every year is what keeps a berry fence productive.
- A taller support, like a 6-foot panel trellis, lets the vines climb all the way up instead of running out of room partway through the season.
- Spacing one plant every 2 feet gives each cane room to spread while still filling in the fence by the end of the growing season.
By Nicole Johnsey Burke: Founder of Gardenary & Author of Kitchen Garden Revival
The Fence My Mom Never Knew Could Feed Her
My mom has had the same wooden fence in her backyard for years, and it's always just been a fence. When I told her I wanted to turn part of it into a raspberry patch, she raised her eyebrow and gave me the exact look she's been giving me since I started digging up her yard as a kid.
But a living berry fence might be the simplest perennial project I plant every year: three steps, and you're picking fruit off it for seasons to come.
Here's exactly how I built my mom's, so you can build yours.
What's a Berry Fence?
A berry fence is what it sounds like: raspberry or blackberry plants trained to climb up and along a fence instead of sprawling through a bed.
Berries are perennials, so once they're established, they come back bigger every year. They're also some of the most heavily sprayed produce at the grocery store, which is one more reason I'd rather grow my own. Here's how to set one up.

Step 1: Pick (or Build) the Right Support
Not every fence is ready to hold berries the day you plant them. What you need depends on what you're starting with.
If You've Got a Wooden Fence
A wooden fence like my mom's will absolutely work, but it needs a little help first. Add fisheye hooks and some strong wire, or lay a piece of hardware cloth against the fence. Either option gives you something to weave the canes in and out of as they grow, since a flat wooden panel gives the vines nothing to grab onto.
If You've Got Chain Link
Chain link is basically a free trellis. You can plant and start weaving canes in and out of the links right away. No extra hardware, no extra weekend project.
If You're Building the Fence Yourself
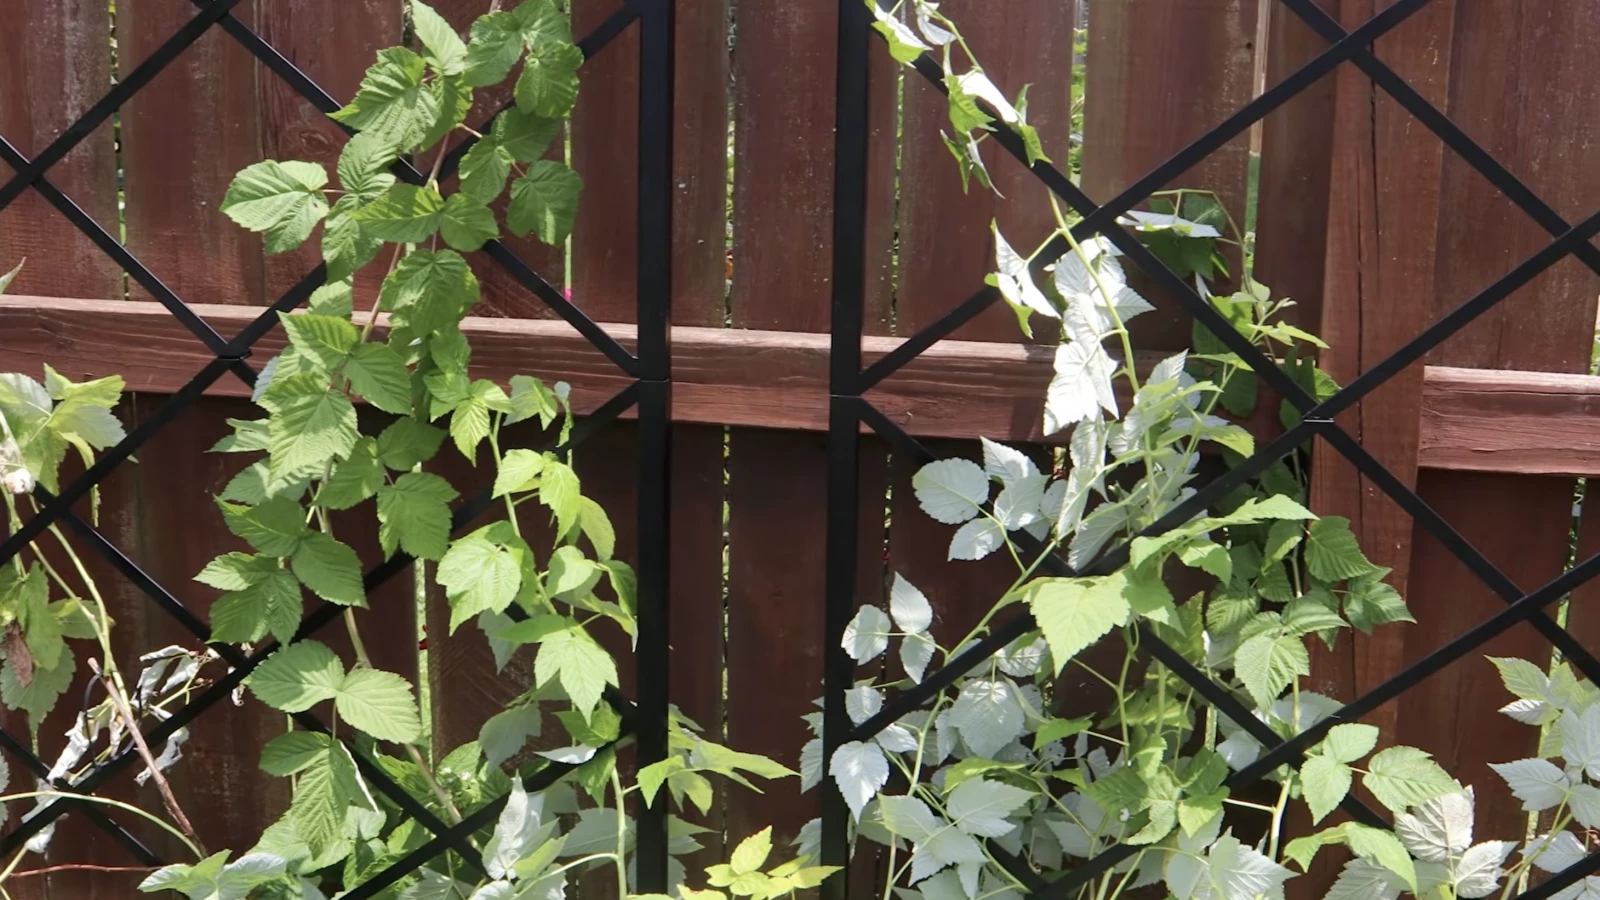
For my mom's garden, I used the Diamond Panel Trellis from the Gardenary Shop to build a dedicated raspberry panel.
It's 6 feet tall, and raspberry and blackberry canes can easily grow 6 to 8 feet long in a season. On a shorter fence, you'll hit the top and have to train canes to run sideways or fold back down. On a trellis this tall, you can just let them climb.
It also comes with ground spikes built in, so it stays put in the ground even once it's loaded down with fruit and doesn't wobble in the wind. And beyond function, it adds real architectural interest to the yard. It's doing double duty as a structure that holds berries and as something beautiful to look at, which is the whole idea behind a garden that's productive and stunning at the same time. It ships in two panels that click together on-site, so it looks like one solid piece once it's installed.
Diamond Panel Trellis
- Powder-coated steel
- 6 feet tall
- Ground spikes attached for additional trellis support
- Free Shipping

Step 2: Space Your Plants Before You Dig a Single Hole
Before you touch a shovel, decide how many berry plants you want and measure out the spacing.
I plant one berry bush every 2 feet of fencing. That gives each plant enough room to spread and grow for years, while still filling in the entire fence by the end of the season. Once that happens, you stop seeing fence and start seeing plant.
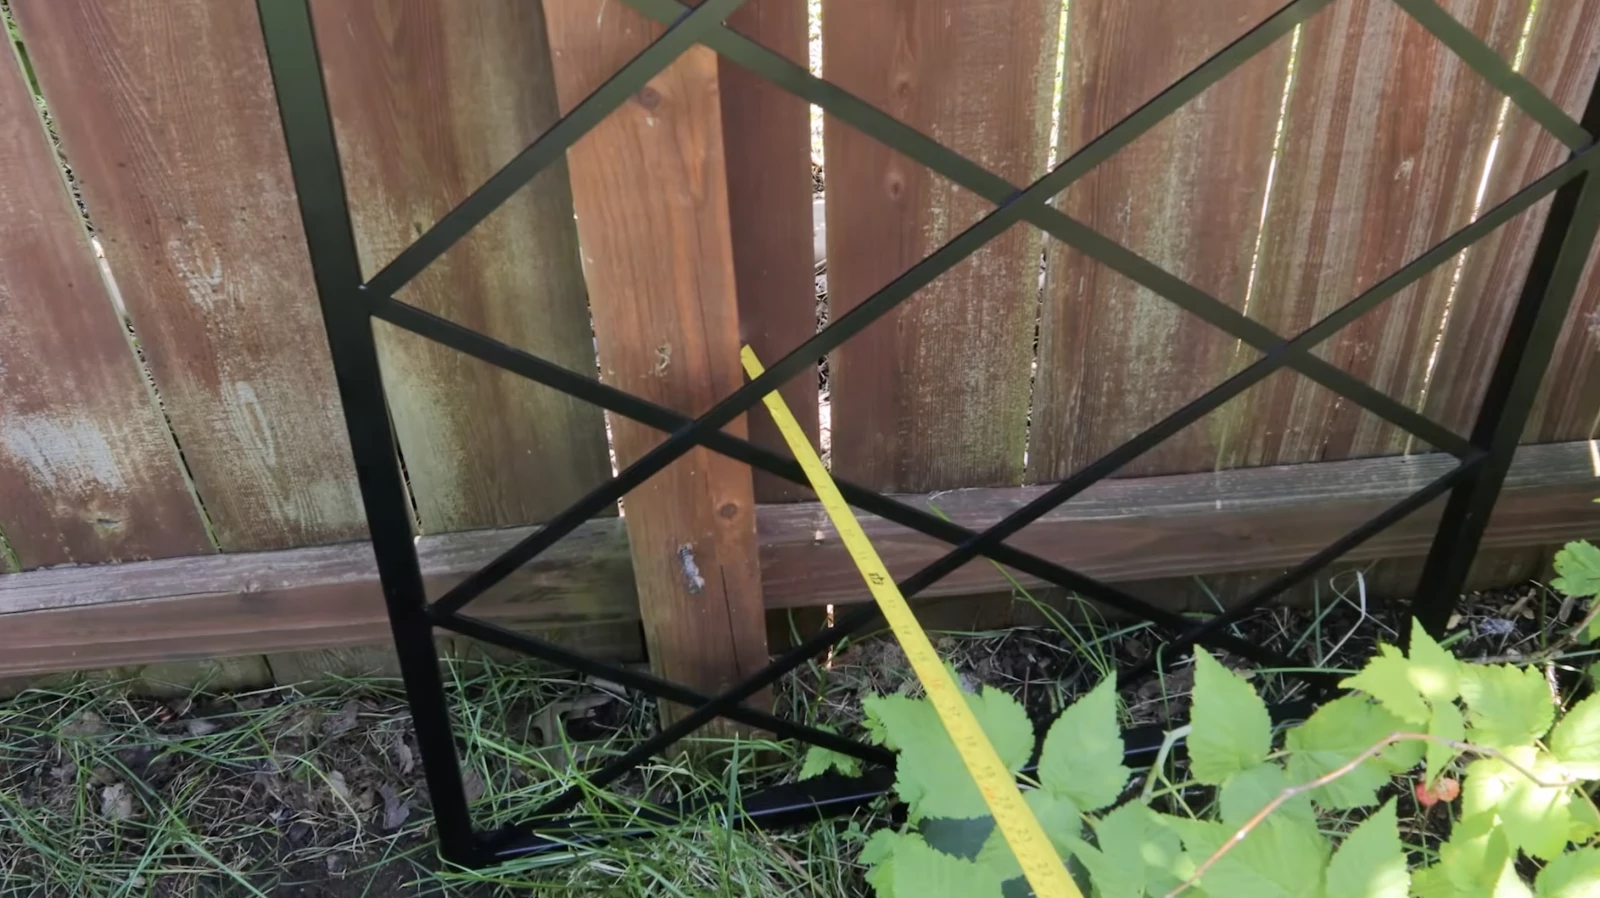
For my mom's garden, we started by finding the center point, which lined up with the middle of her Nicole Arch Trellis a few feet away. From there, we measured out how far the trellis panels would spread. Each Diamond Panel Trellis is 32 inches wide, so two panels covered about 96 inches, with a little spacing between them bringing the total to roughly 100 inches. Once we knew the spread, we set the ground stakes and locked the panels into place so nothing would shift once they filled in.
If you're attaching wire to an existing fence, mark the center and both ends first, then run your wire in whatever pattern you want to weave branches through. On a chain link fence, just mark the beginning, middle, and end, and that gives you your planting spots.

Real garden coaches. Real businesses. You could be next.
2,000+ students have started their garden business with Garden Coach Academy — a 12-week program with everything you need to launch and scale your own garden coaching business.

Step 3: Plant Your Berries and Learn the Cane Rule
My two favorite berries for a fence are raspberries and blackberries. Both can live in the same spot for years, but only if you understand one quirk of how they grow: they fruit on canes, and each cane only gets one shot.
The Three Kinds of Canes You'll See Every Year
Raspberry and blackberry plants have canes at three different stages:
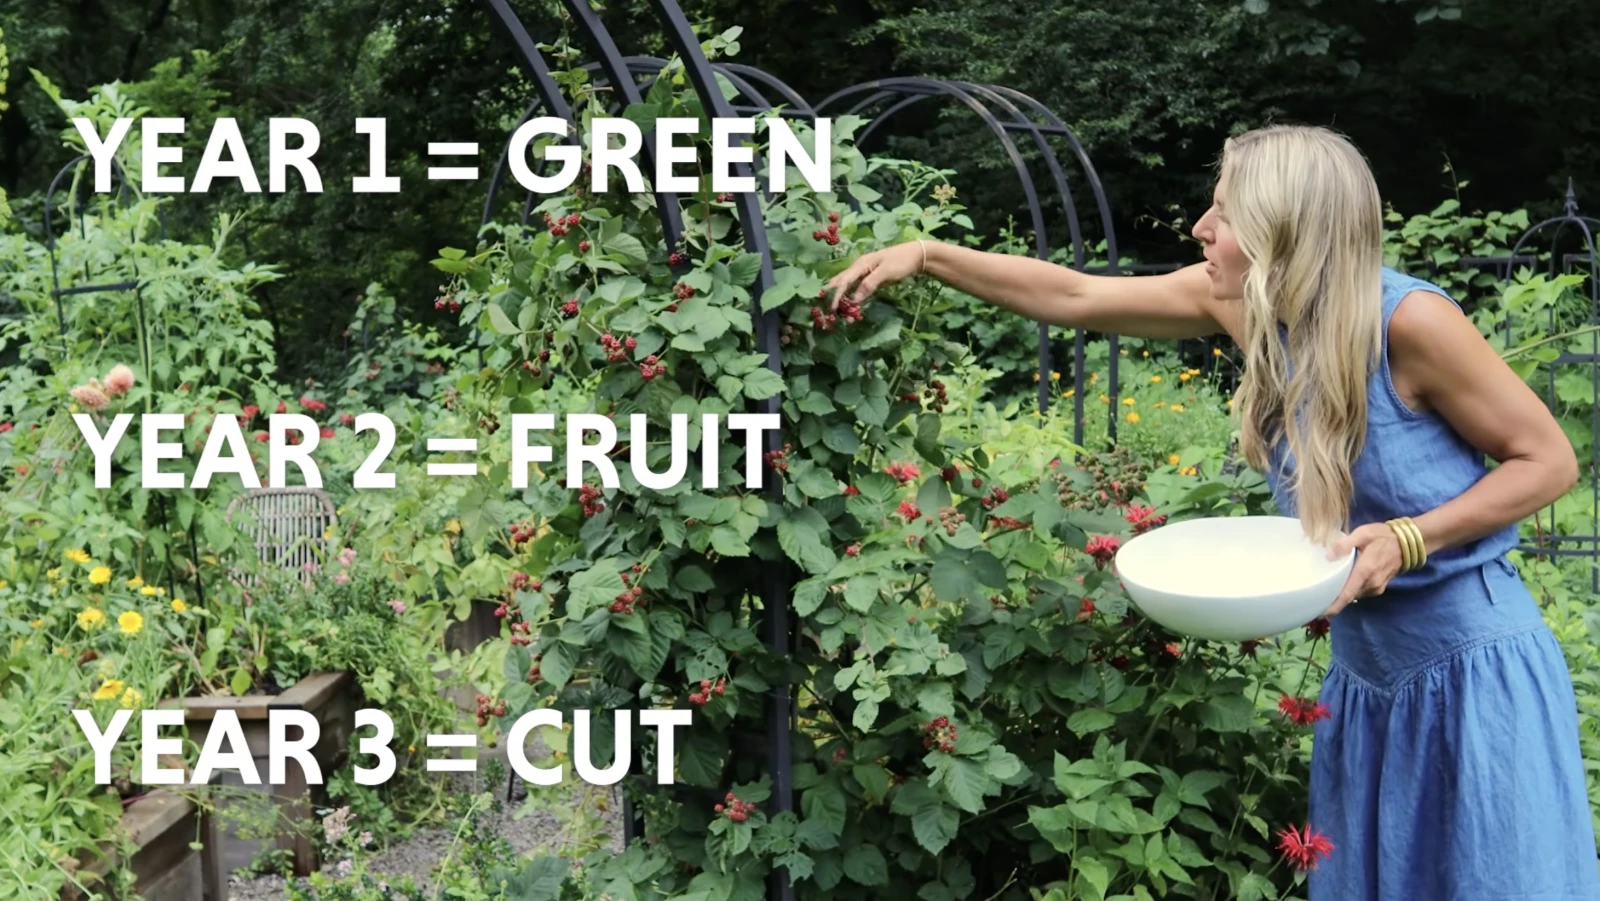
- Old wood. This is the brown, dry, almost brittle cane that fruited last year. It will never produce fruit again. Cut it all the way back to the base of the plant so the plant can put its energy into next season's growth instead.
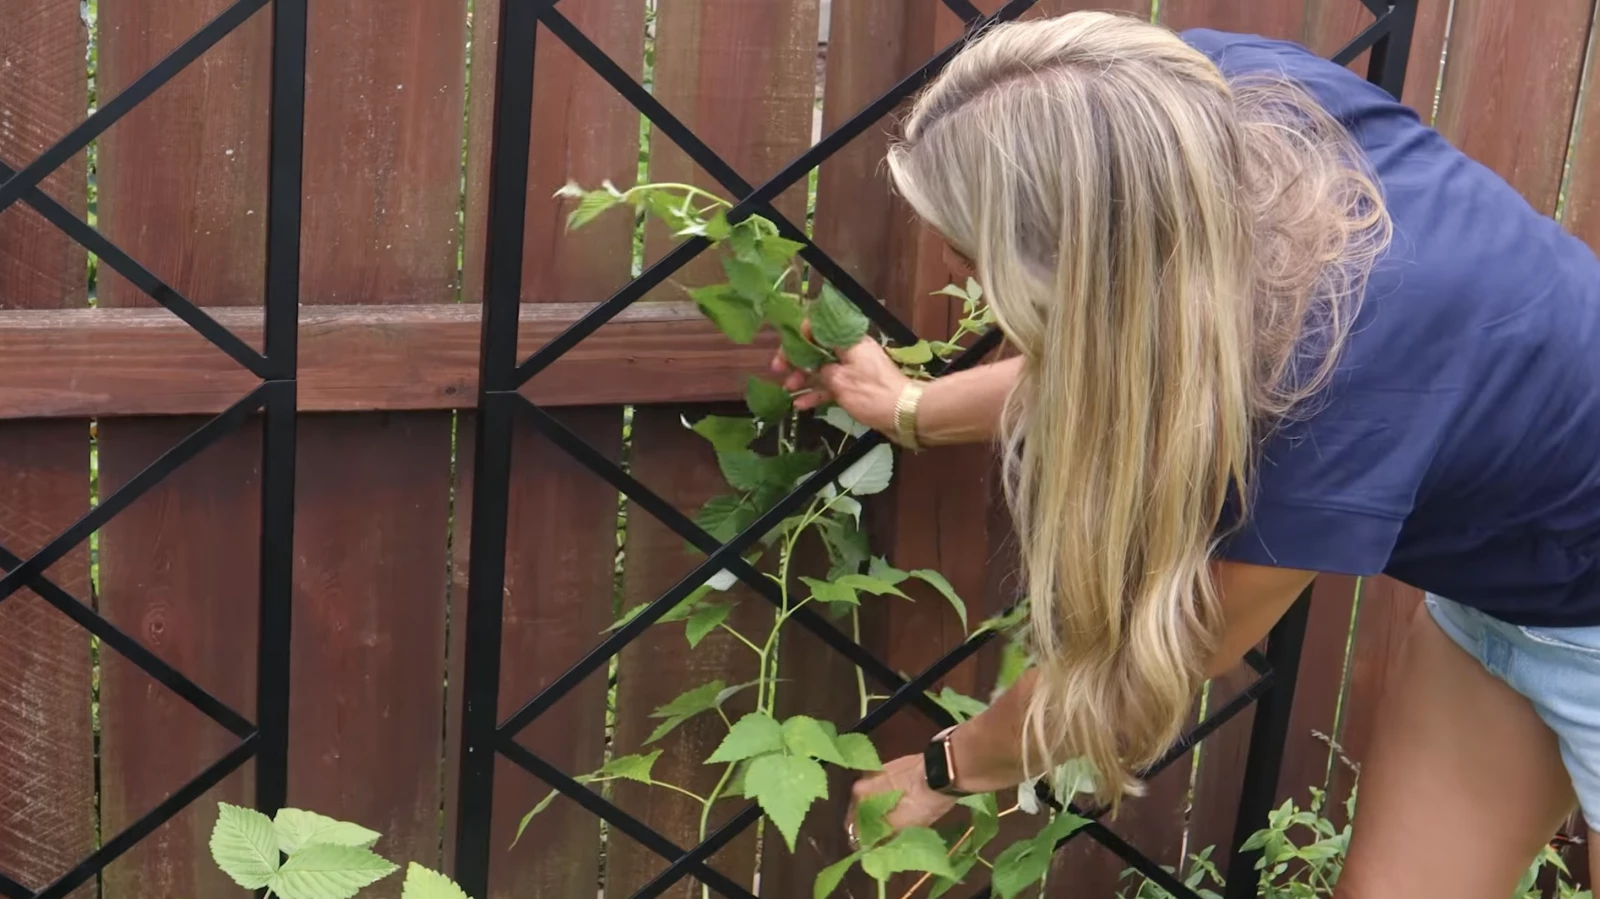
- The primocane. This is brand-new growth coming up for the first time this year. It won't fruit yet, and that's completely normal, not a sign you did something wrong. Weave it in and out of your fence or trellis as it grows. Think of it as this year's greenery and next year's harvest.
- The floricane. This is last year's primocane, one year older. It's the cane that will fruit this season. After harvest, it turns brown and dry, becomes old wood, and the cycle starts over.
Every cane follows the same three-year arc: green up, fruit, then get cut away. Once you can recognize the stages, growing walls of berries for years becomes mostly a matter of showing up each season to prune and pick.
Why Pruning Feels Scary but Isn't
I get why cutting an entire cane down to the ground feels like it might hurt the plant. It doesn't.
That old woody cane is done, and leaving it in place only steals energy the plant could be putting into next year's fruit. A good pair of bypass pruners, like the one in my copper-plated garden tool set, makes this step quick instead of dreaded. Once you've done it a season or two, it stops feeling risky and starts feeling routine.

Common Mistakes That Stop a Berry Fence From Fruiting
- Skipping the yearly prune. A cane that already fruited won't fruit again. Leaving old wood in place doesn't give you a second harvest. It just crowds out the new growth that will.
- Expecting first-year canes to fruit. Primocanes are supposed to be leafy and fruitless in year one. That's not a mistake; it's the plant getting ready for next season.
- Choosing a fence that's too short. A support under 5 to 6 feet means you'll spend the season training canes sideways or back down instead of letting them climb.
- Not securing the support. A wobbly trellis under a full load of ripe berries is asking for trouble. Stake it well from the start.
Once your berry fence is up and producing, you'll probably start eyeing the rest of your yard for more vertical growing space. Tomatoes on an arch trellis are usually what I recommend next, since the training process uses a lot of the same logic you just learned with canes.
Grow up, not out! Get your free vertical growing guide.
This free 28-page ebook shows you how to grow tomatoes, cucumbers, peas, and more on vertical supports — so you get more food, better airflow, and a garden that actually looks beautiful. No extra square footage required.
What is a living berry fence?
A living berry fence is a fence, wall, or trellis with raspberry, blackberry, or other perennial berry plants trained to grow along it. The support holds the canes upright and off the ground, and the plants return and expand each year since berries are perennials.
Can raspberries and blackberries grow on a fence?
Yes. Both are naturally vining, cane-producing plants that need some kind of support once they get taller than a couple of feet. A wooden fence with added wire, a chain link fence, or a dedicated trellis all work well.
What's the difference between a primocane and a floricane?
A primocane is a cane in its first year of growth. It won't fruit. A floricane is that same cane in its second year, and it's the one that produces berries. After fruiting, the floricane dies back and becomes old wood.
How tall should a trellis be for growing berries?
Aim for at least 6 feet. Raspberry and blackberry canes can grow 6 to 8 feet in a single season, and a taller support lets them climb instead of hitting a ceiling and needing to be trained sideways.
Where can I buy a trellis built for growing berries on a fence?
The Diamond Panel Trellis from the Gardenary Shop is 6 feet tall with built-in ground spikes for stability, which makes it a solid option for training raspberries or blackberries. It ships in two panels that assemble into one solid-looking structure.
Keep Reading
What I Rip Out of My Garden Every September (and What I Leave)
The Best Plant Combinations for the Fall Garden
The Best Soil Blocker for Seed Starting and How to Use It

From Fashion to Garden Coaching: Jo Jamie Tyler's Fast Start With Garden Coach Academy
What to Plant in September in Your Kitchen Garden

How Aerin Peak Doubled Her Clients With the Garden Coach Academy Online Course
Sources
- "Growing Raspberries in the Home Garden" — https://extension.umn.edu/gardening-minnesota/growing-raspberries-home-garden
- "Pruning Brambles in Home Fruit Plantings" — https://extension.psu.edu/pruning-brambles-in-home-fruit-plantings
- "Training and Pruning Blackberries" — https://extension.illinois.edu/small-fruits/training-and-pruning-blackberries