
Join Thousands of Gardeners On the VIP List
Free perks, just for email subscribers:
- 15% Off Your First Order
- Gardening Videos & Articles
- Early Access to Sales
Sign up, check your inbox, then shop with your code.

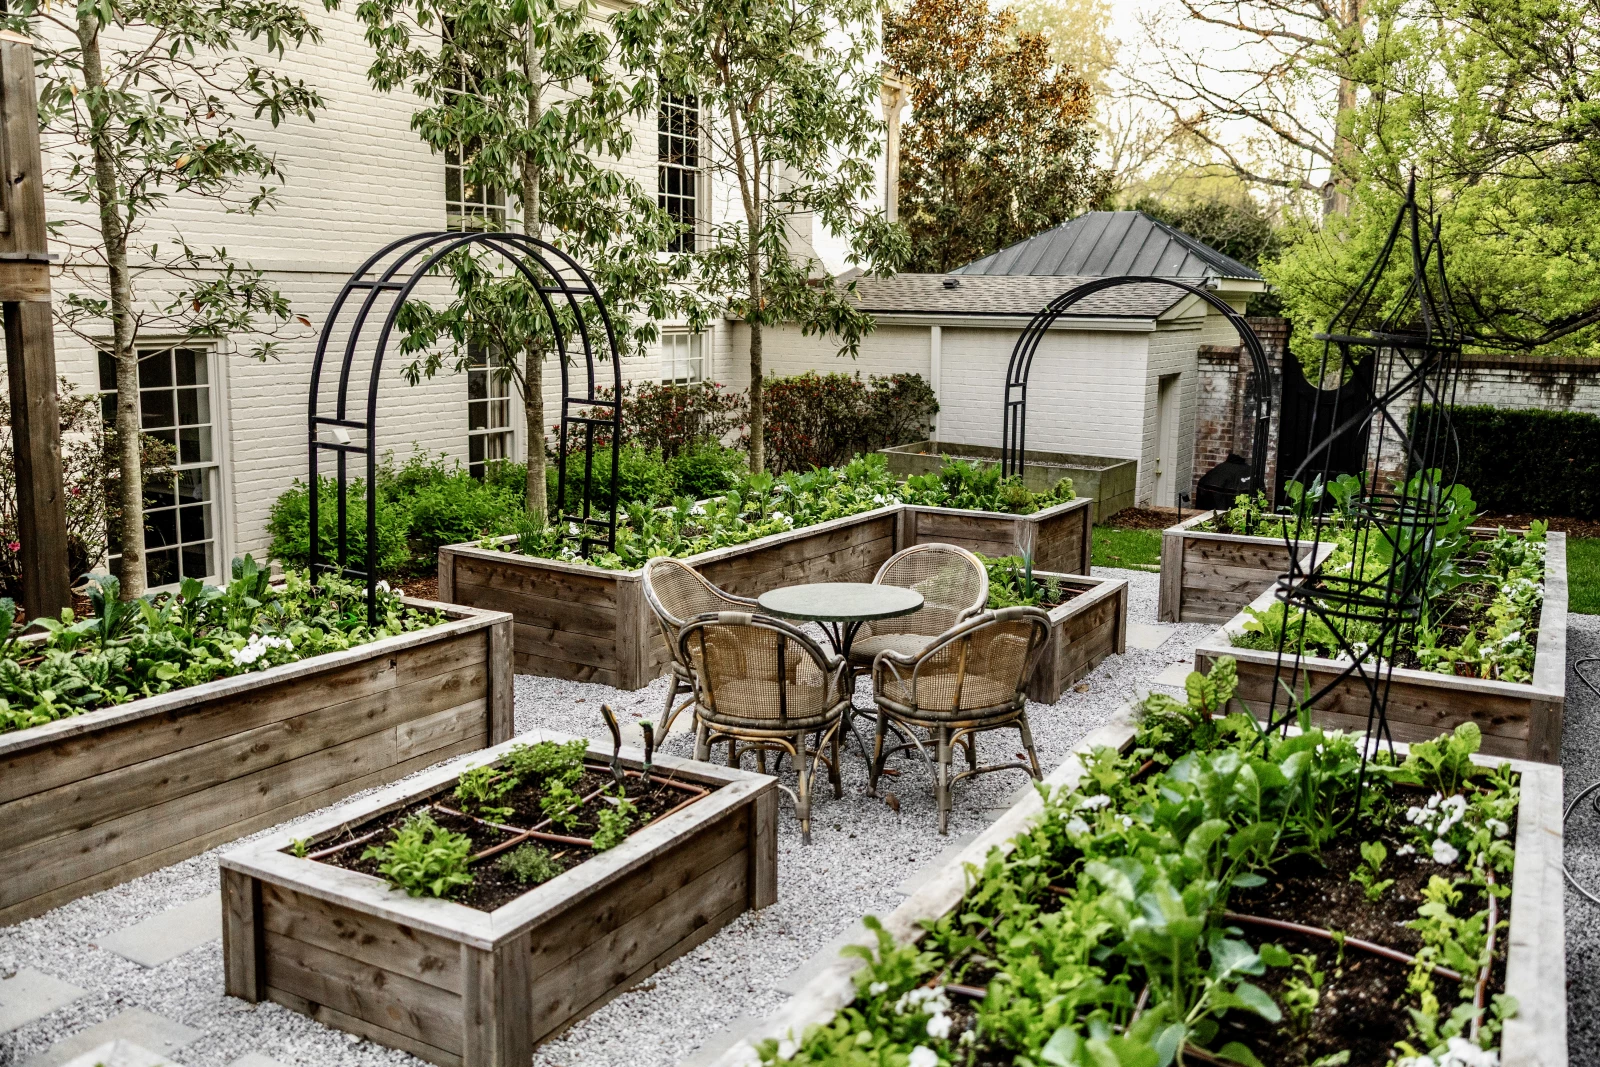
Nicole's Quick Take: Turning a plain lawn into a kitchen garden comes down to five steps: plan the layout around sun and access, clear and level the space, install your raised beds and trellises, get the soil and irrigation right, and then plant your border first before filling in the middle. Choosing the right location is especially important.
At a Glance
- Most of the regret in a new garden traces back to skipping the design step before a single raised bed goes in the ground.
- Raised beds always go in before trellises, and both go in before you bring in soil or irrigation.
- Planting starts at the border with herbs and flowers, then works inward toward the biggest fruiting plants.
The Yard That Was Just Grass
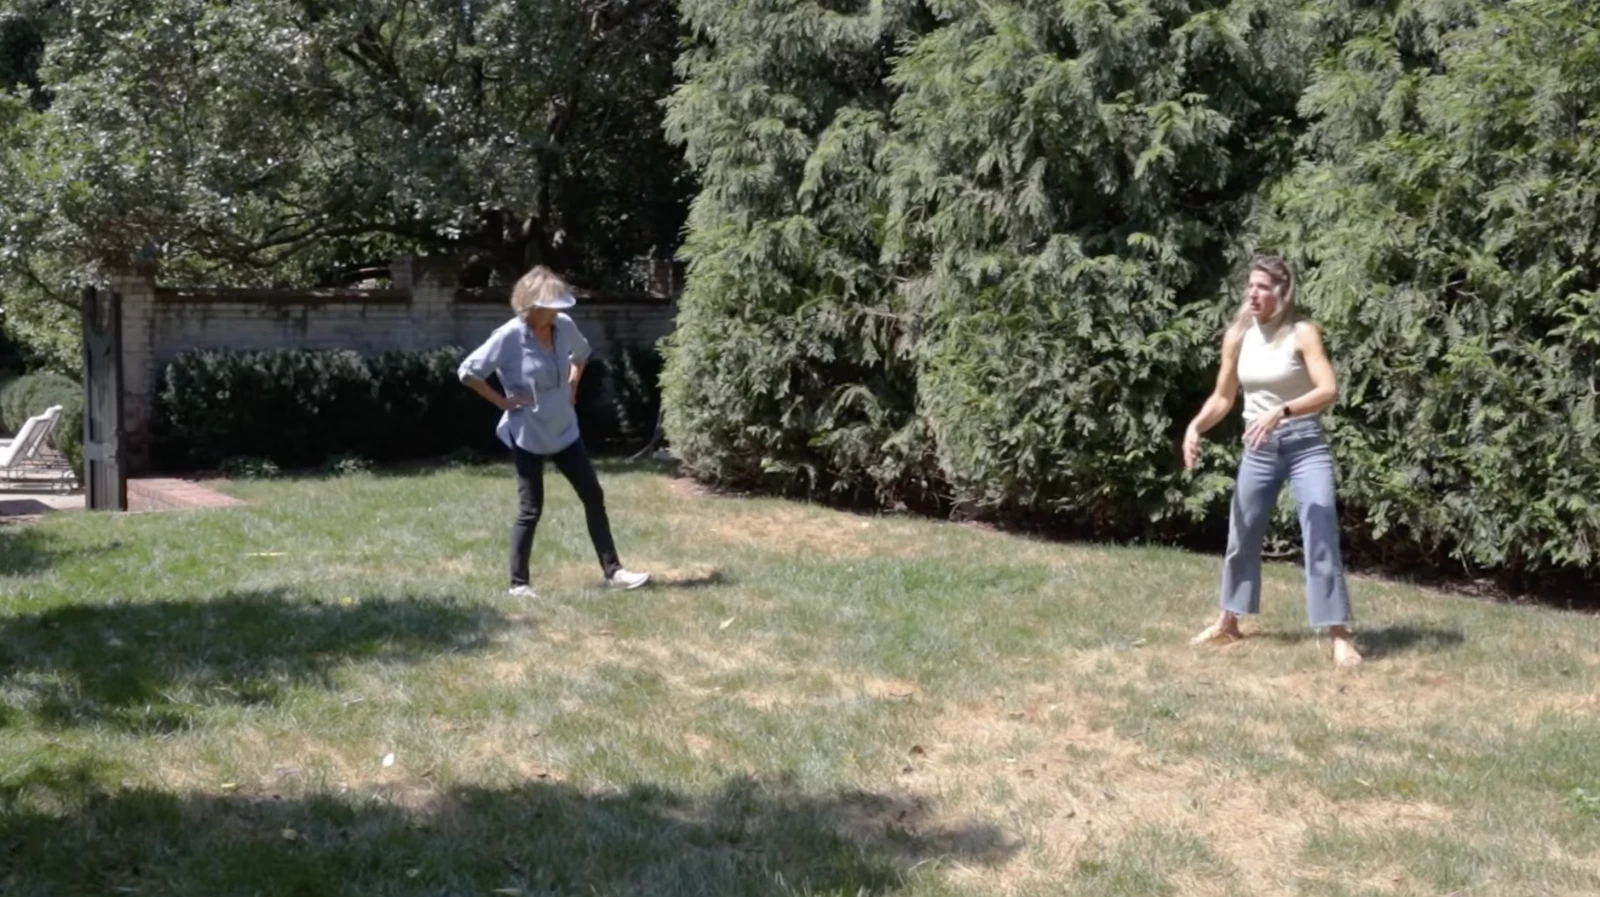
I met my client, Connie, right in her backyard, standing on a stretch of plain old lawn.
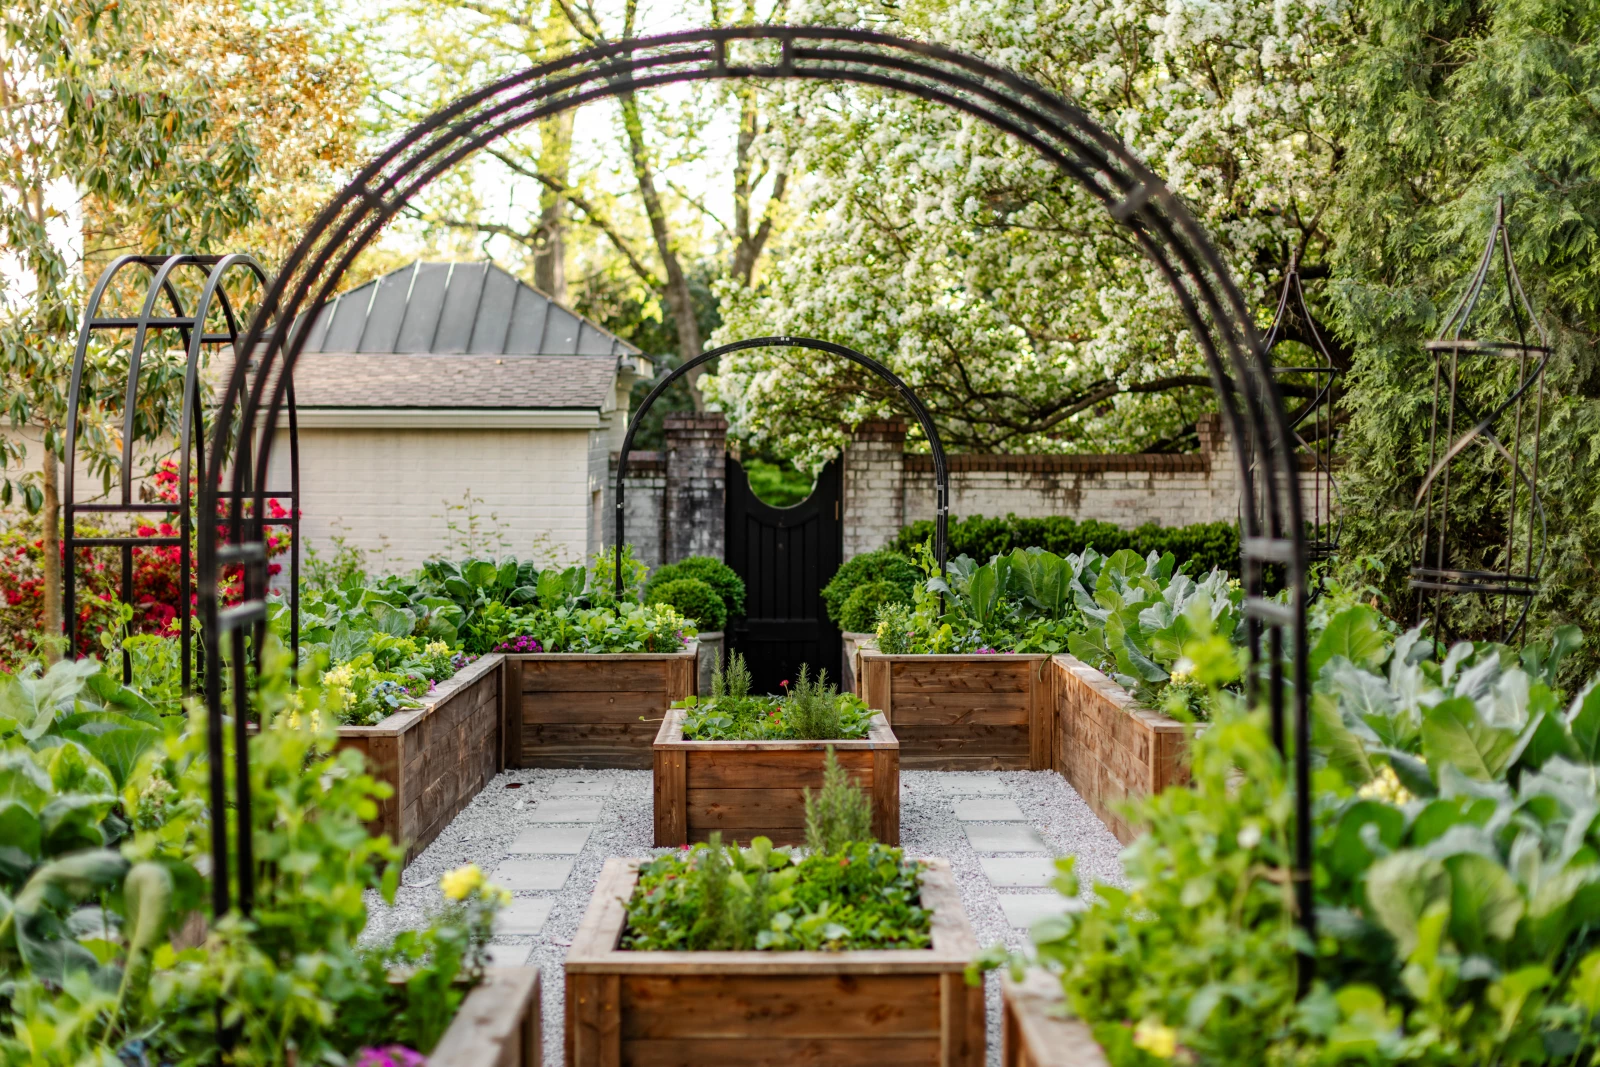
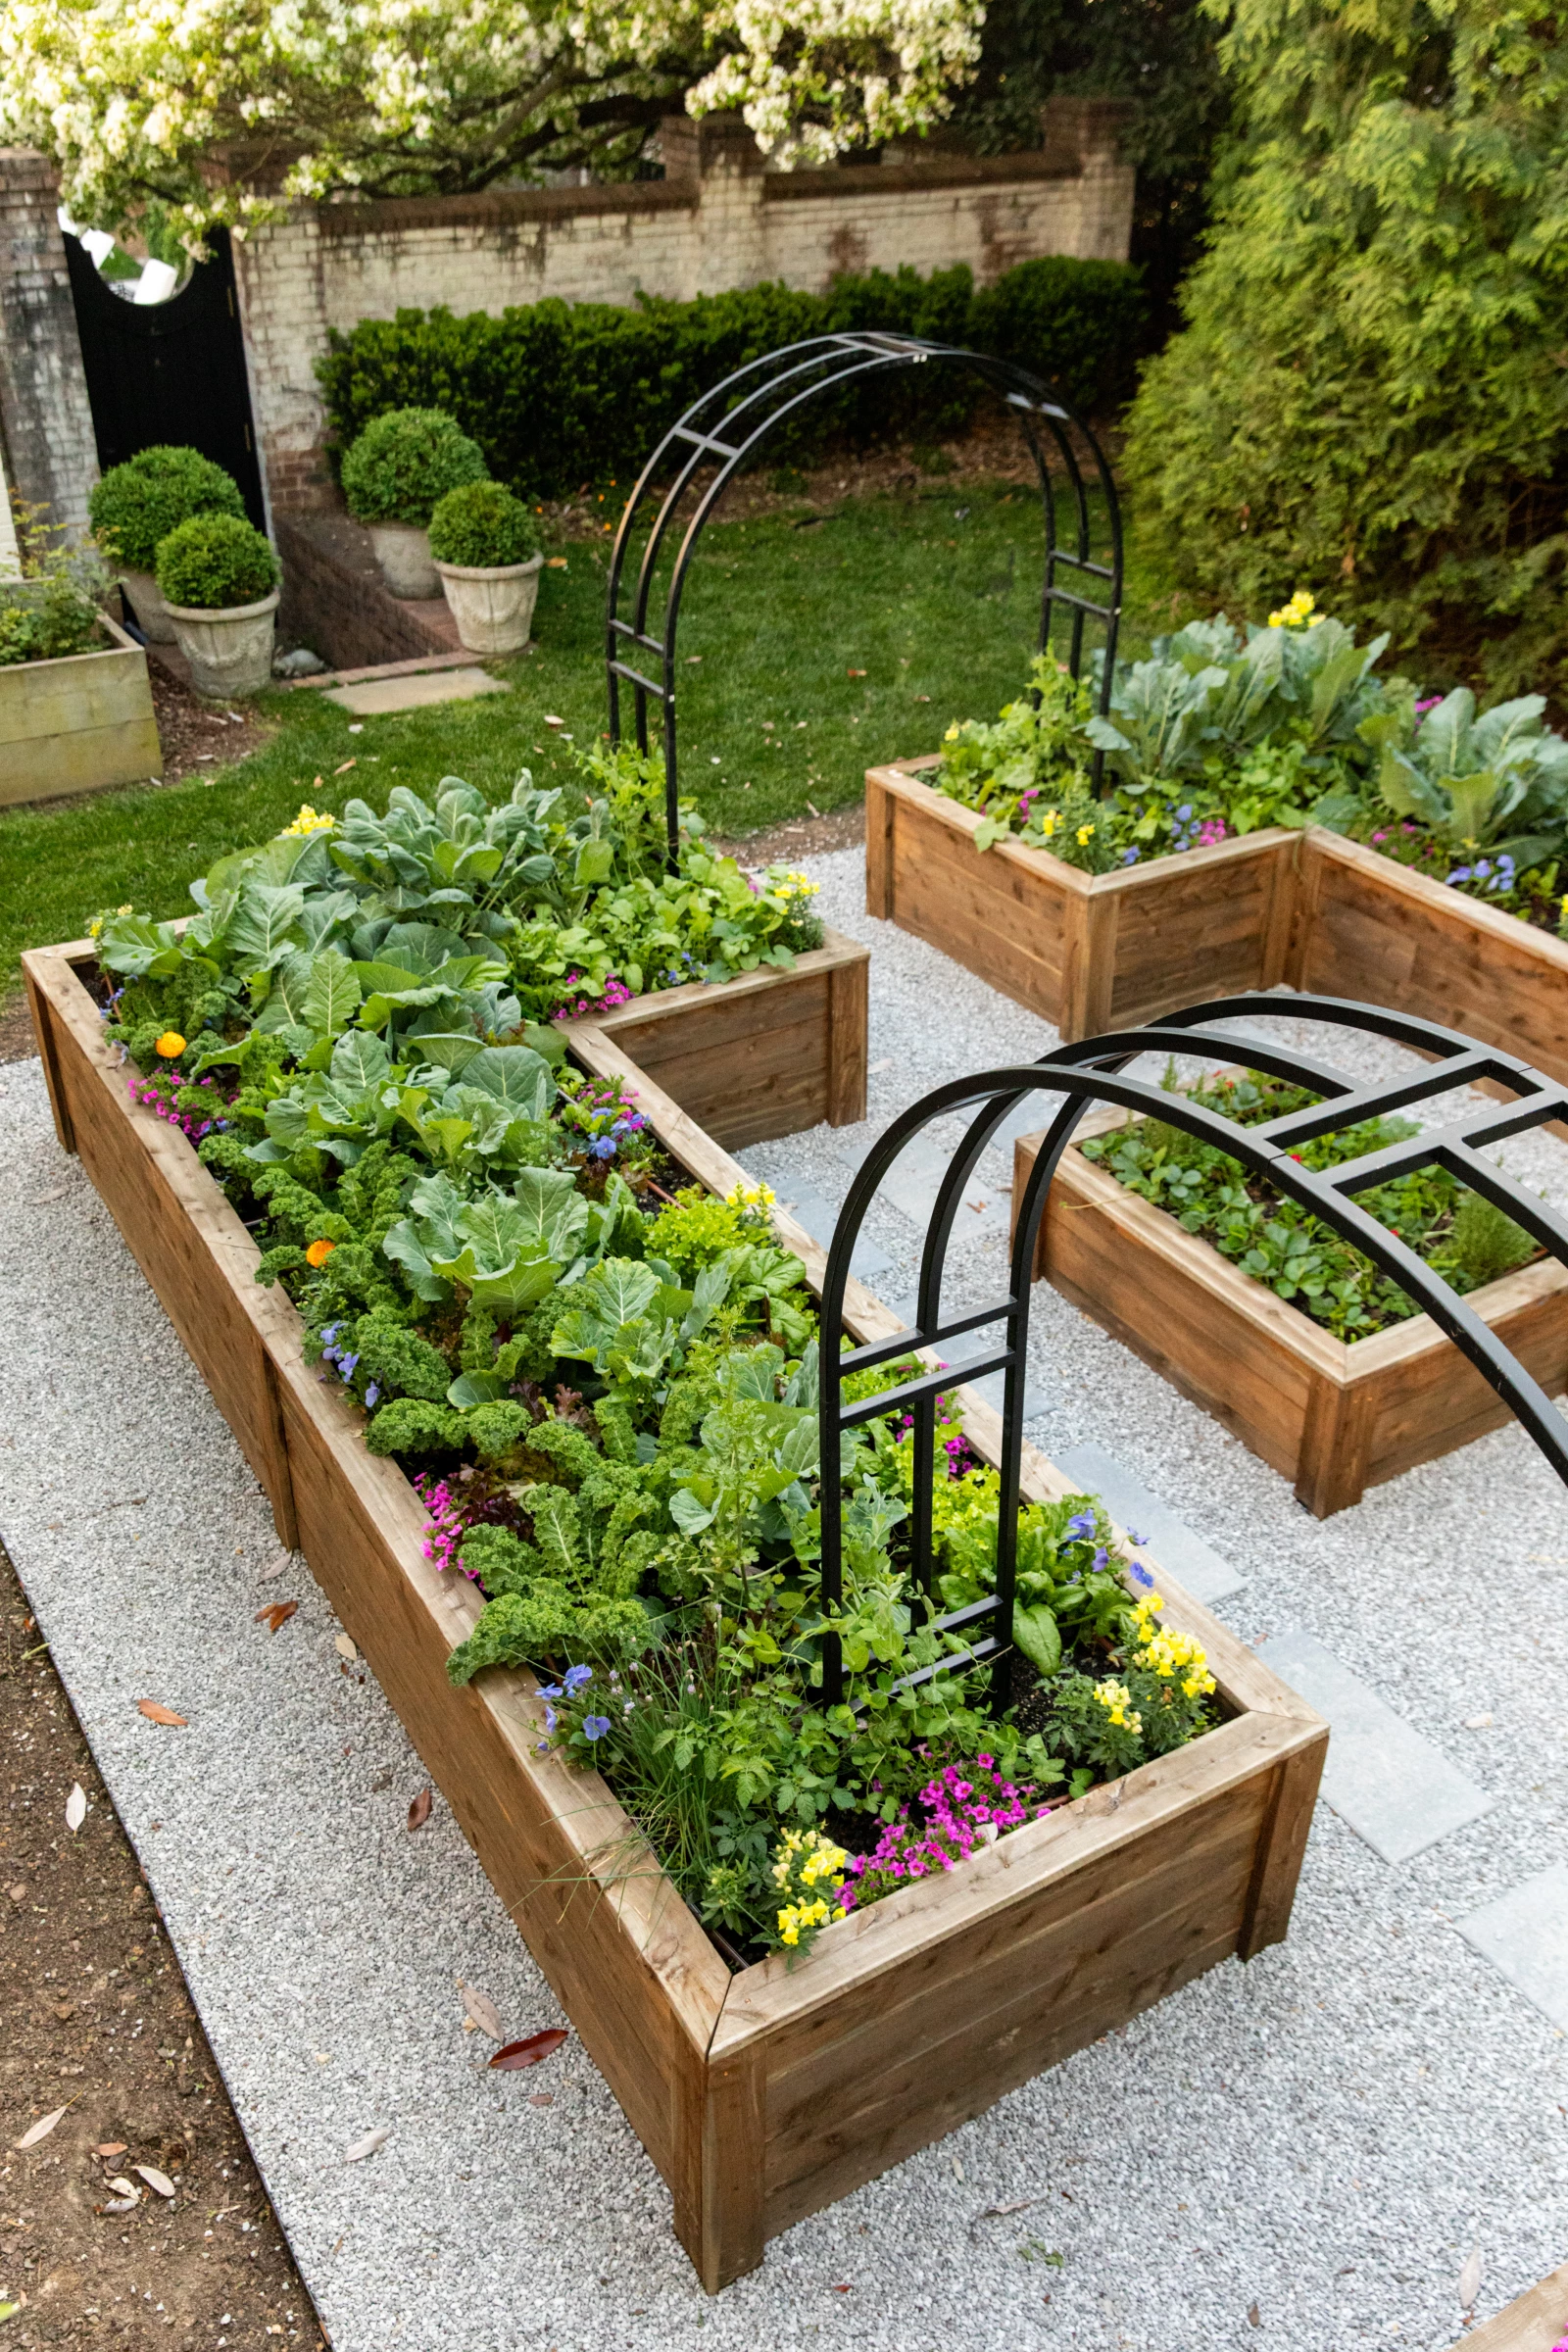
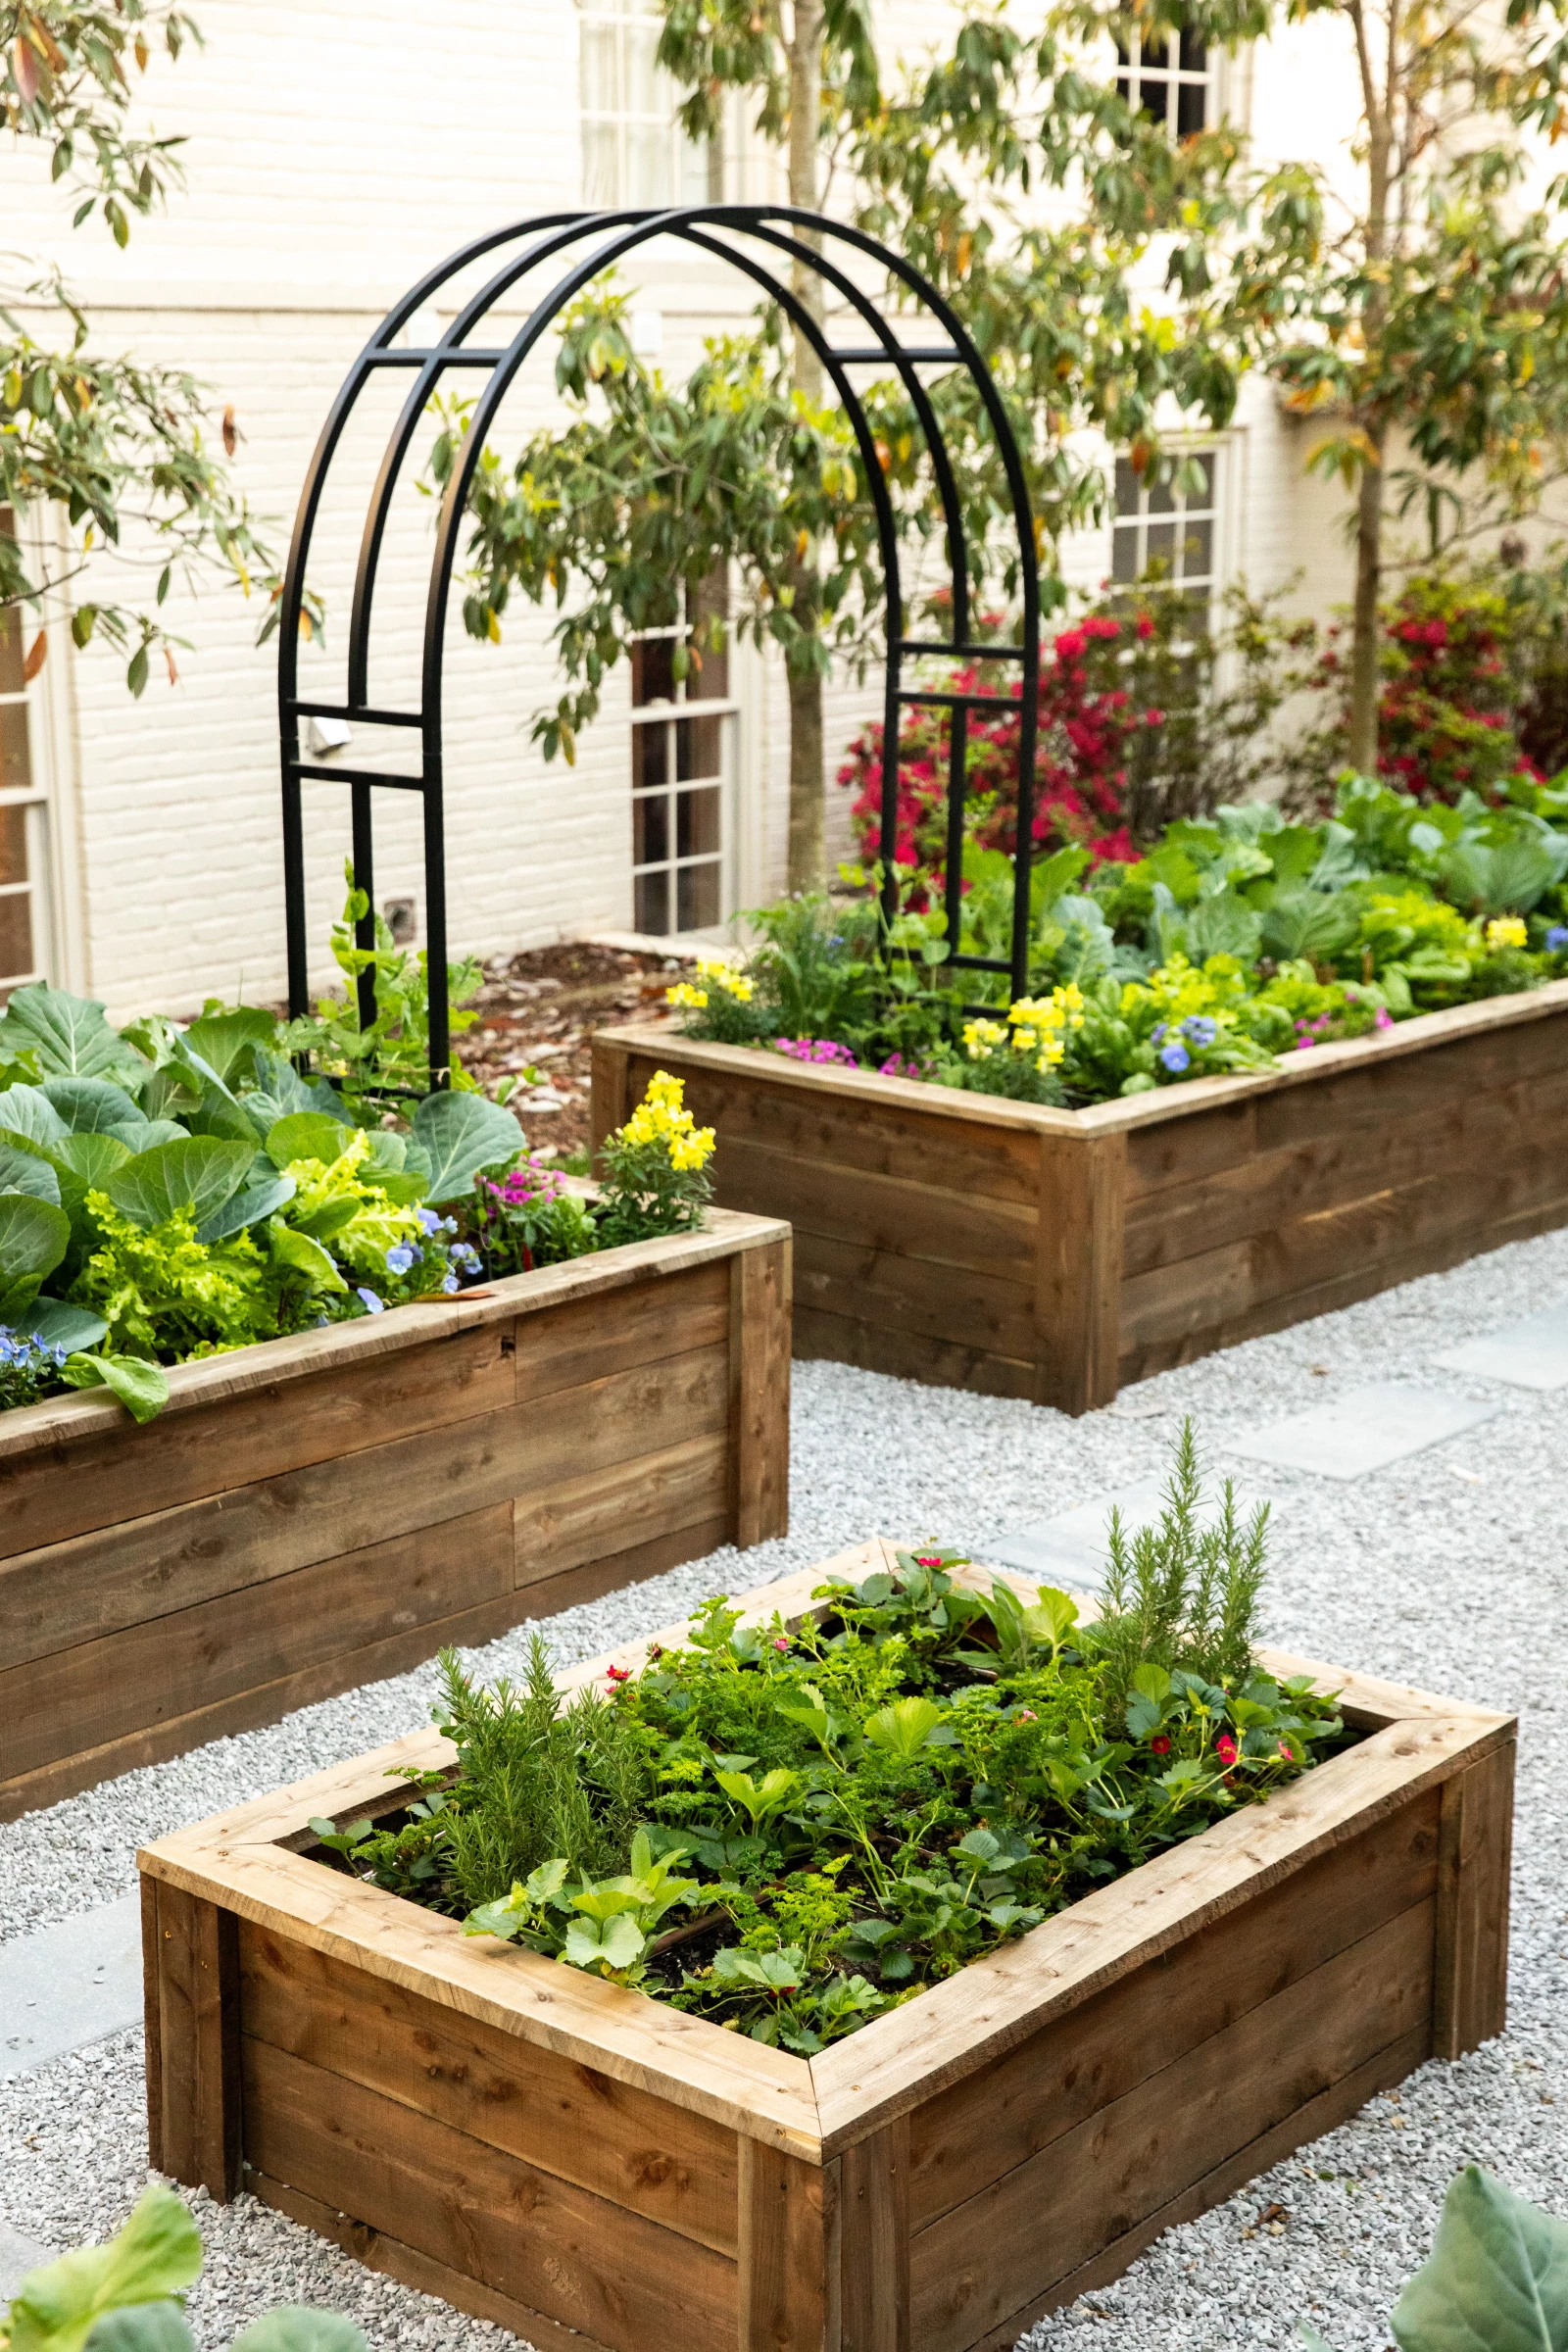
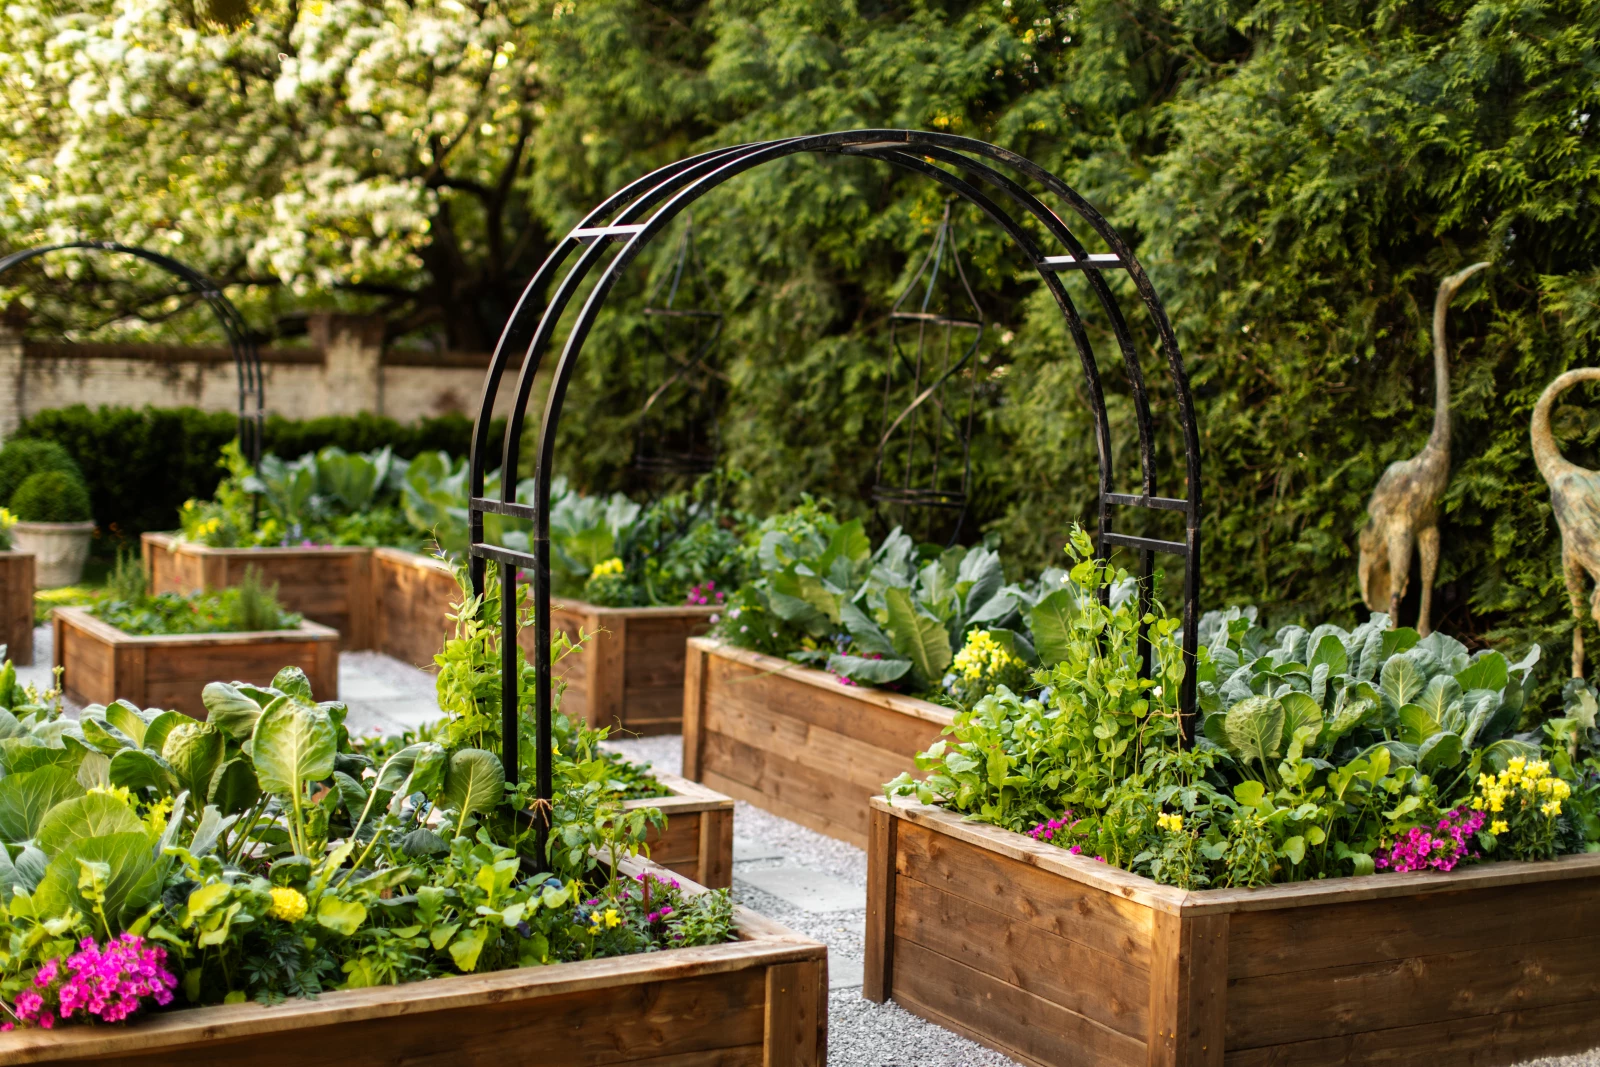
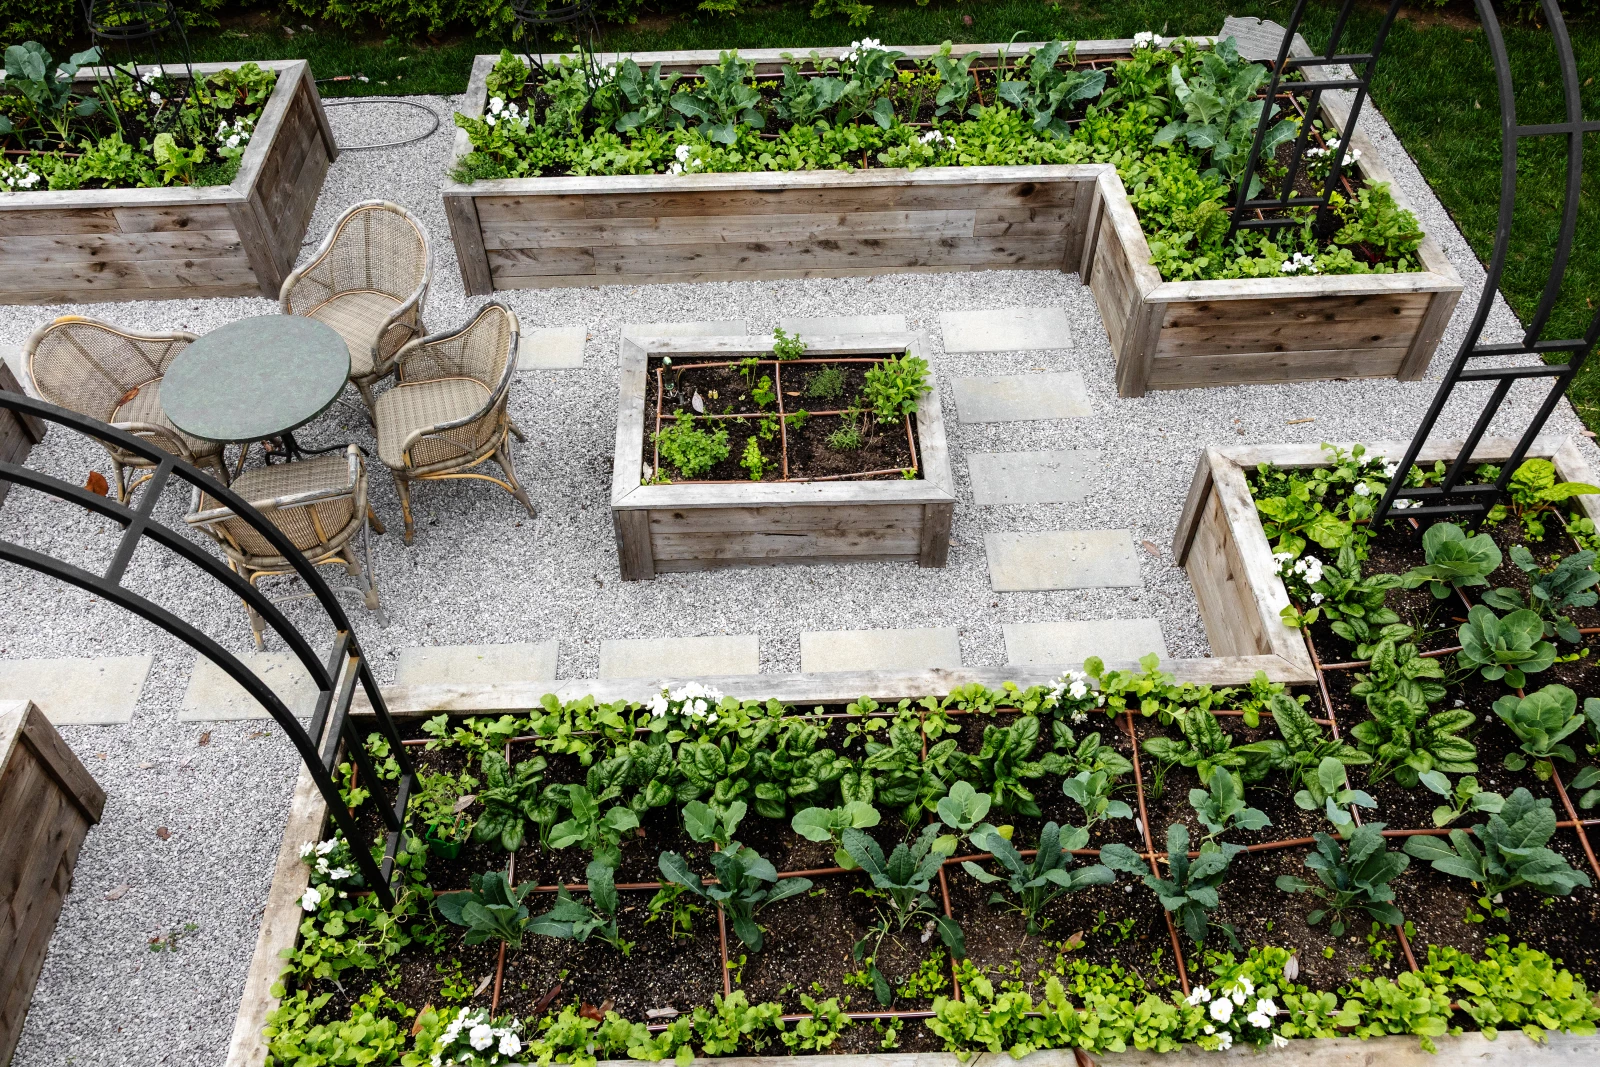
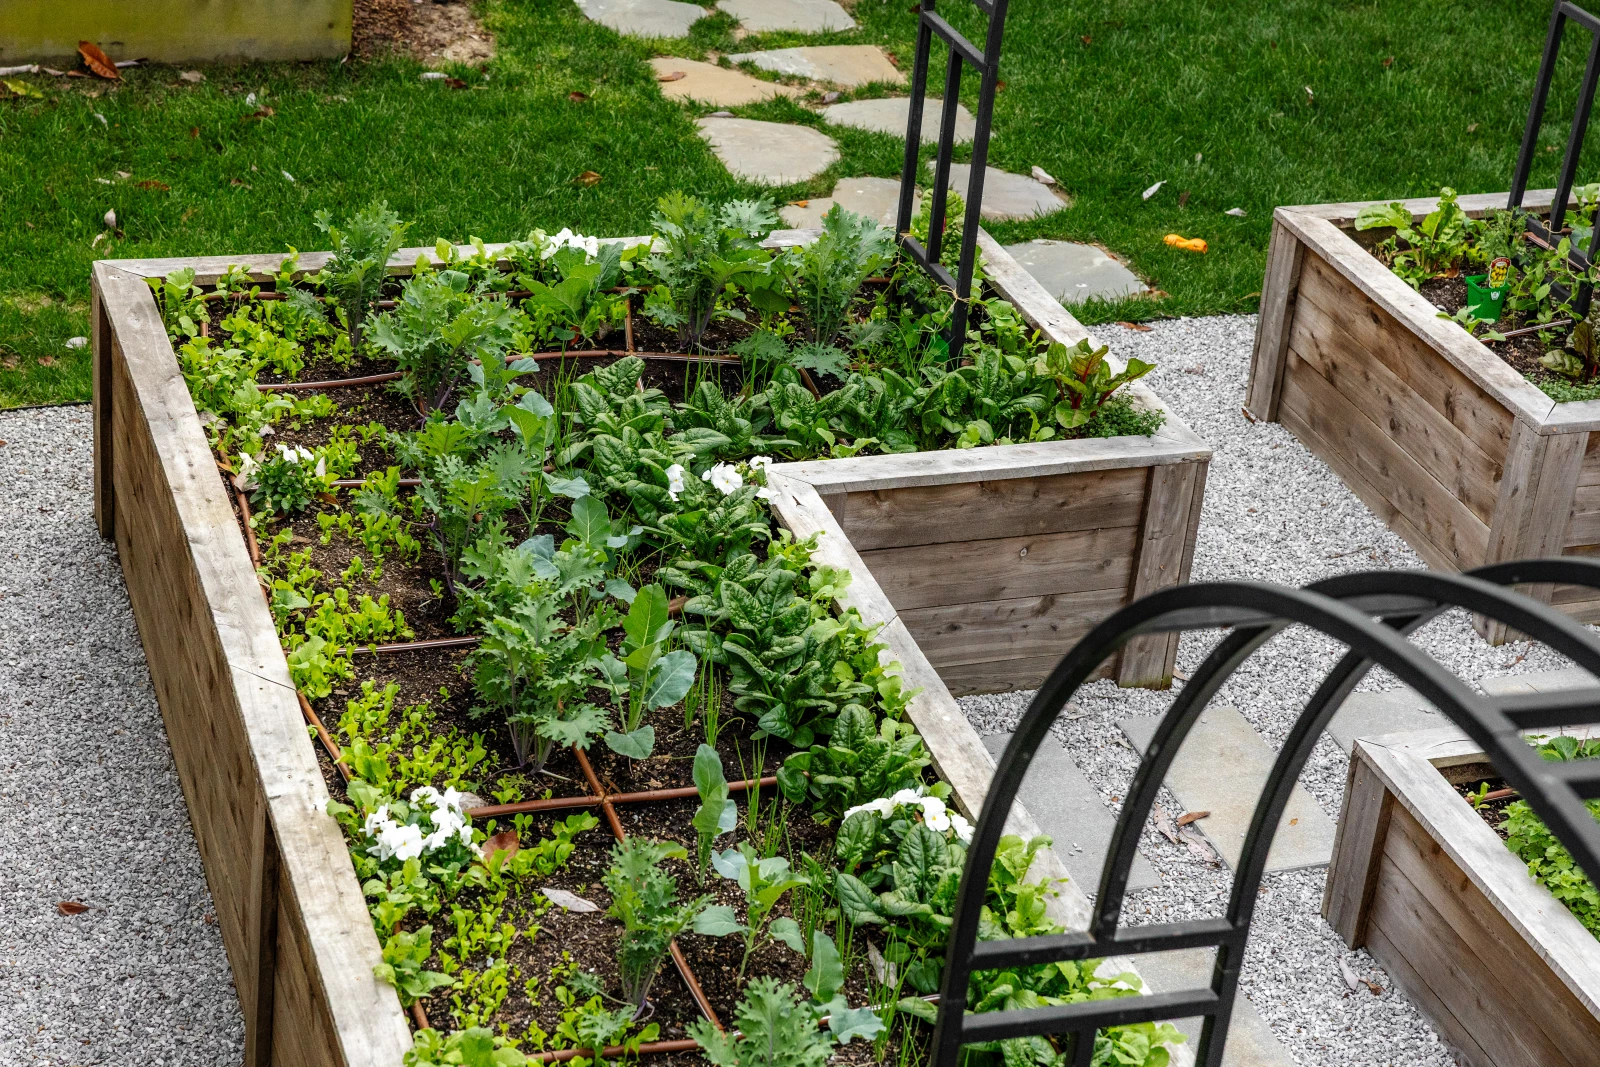
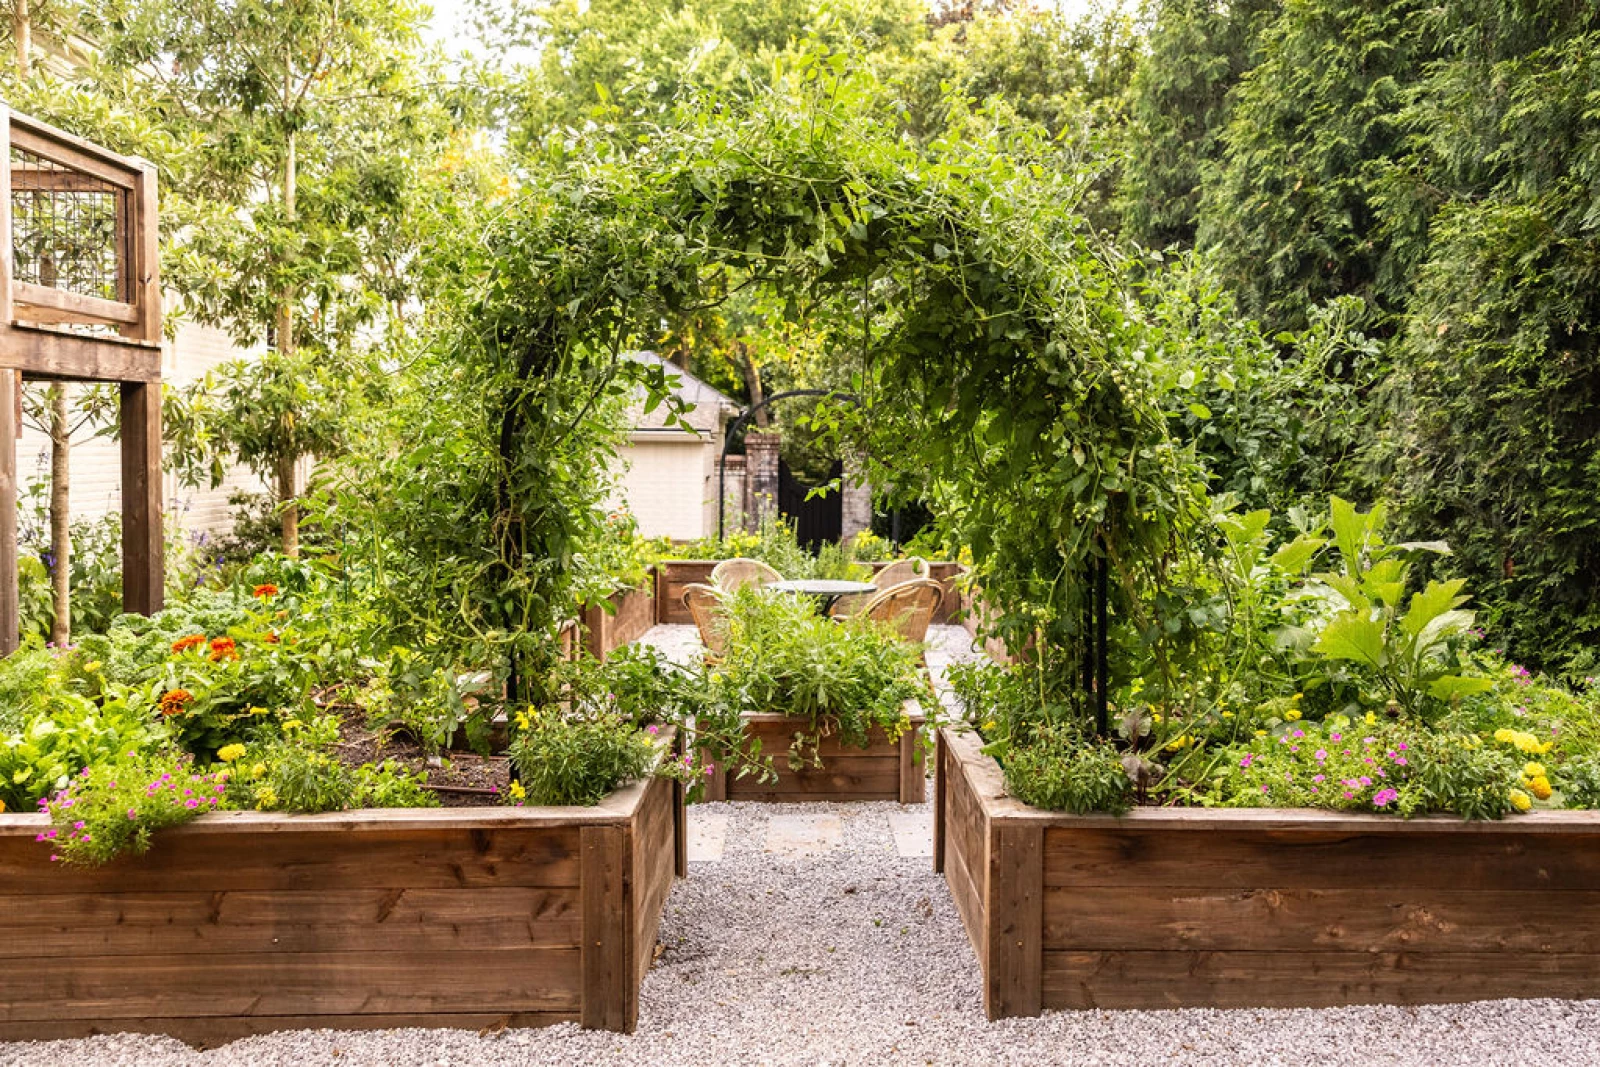
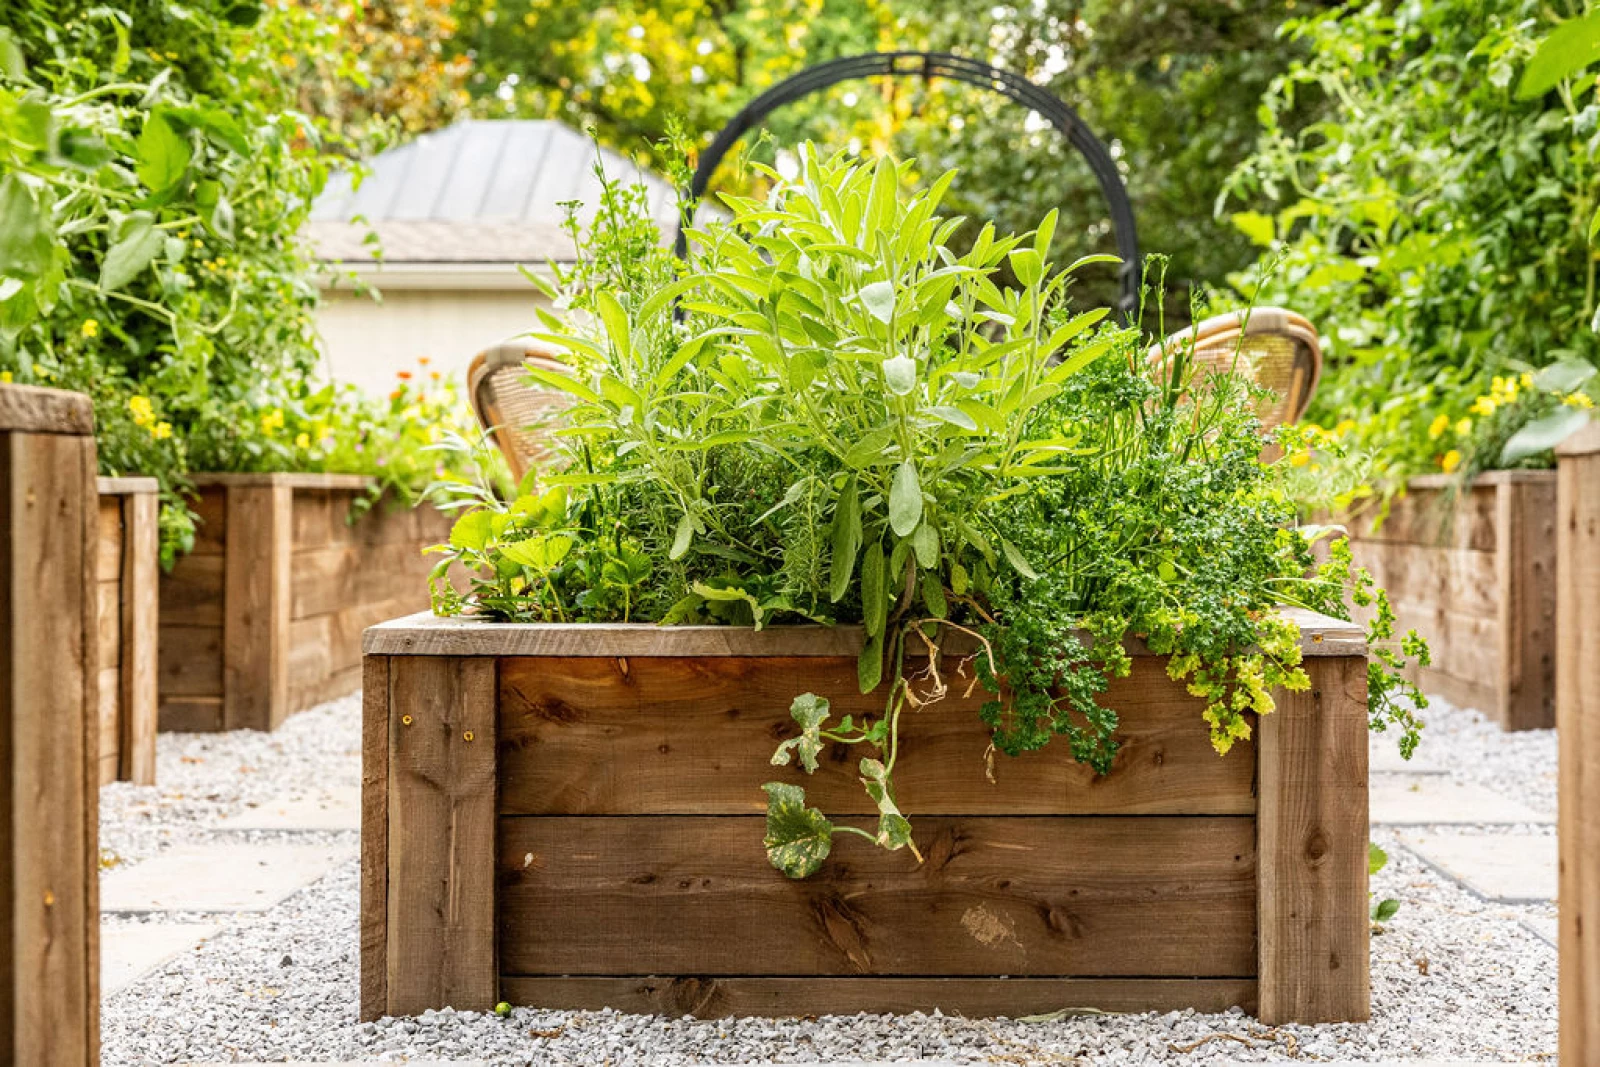
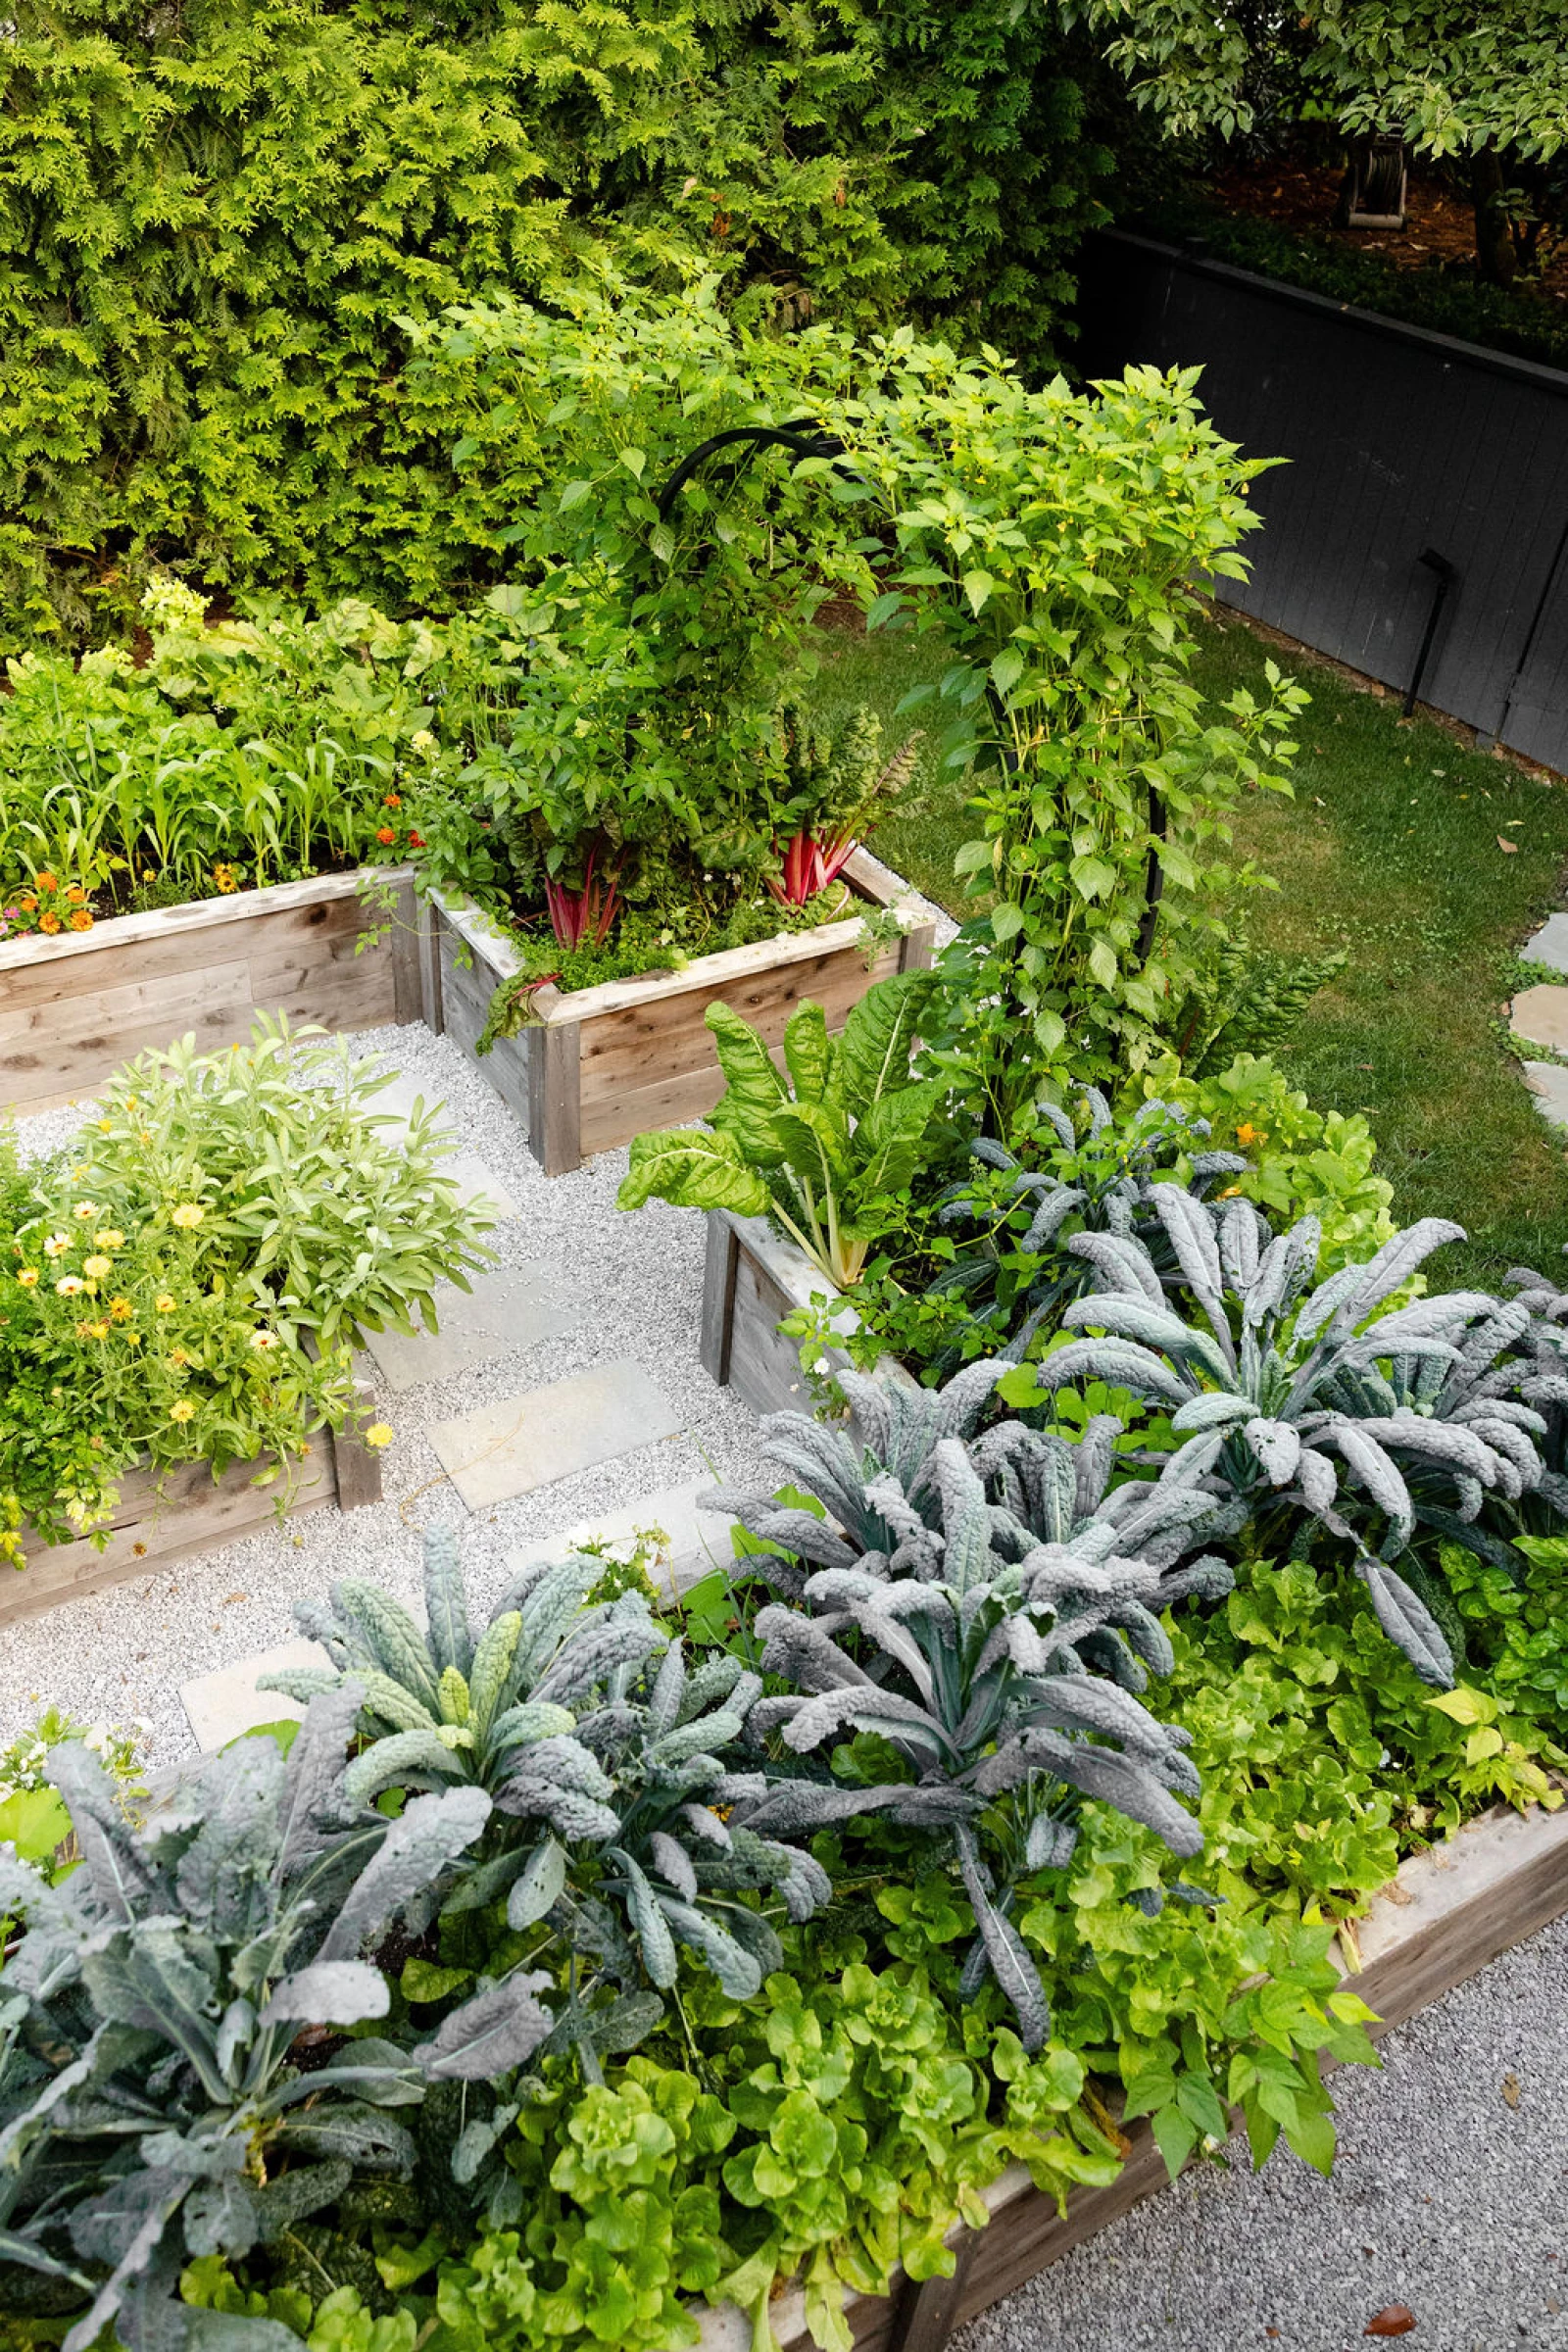
A few months later, that same boring patch of grass was transformed into a beautiful backyard getaway. L-shaped cedar raised beds, trellises heavy with tomatoes, and more kale than one family could possibly eat.
I've done this transformation more times than I can count, and it always follows the same five steps.




Step 1: Walk Your Yard Before You Buy Anything
This is the step that saves you the most money, and the one most people skip. Before my client, Connie, and I picked a single design, we looked at four things.
4 Things to Consider When Choosing a Garden Location:
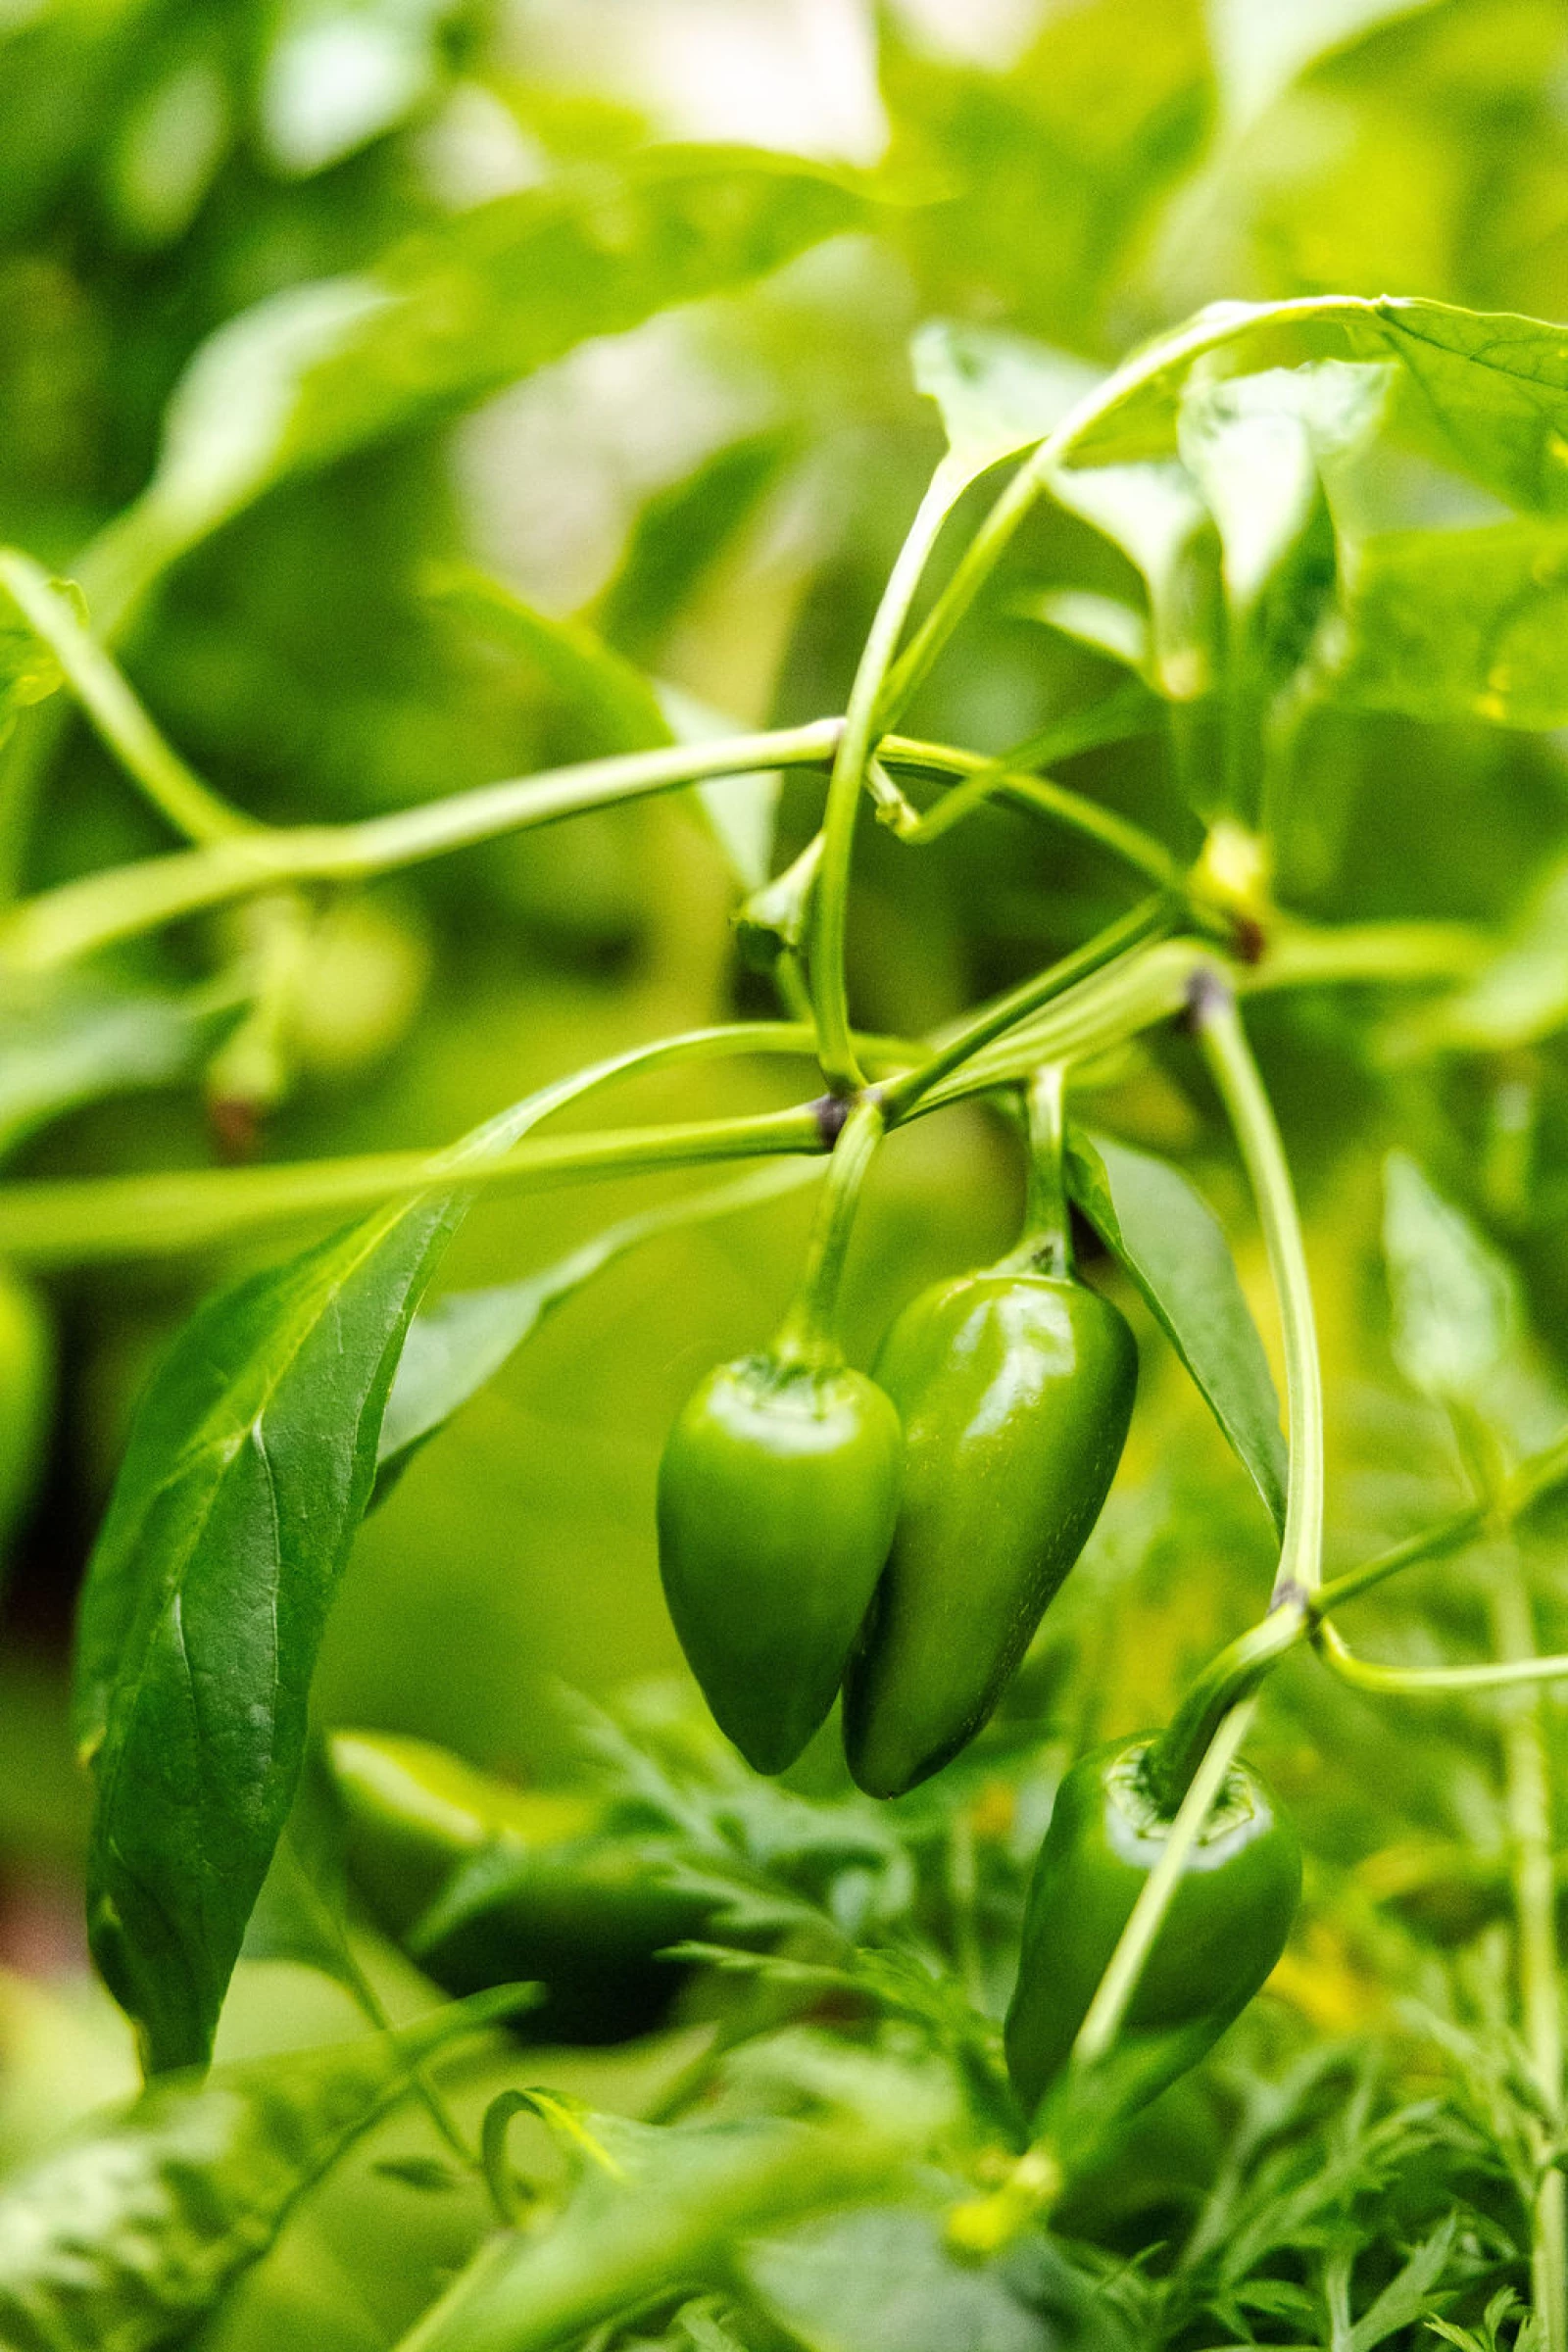
- Sun. Your garden's growth is tied directly to how much light it gets. Find where south is in your yard and watch how sun moves across the space over a few days. In Connie's yard, almost the entire garden gets sun for most of the day, except for one small corner shaded by her chimney. Most vegetables need a minimum of six hours of direct sun, according to Oregon State University Extension, with eight to ten hours being ideal for fruiting crops like tomatoes and peppers.
- Water access. Find your nearest spigot. That's what we used to run irrigation to every bed in Connie's garden, and I'll walk through that in Step 4.
- Accessibility. How close is the garden to your kitchen? Connie can walk down a few steps from her kitchen and be standing in her garden. That's the goal. A garden tucked far from the house is a garden that gets ignored.
- Aesthetics. How does the garden tie into your home? I look at where the gates are, where the fences run, and the existing lines of the house, so the garden feels like it was always meant to be there.
I cover all of this in more depth, along with the different garden layouts I turn to again and again, in my book, Kitchen Garden Revival. It's the resource I wish I'd had before I designed my very first garden.
For a deeper walk-through of designing a garden from start to finish, you can take our complete video course, Kitchen Garden Academy.

Step 2: Clear and Level the Space (the Unglamorous Part)
Once you know your layout, it's time to prep the ground. This part isn't fun, but it makes everything after it so much easier.
How to Prepare Your Space:
- Mark your border. Use stone, steel edging, or even stakes and twine to outline exactly where the garden will go.
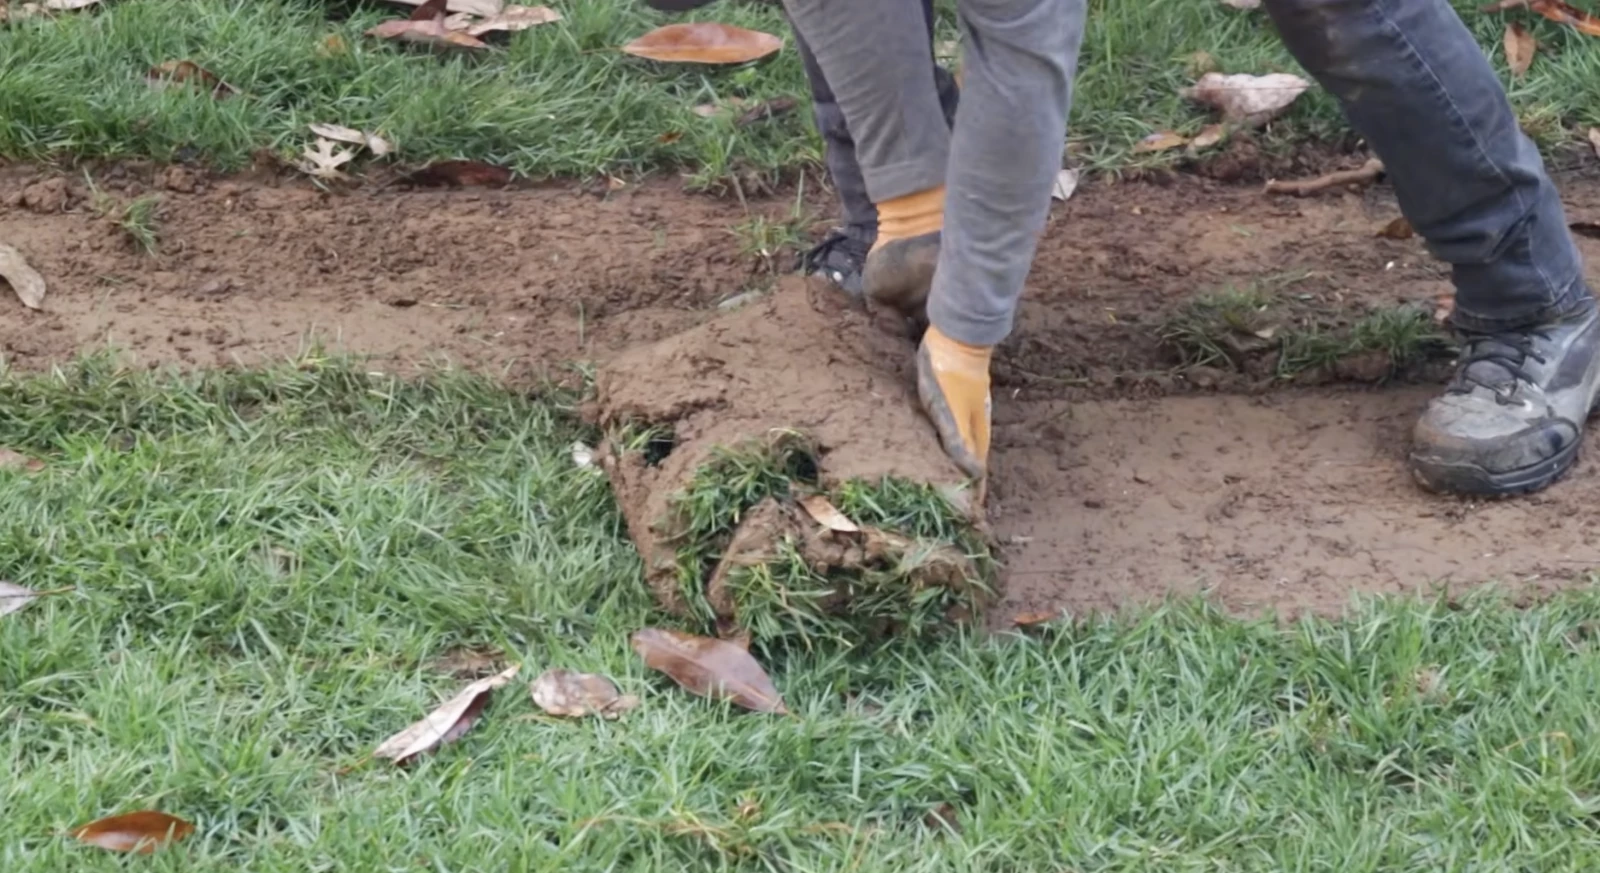
- Clear everything inside the lines. Sod, weeds, bushes, anything in the way, it all has to go. For small areas, University of Maryland Extension recommends slicing under the sod with a flat spade and setting the strips aside to dry rather than throwing them out, since sod holds valuable topsoil.
- Level the space. Everything inside your border needs to sit on the same plane so your raised beds line up evenly with each other.
- Cover the pathways. Mulch works, but I almost always reach for gravel. It drains fast, it's easy to walk on, and it keeps your raised beds sitting on a dry surface instead of soaking up moisture they don't need.

Love the Look of a Gardenary Garden? Start With the Beds.
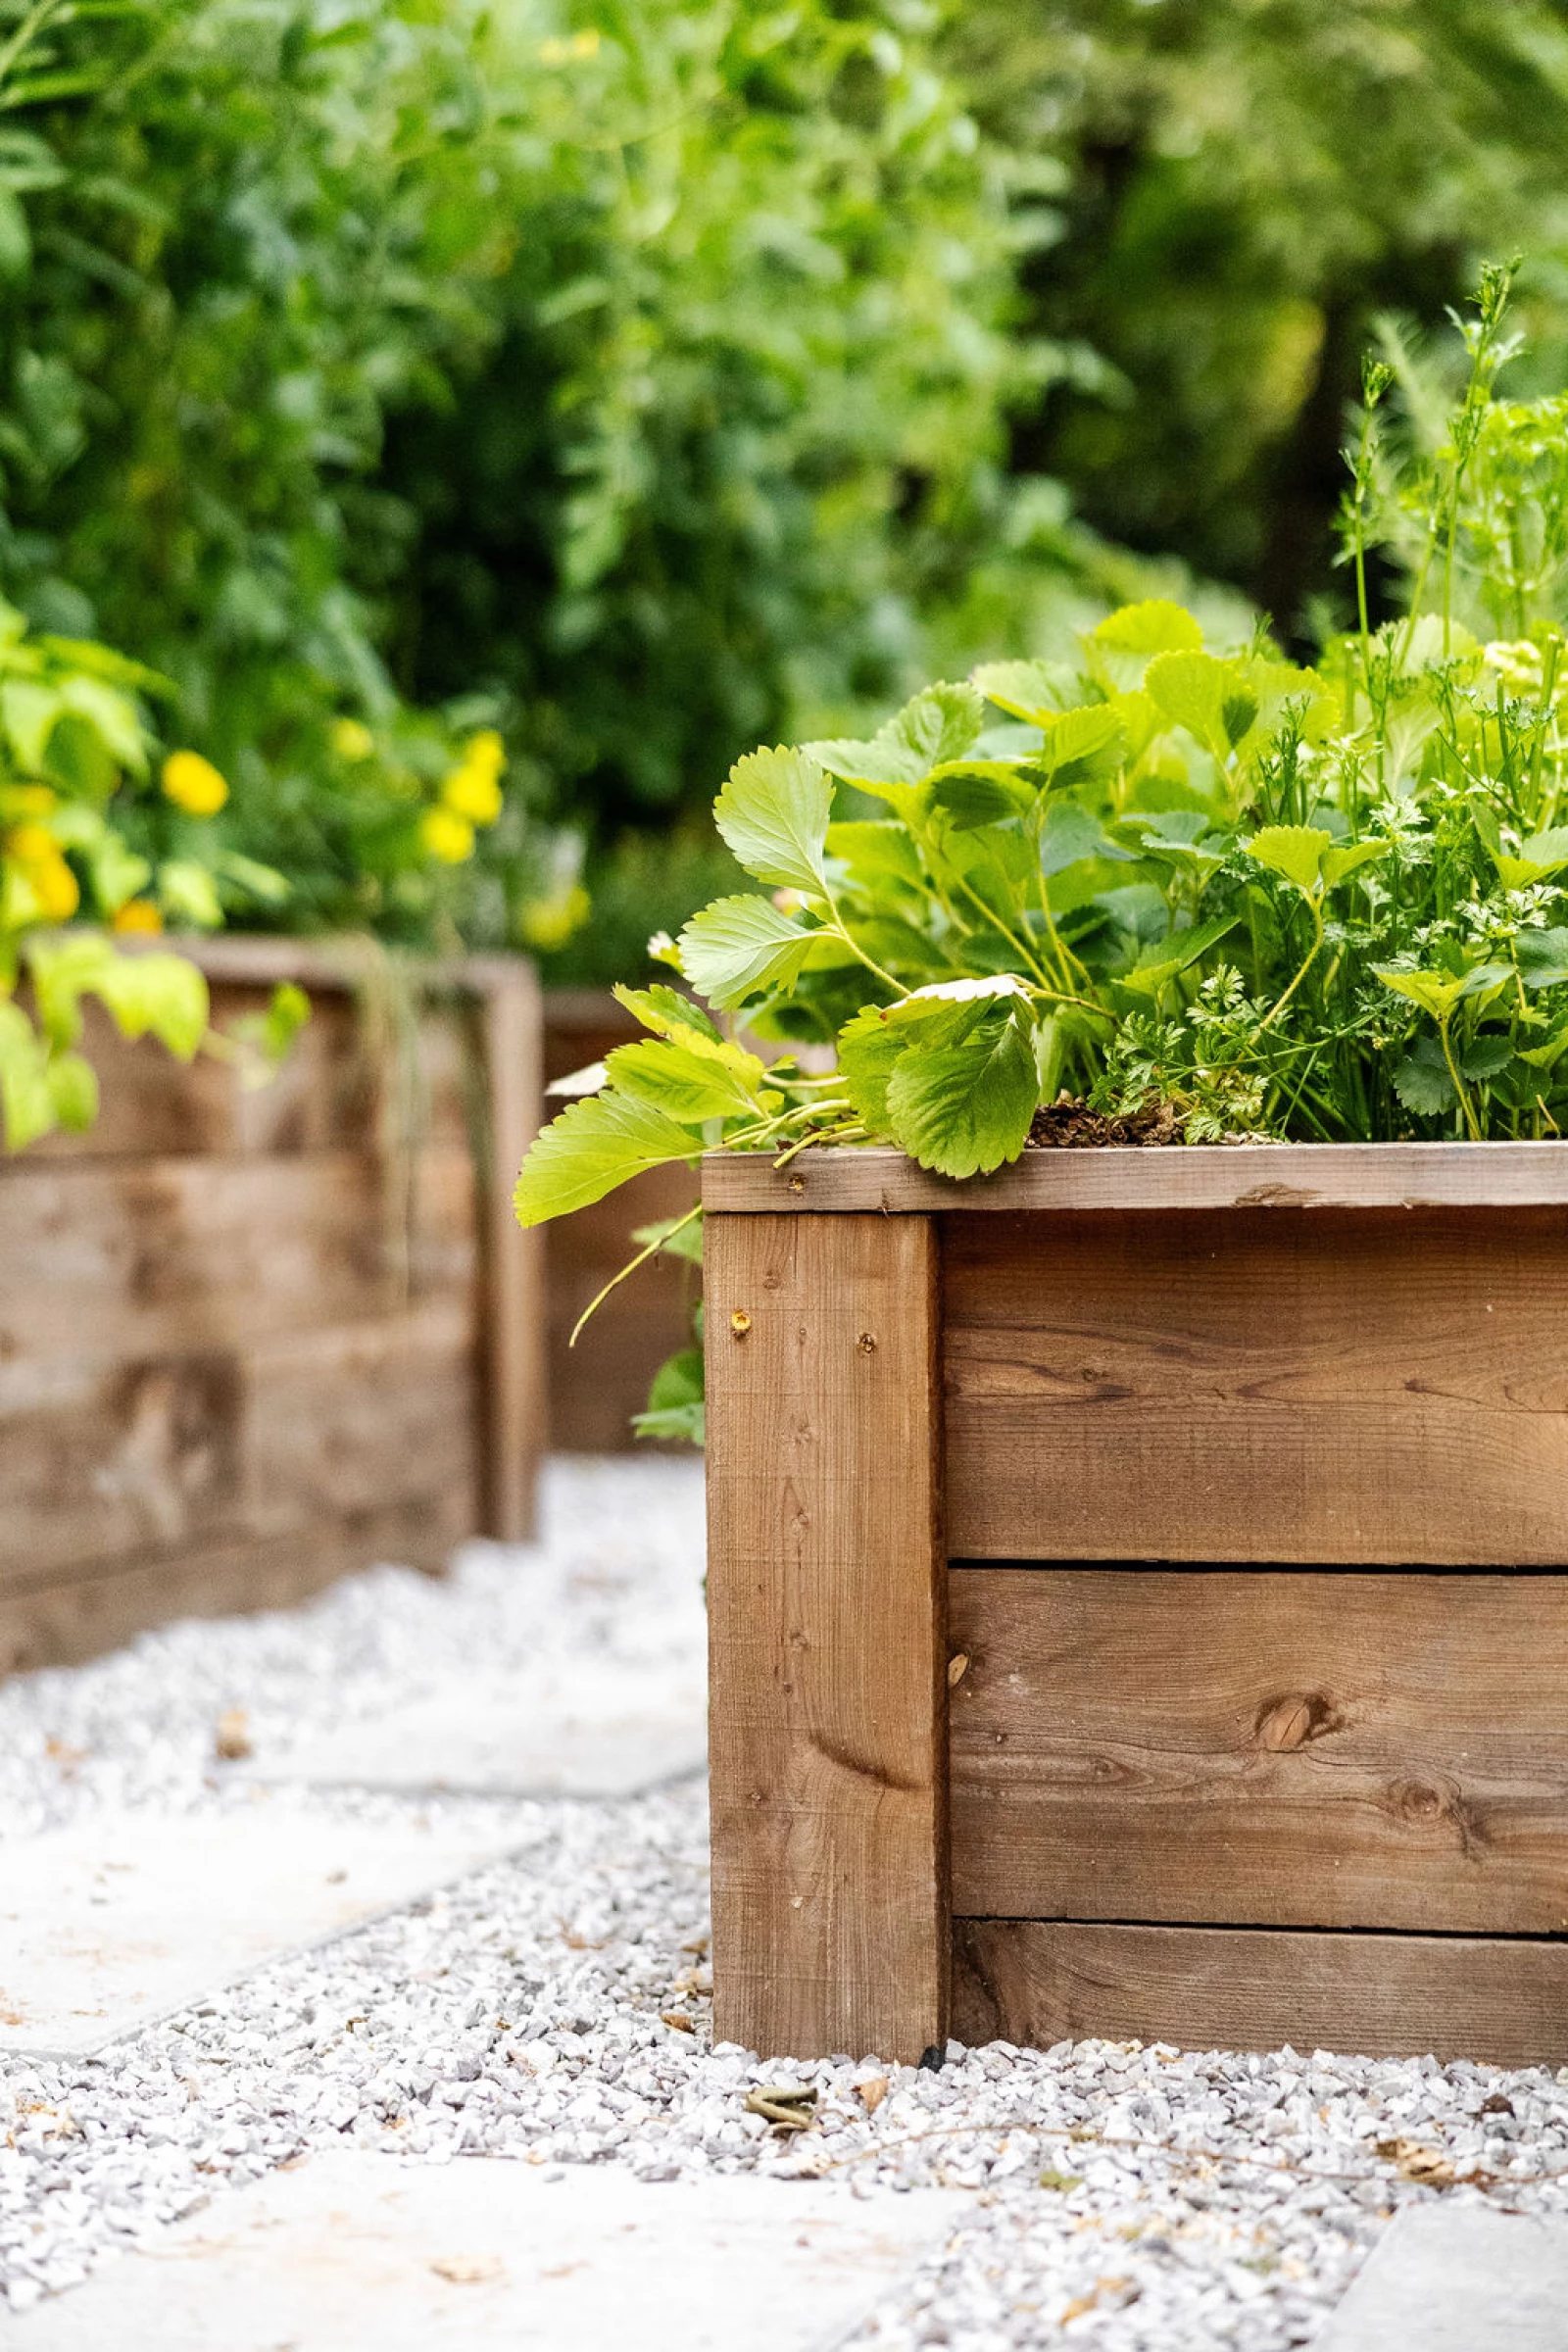
Handmade cedar kits that skip the sawing, measuring, and hammering
- A raised bed for every space, with 39 size options
- Three heights to fit your planting needs
- Handmade in the USA from premium, untreated cedar
- Built for long-term durability and productivity
Step 3: Raised Beds First, Then Trellises
With your space cleared and level, it's time to install your structures. Raised beds always go in first.
You've got options here: cedar, stone, or steel.
For Connie's garden, we went with cedar and had the beds custom built to fit her space.
If you're building your own, our cedar raised beds come in enough sizes and shapes to fit almost any layout without a custom order. Once your beds are in place, a natural wood stain protects them and helps them hold up for years instead of one or two seasons.
Trellises come next. You can choose from arches, obelisks, and panels.
Connie's space got the Nicole Arch Trellis, which tends to sell out quickly each season, so if you love the look, don't wait too long to order.
Get every structure in place before you start moving in soil. Retrofitting a trellis after the beds are full of plants and soil is a headache you don't need.


Step 4: Soil and Irrigation
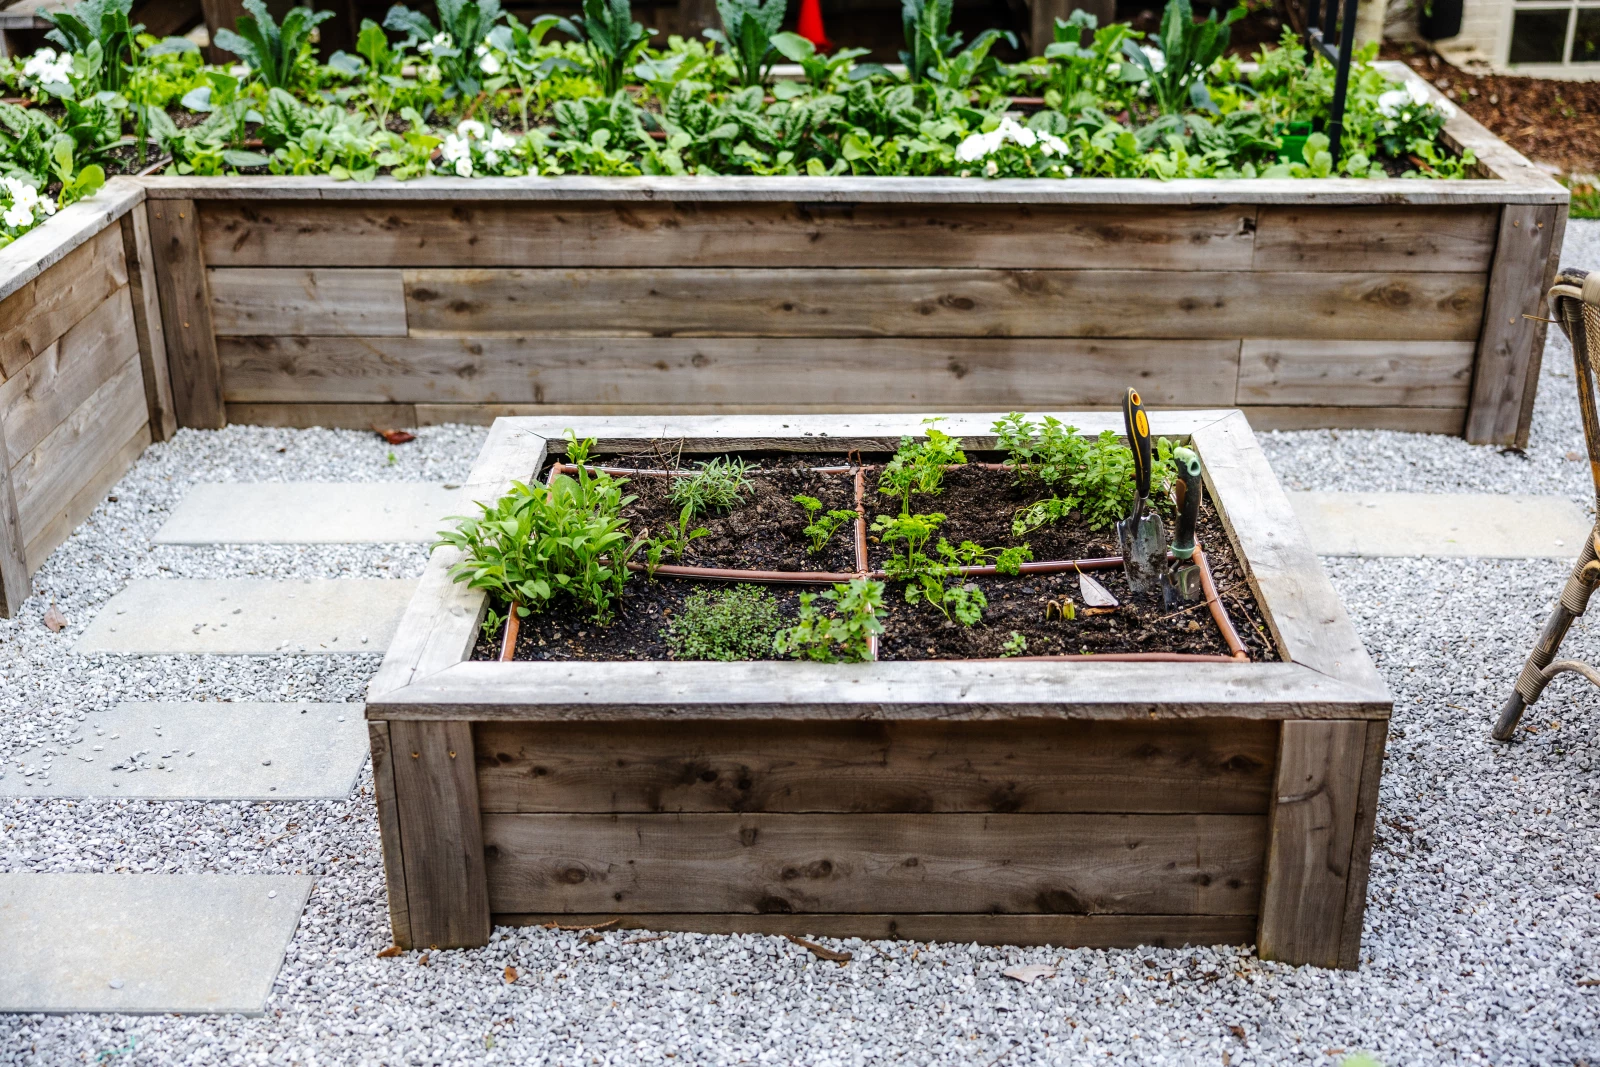
Fill your beds completely with high-quality soil.
I use a simple blend of topsoil, compost, and coarse sand with some earthworm castings mixed in, and I top it off every year rather than letting it settle and thin out.
Next is irrigation. Connie's setup connects to her spigot, runs underground to each bed, and feeds a drip line across the top of the soil in every single one.
Drip irrigation puts 90 to 95 percent of the water it delivers directly into the soil, compared to a fraction of that with overhead sprinklers, which means less water wasted and drier foliage overall, which can prevent disease.
Just know that drip runs much slower than a spray head, so plan to water longer, not shorter, when you switch over.



Get the Kitchen Garden Styles Course — Free
Regularly $47, this course is yours free for a limited time. Discover inspiring ideas to help you choose the kitchen garden layout that fits you—and your space—just right.
Step 5: Planting Day, Border First
This is my favorite part, and it's also the part people tend to do backward.
Here's the planting order that works:
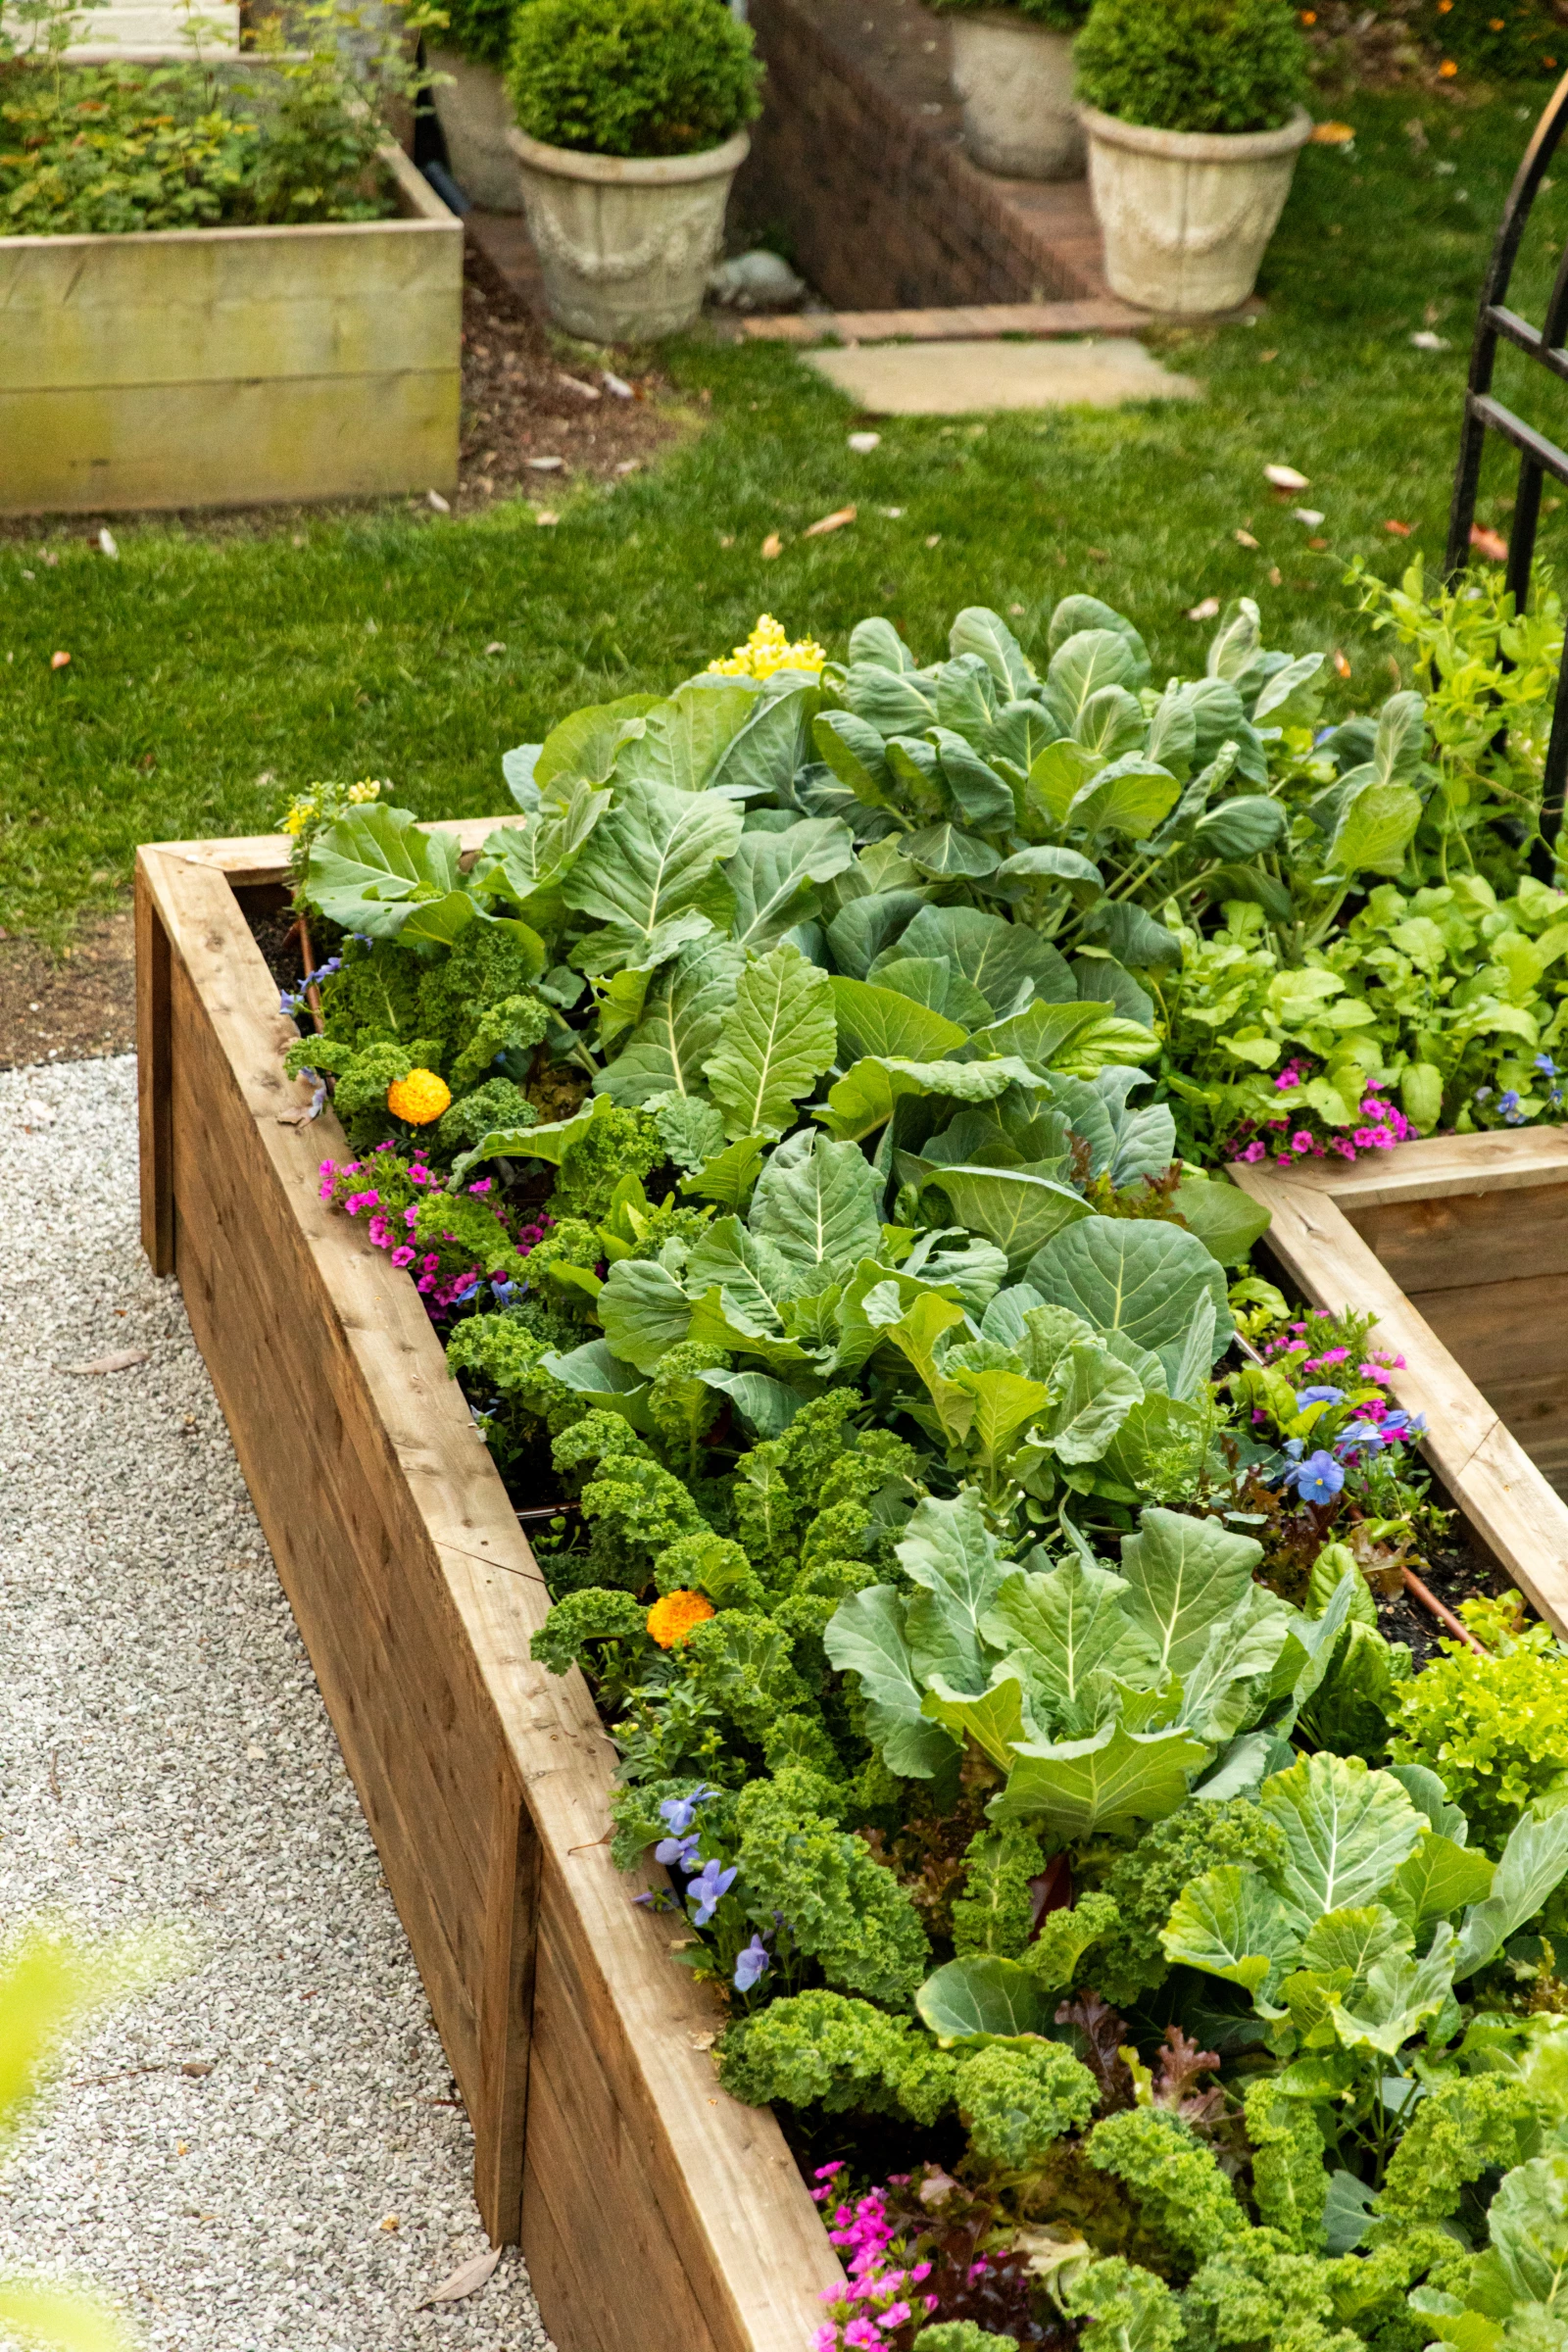
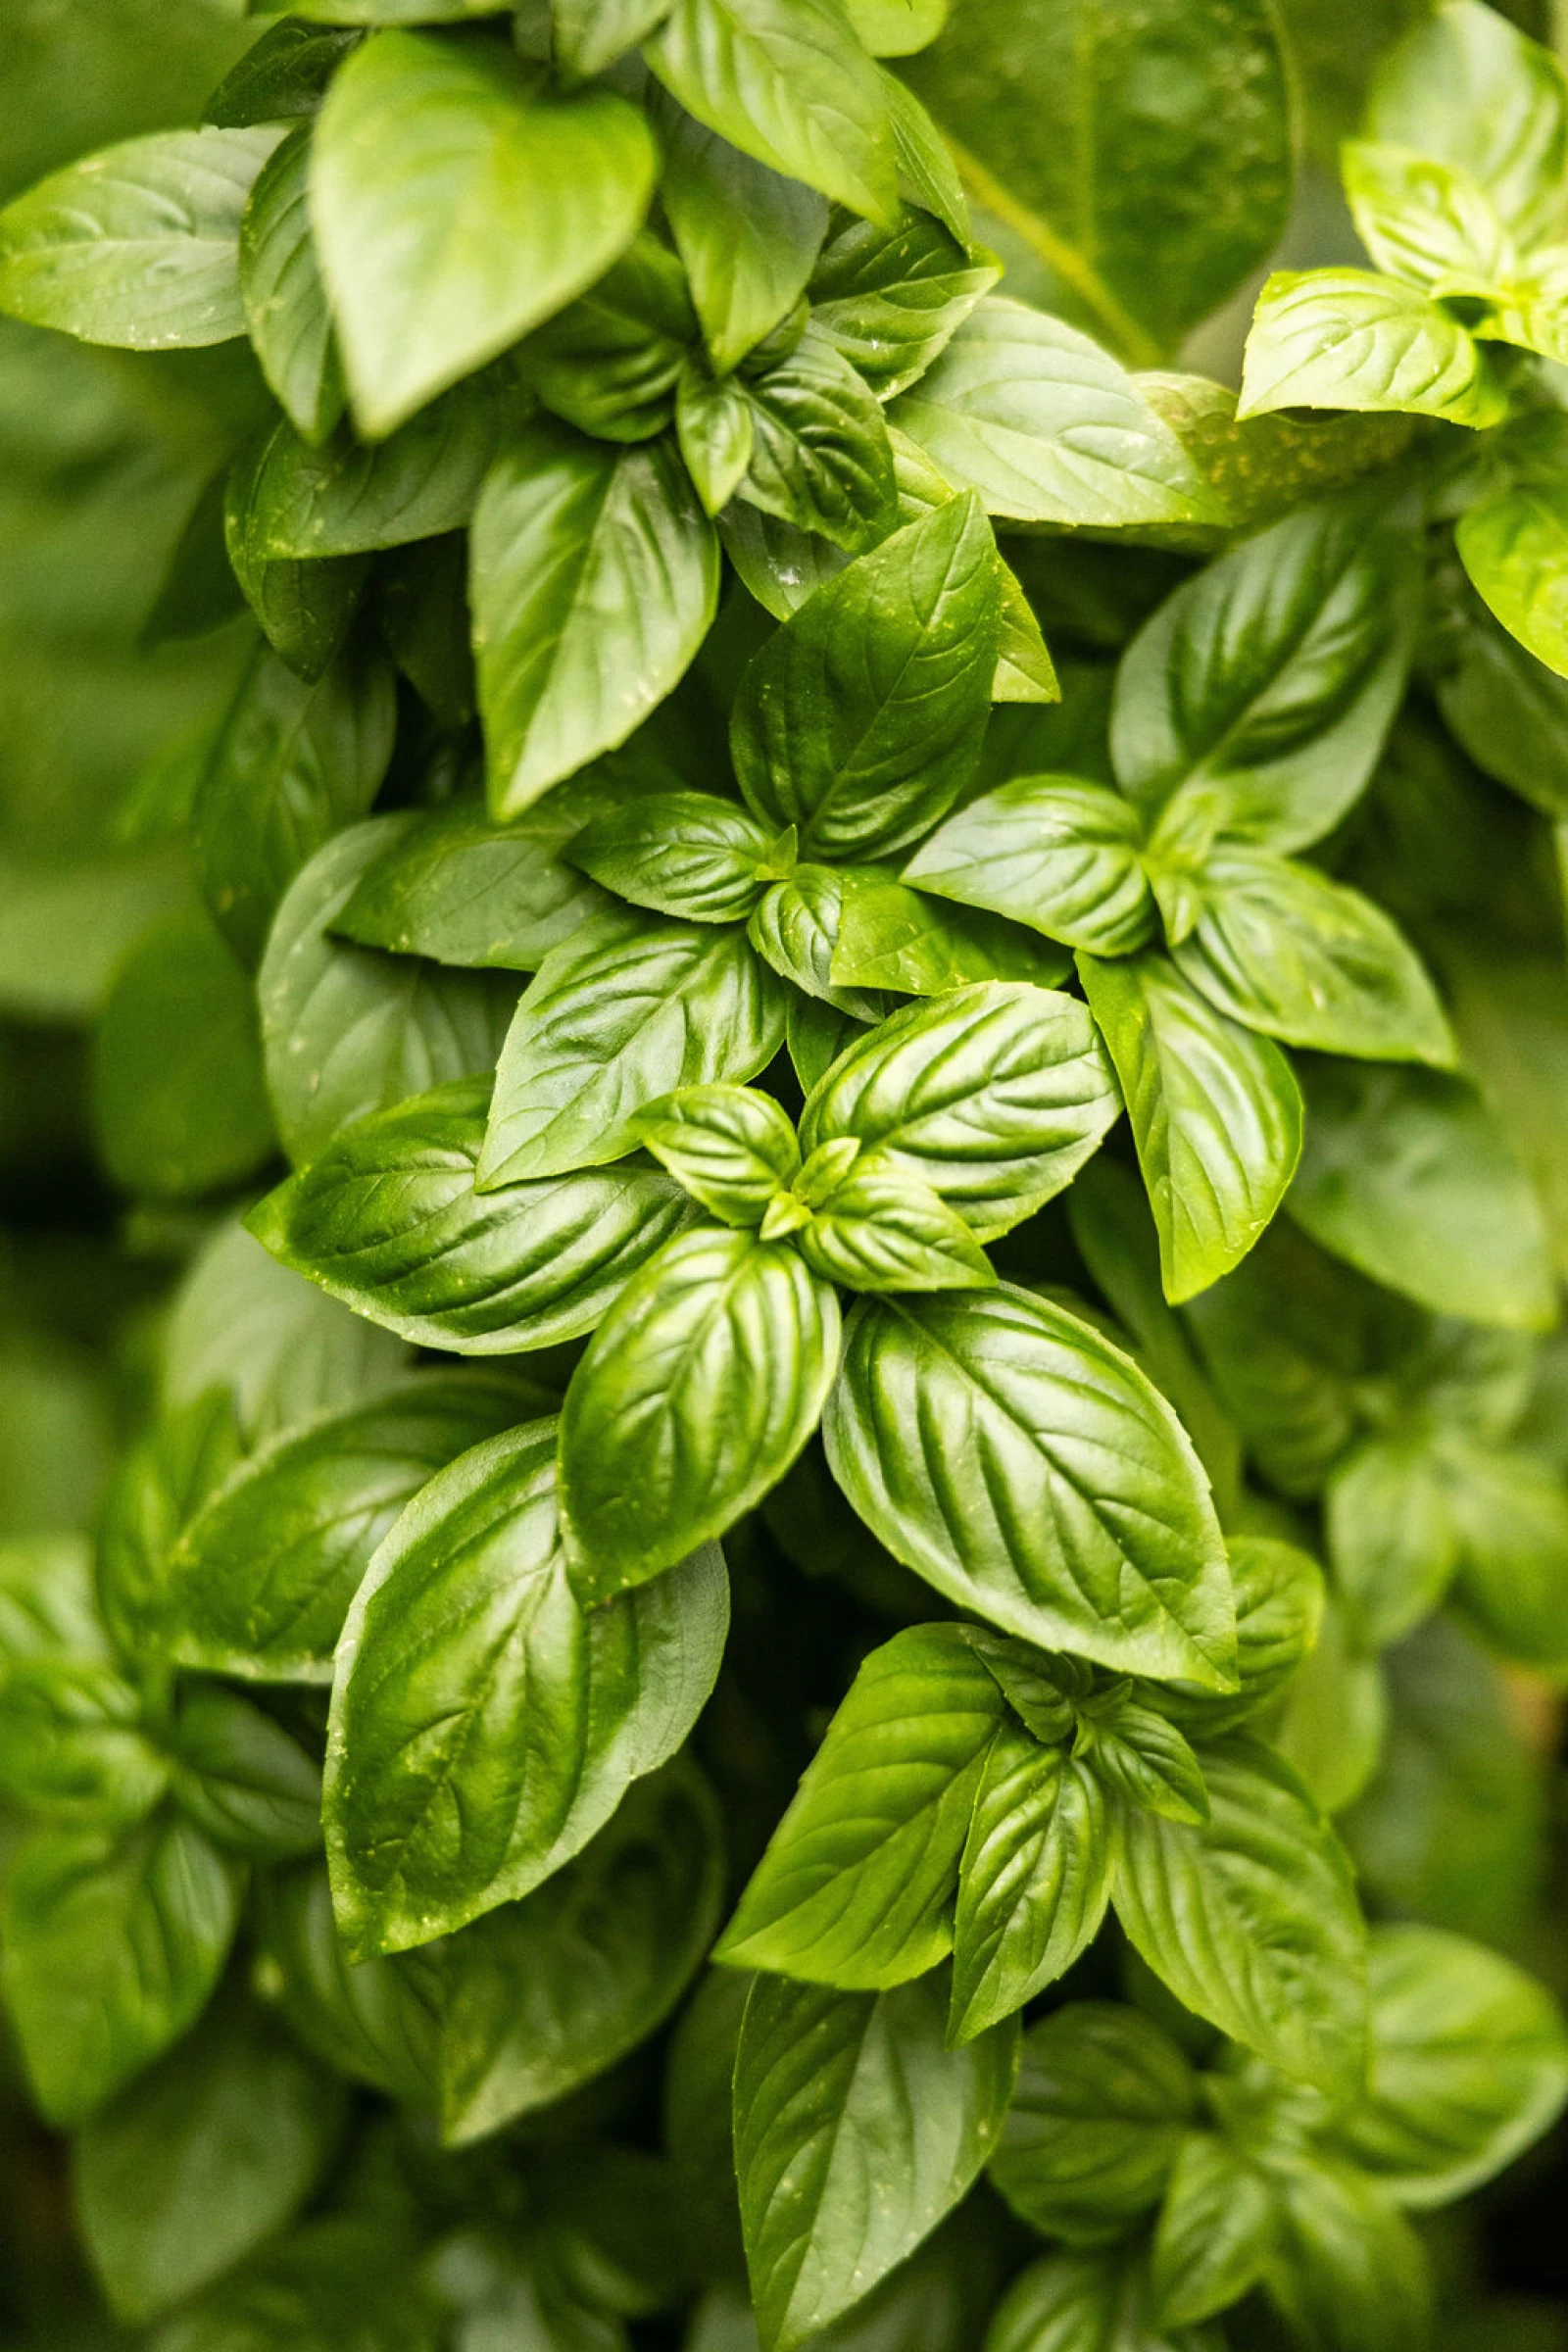
- Plant the border first. Herbs and flowers go all along the edges of each bed. This creates a living first line of defense against pests and disease.
- Fill the middle with your biggest fruiting plants. Cabbage, broccoli, cauliflower, tomatoes, whatever takes up the most space.
- Add root crops next to them. Onion starts, beets, and carrots by seed.
- Finish with leafy greens along the remaining edges. Spinach, lettuce, spring mix, and arugula all work well here, and most can go in by seed.
- Send climbers up the trellis. Sugar snap peas by seed are one of my favorite ways to get a trellis producing before summer even arrives.

Watch on YouTube
The Reward is a Thriving Garden... Even Years Later
Two and a half years later, Connie's garden is still one of my favorite places in the city. That's the part I want you to hold onto here. This isn't a one-season project. Done in the right order, a kitchen garden just keeps giving you more, one raised bed at a time.
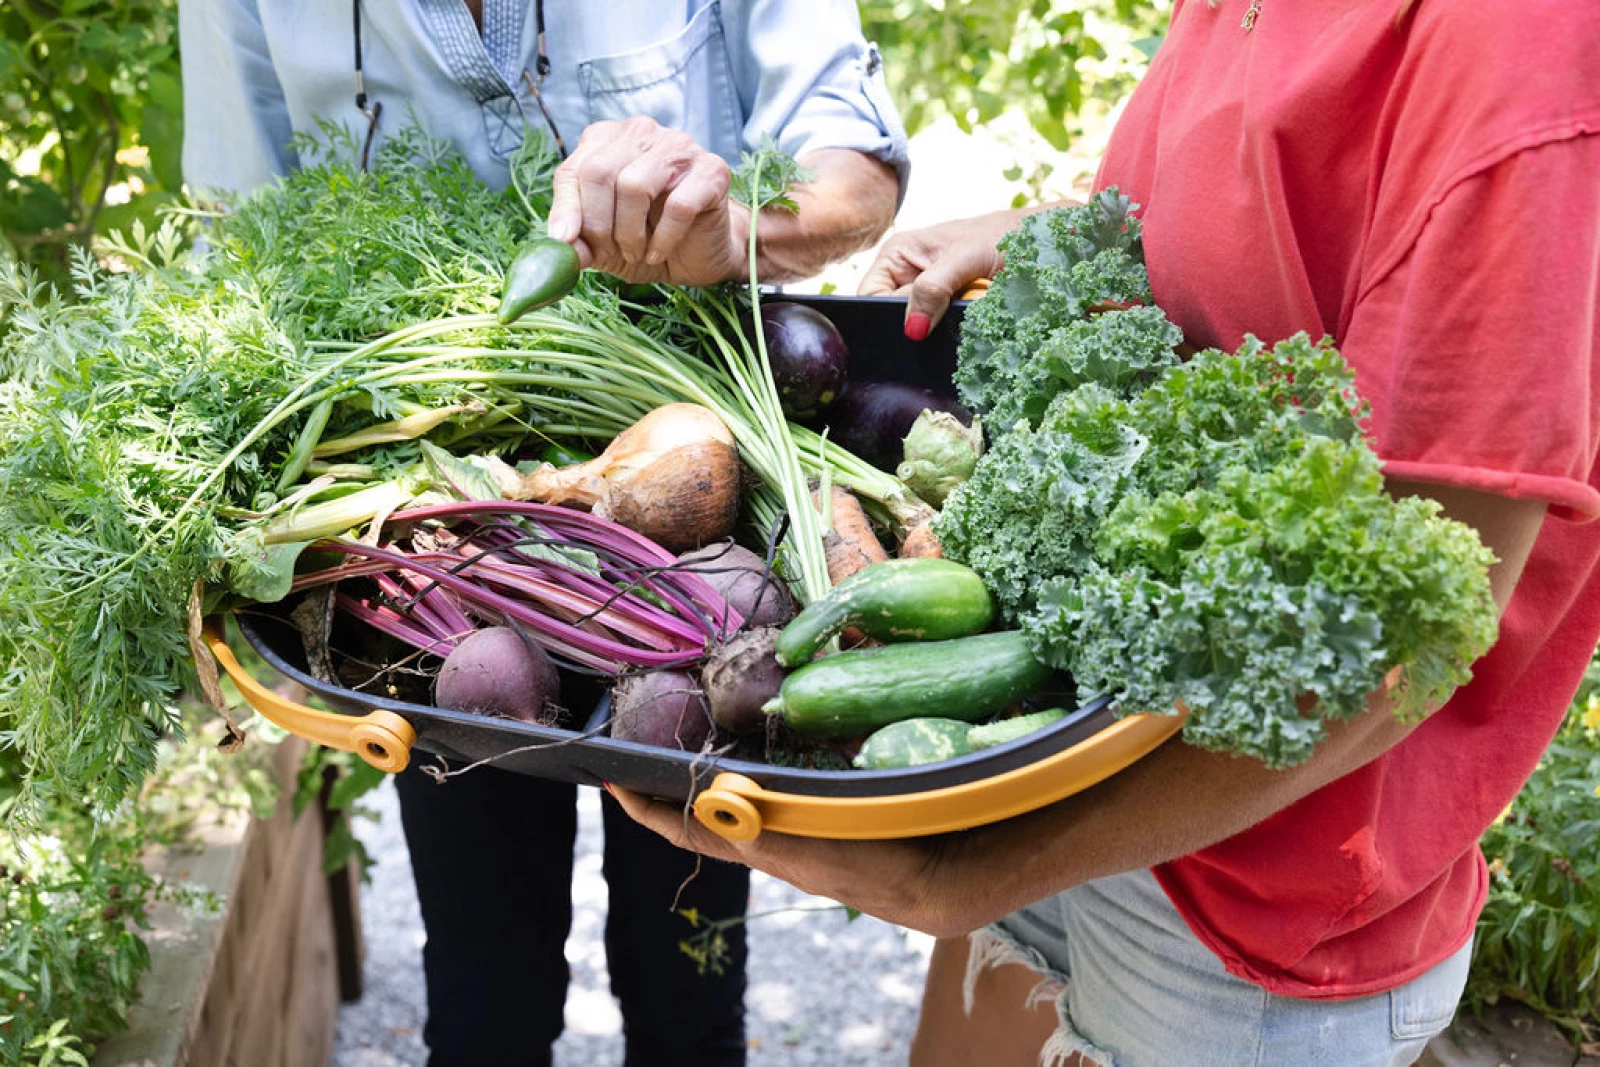
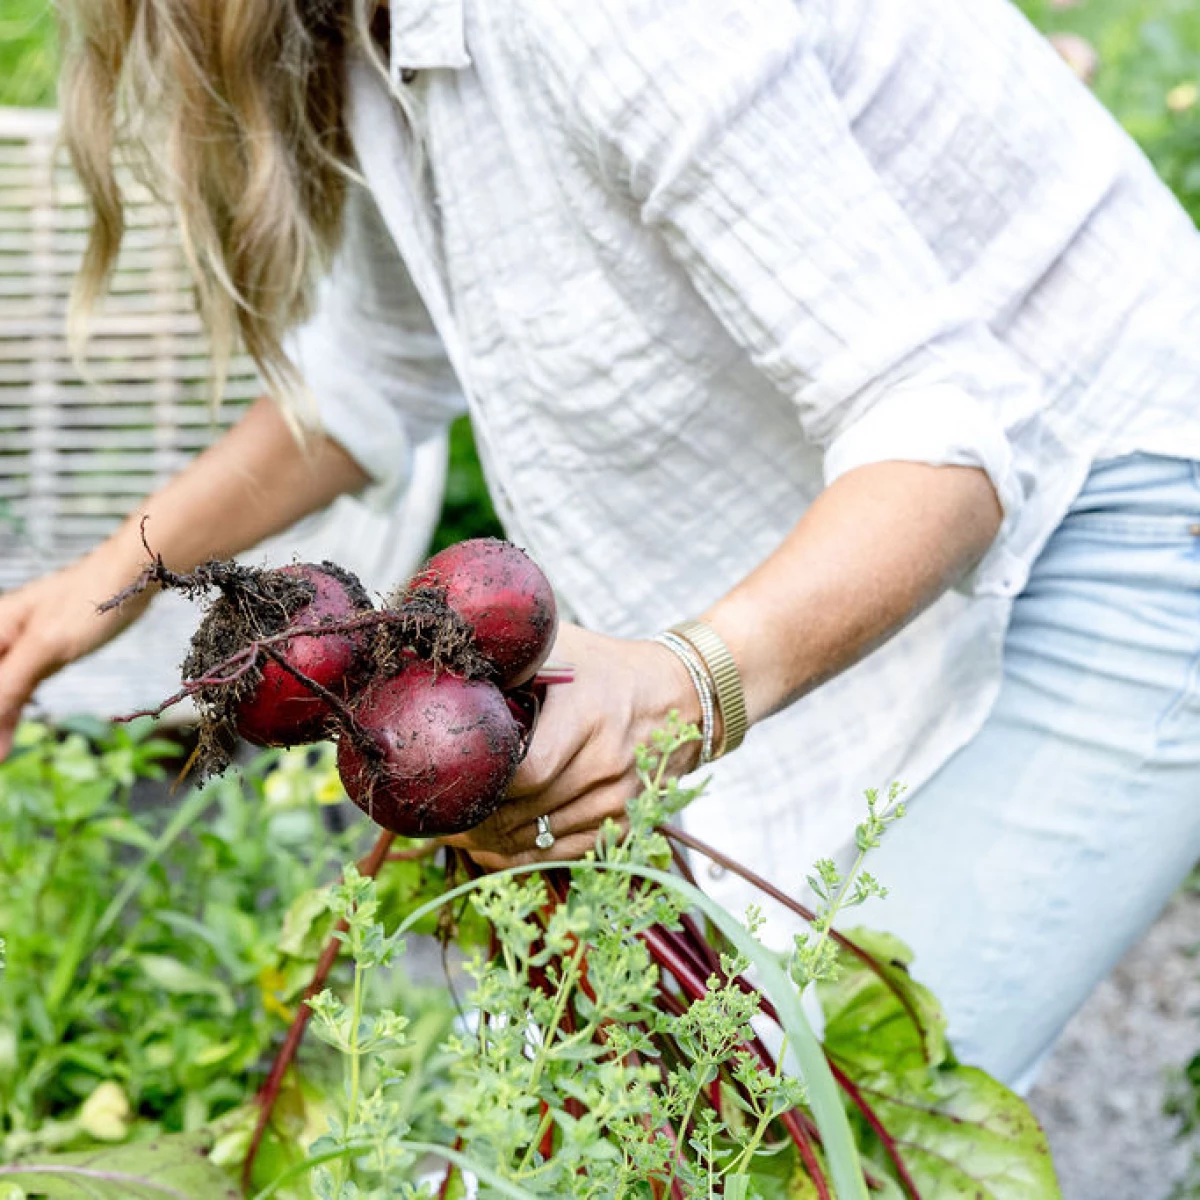
Today, Connie enjoys sitting out in her garden and filling her basket to the brim with fresh herbs, lettuce, tomatoes, and beets. The upfront effort and investment have given her a higher quality of life and a little backyard escape that she can enjoy each day.






Everything You Need For Fall in One Curated Kit
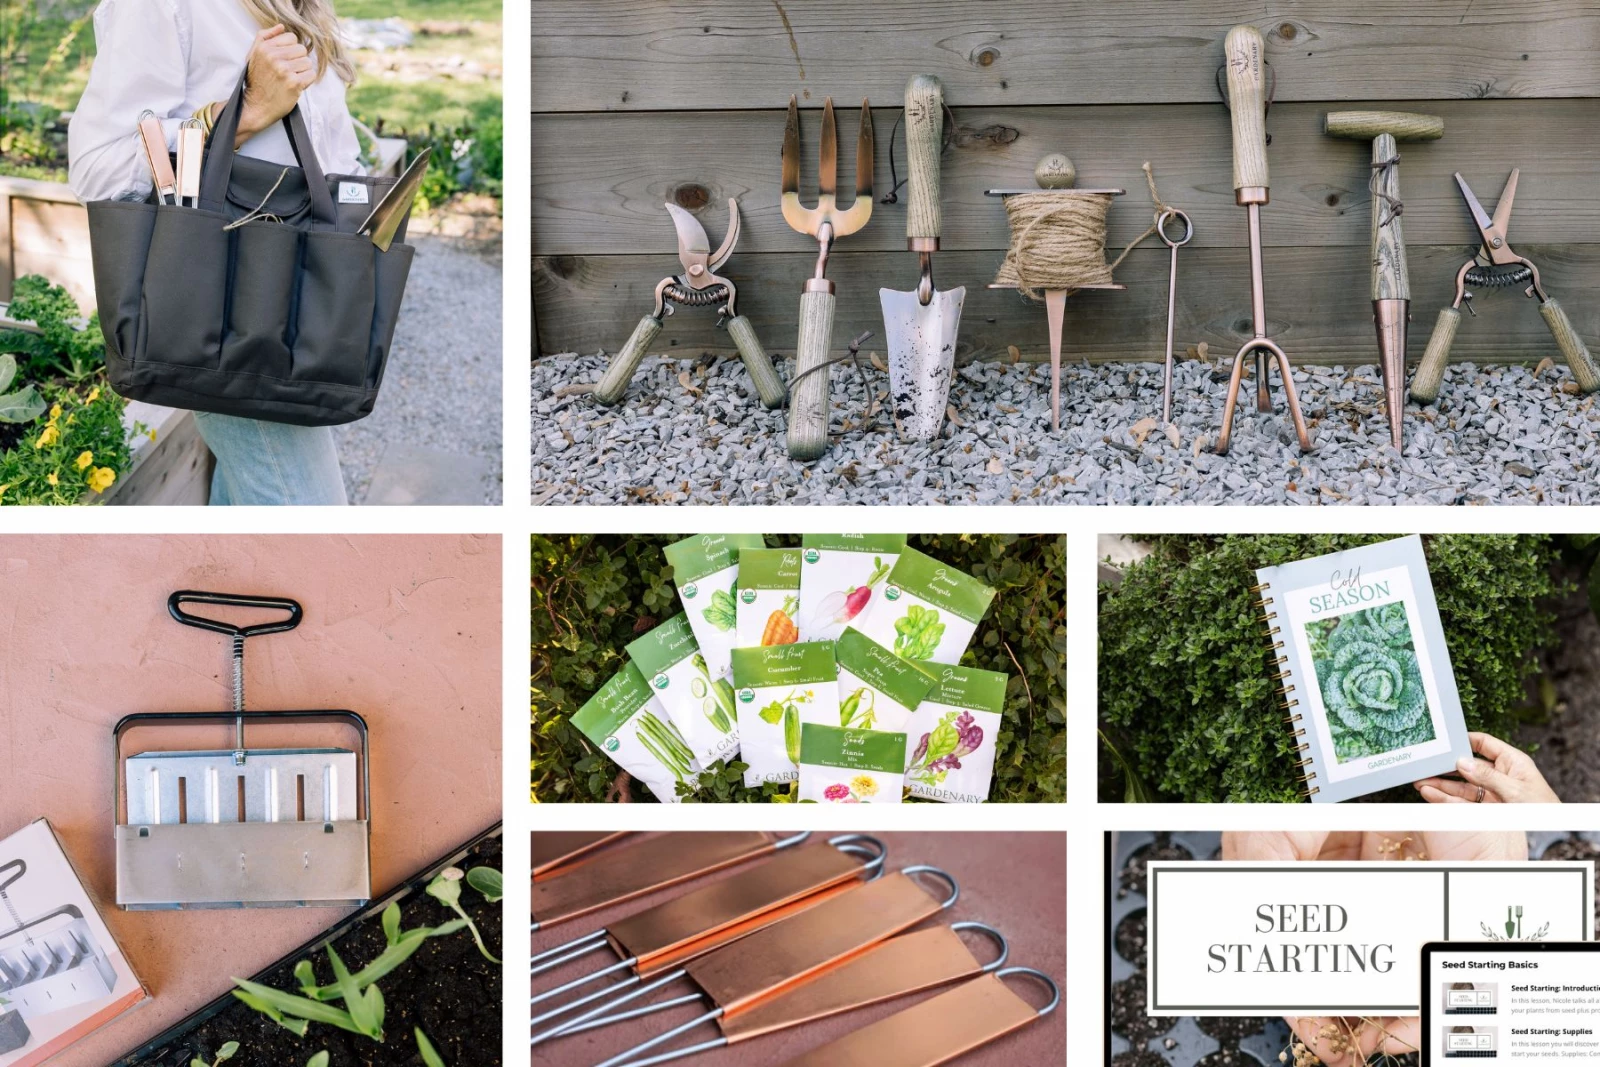
The Fall Kitchen Garden Kit
- 7-Piece Copper Tool Set
- Garden Essentials Tote Bag to keep everything organized
- Gardenary Soil Blocker for stronger roots, faster germination
- Cold Season Garden Planner with 90 in-depth activities for your fall and winter garden
- BONUS Seed Starting Course delivered digitally by email after purchase
Garden Installation FAQs
Do I need to remove all the grass before building a raised bed?
Yes, any grass or vegetation inside your garden's footprint should come out before you level the space and place your beds. Leaving grass underneath invites it to grow back up through your soil.
How much sun does a raised bed vegetable garden need?
Most vegetables need at least six hours of direct sunlight a day, with eight to ten hours being ideal for fruiting crops like tomatoes and peppers. Leafy greens and herbs can tolerate a bit more shade if your yard doesn't get full sun everywhere.
Is drip irrigation worth it for a small raised bed garden?
Yes, drip irrigation delivers water directly to the root zone with far less waste than an overhead sprinkler, which matters even in a small garden. It also keeps foliage dry, which helps cut down on disease.
What should I plant first in a new raised bed garden?
Start with herbs and flowers along the border of each bed, then work inward with your biggest fruiting plants, followed by root crops and leafy greens. Save trellis crops like peas for last since they'll be climbing for a while before you harvest.
Where can I buy raised beds and trellises that will actually last?
Gardenary's cedar raised beds and steel trellises, including the Nicole Arch Trellis, are built to hold up season after season without warping or rusting. They're the exact structures I use in client gardens like Connie's.
Is there a full system for planning a kitchen garden from scratch?
Yes, Kitchen Garden Academy walks you through designing, building, and planting a raised bed garden at your own pace, covering everything from this article in far more depth. My book, Kitchen Garden Revival, is a great place to start if you'd rather begin with a physical guide.
Keep Reading
Is It Too Late to Plant Something for Fall?
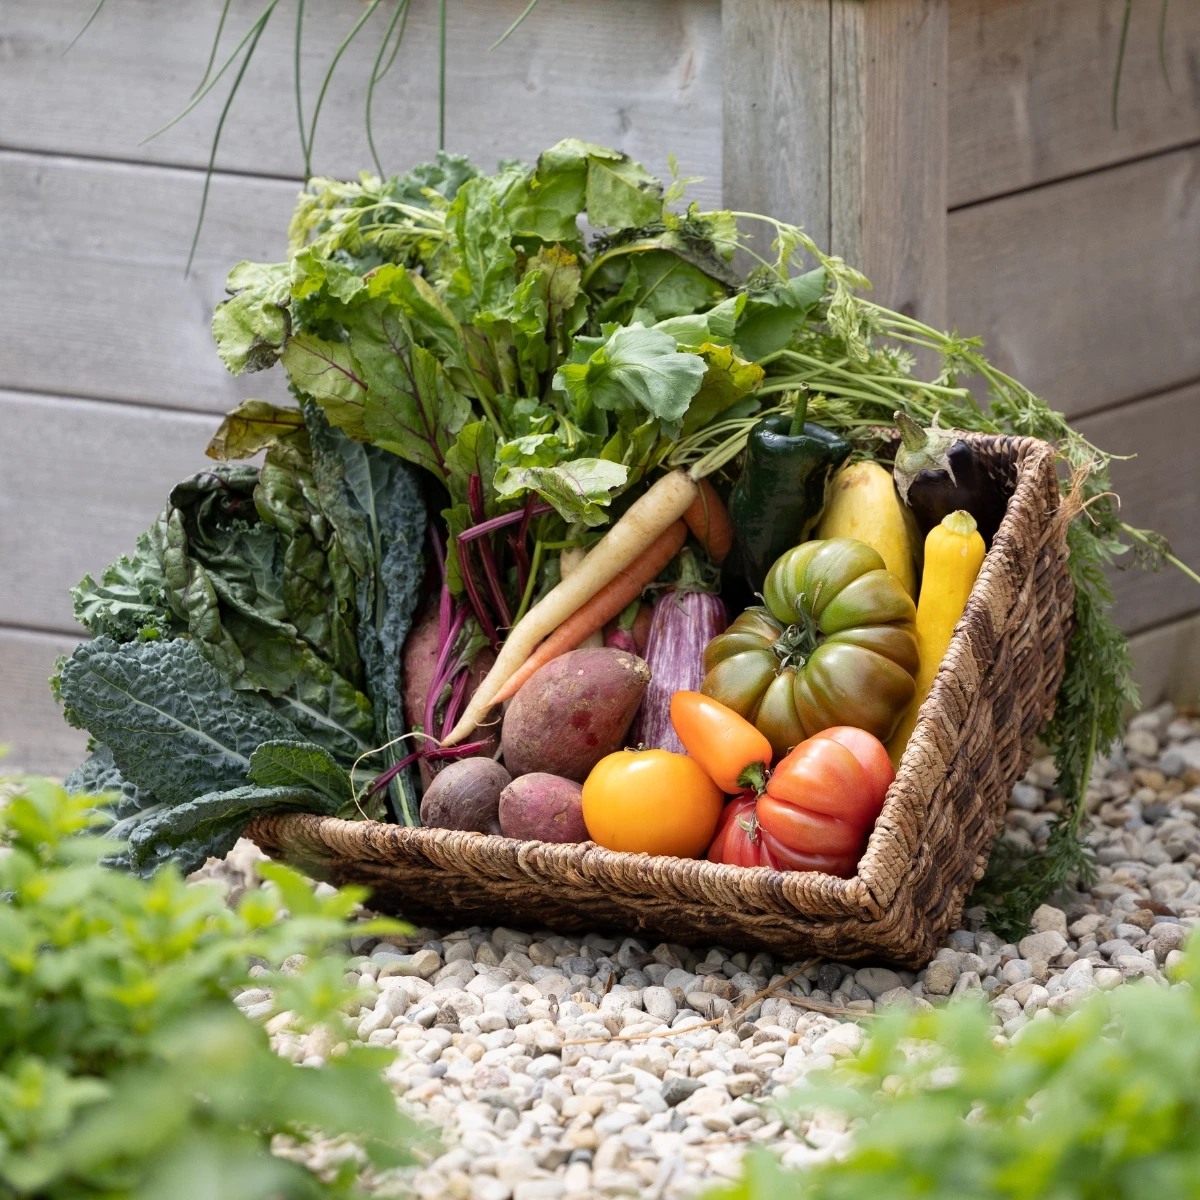
Gardening in October: My Kitchen Garden Checklist
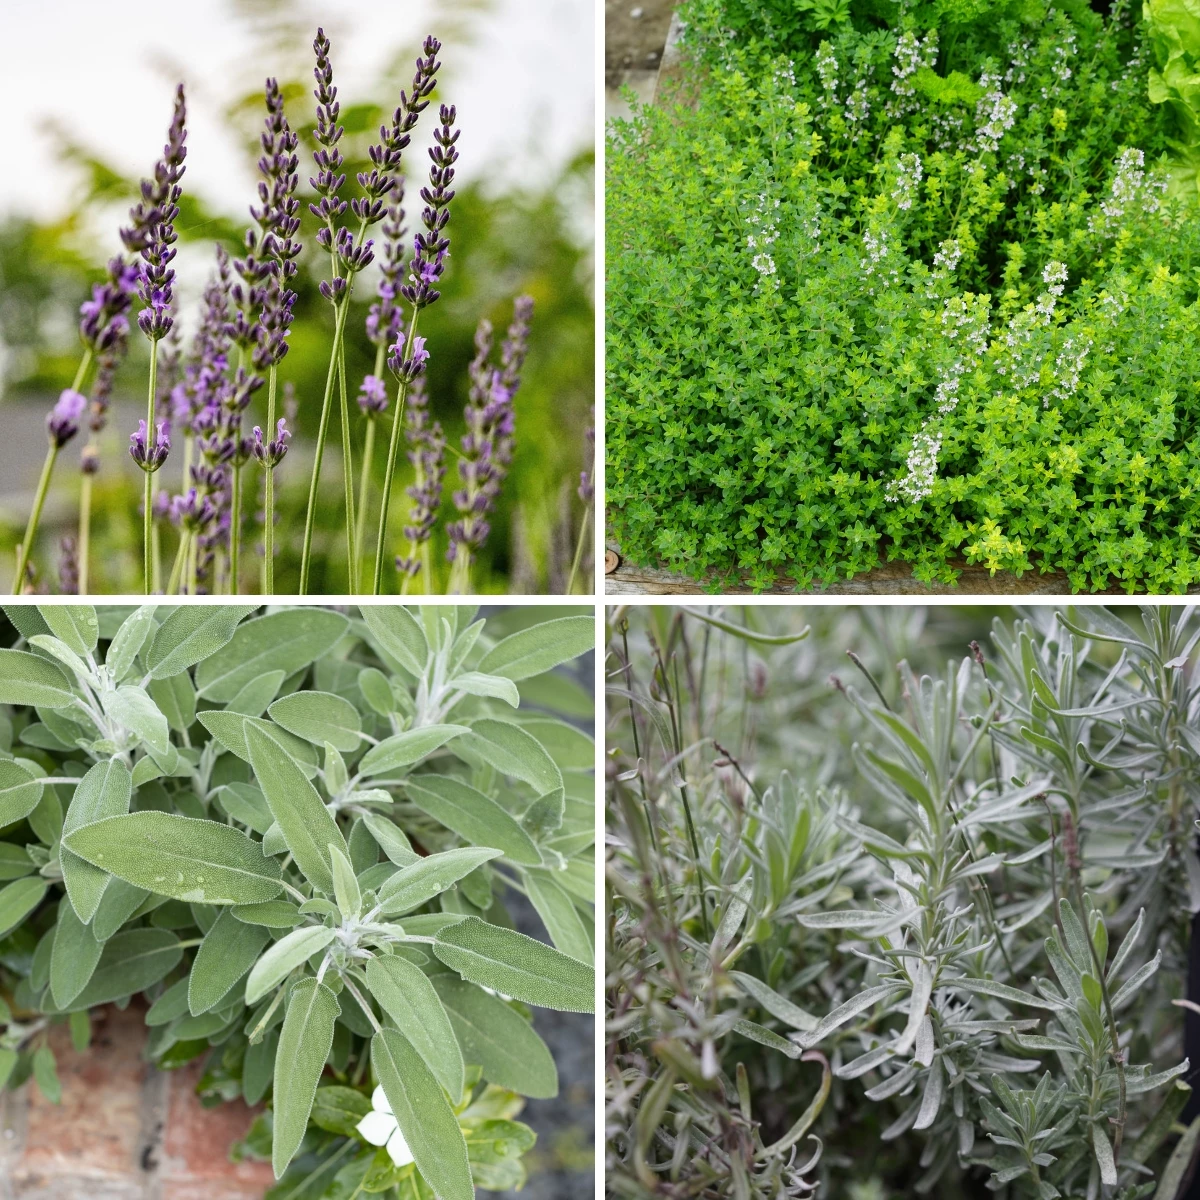
Fall Herb Care Before Frost: Lavender, Thyme, Sage, and Rosemary
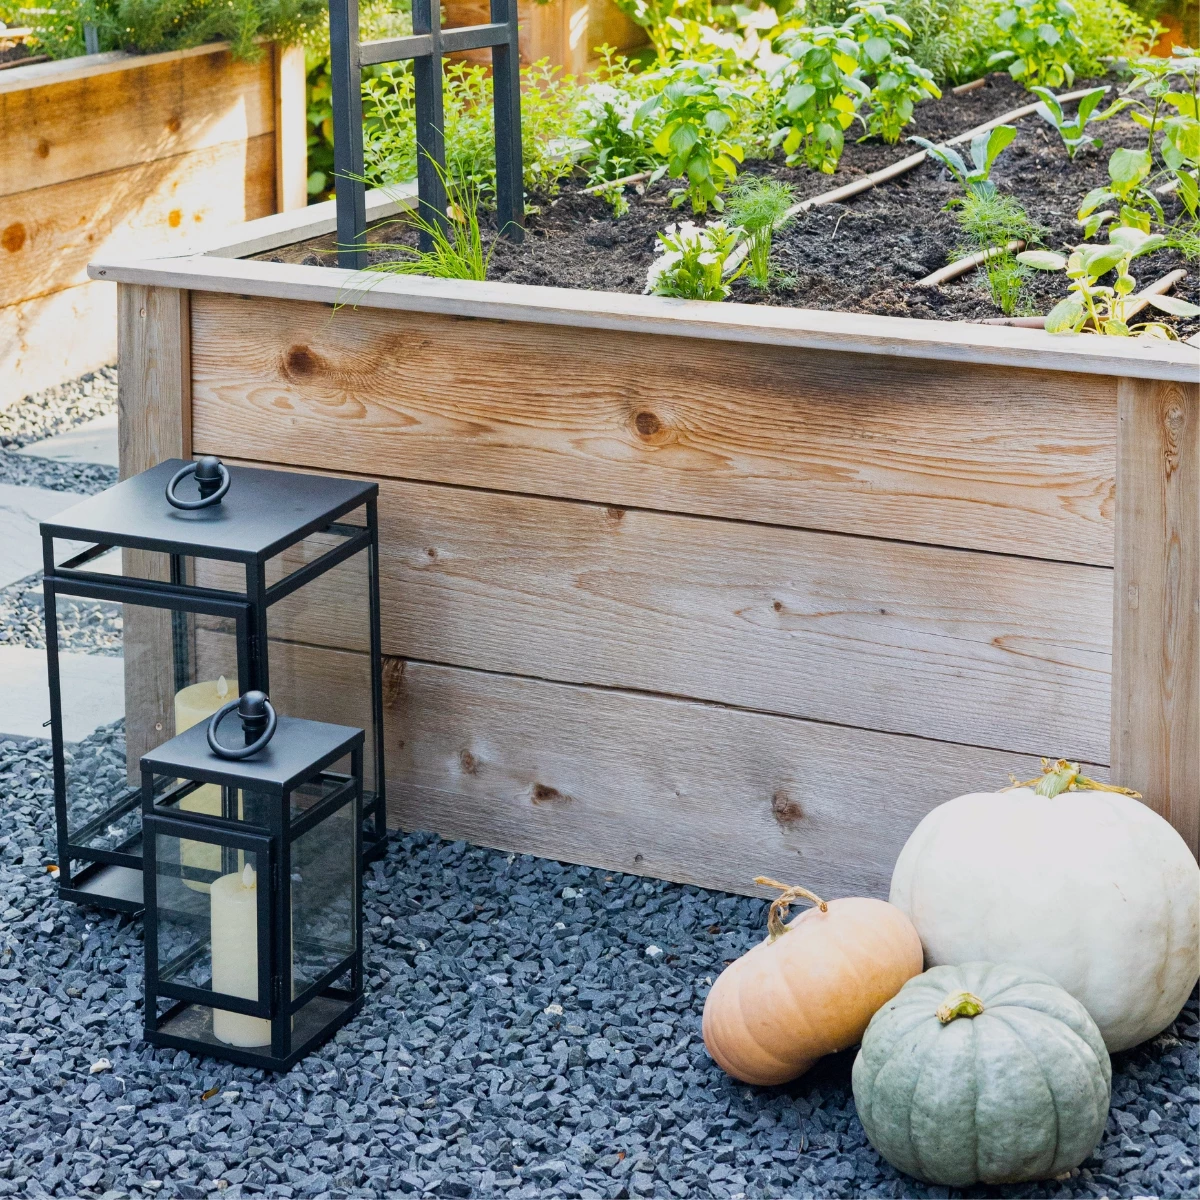
When to Harvest Pumpkins and Winter Squash: 4 Signs to Check Before You Cut
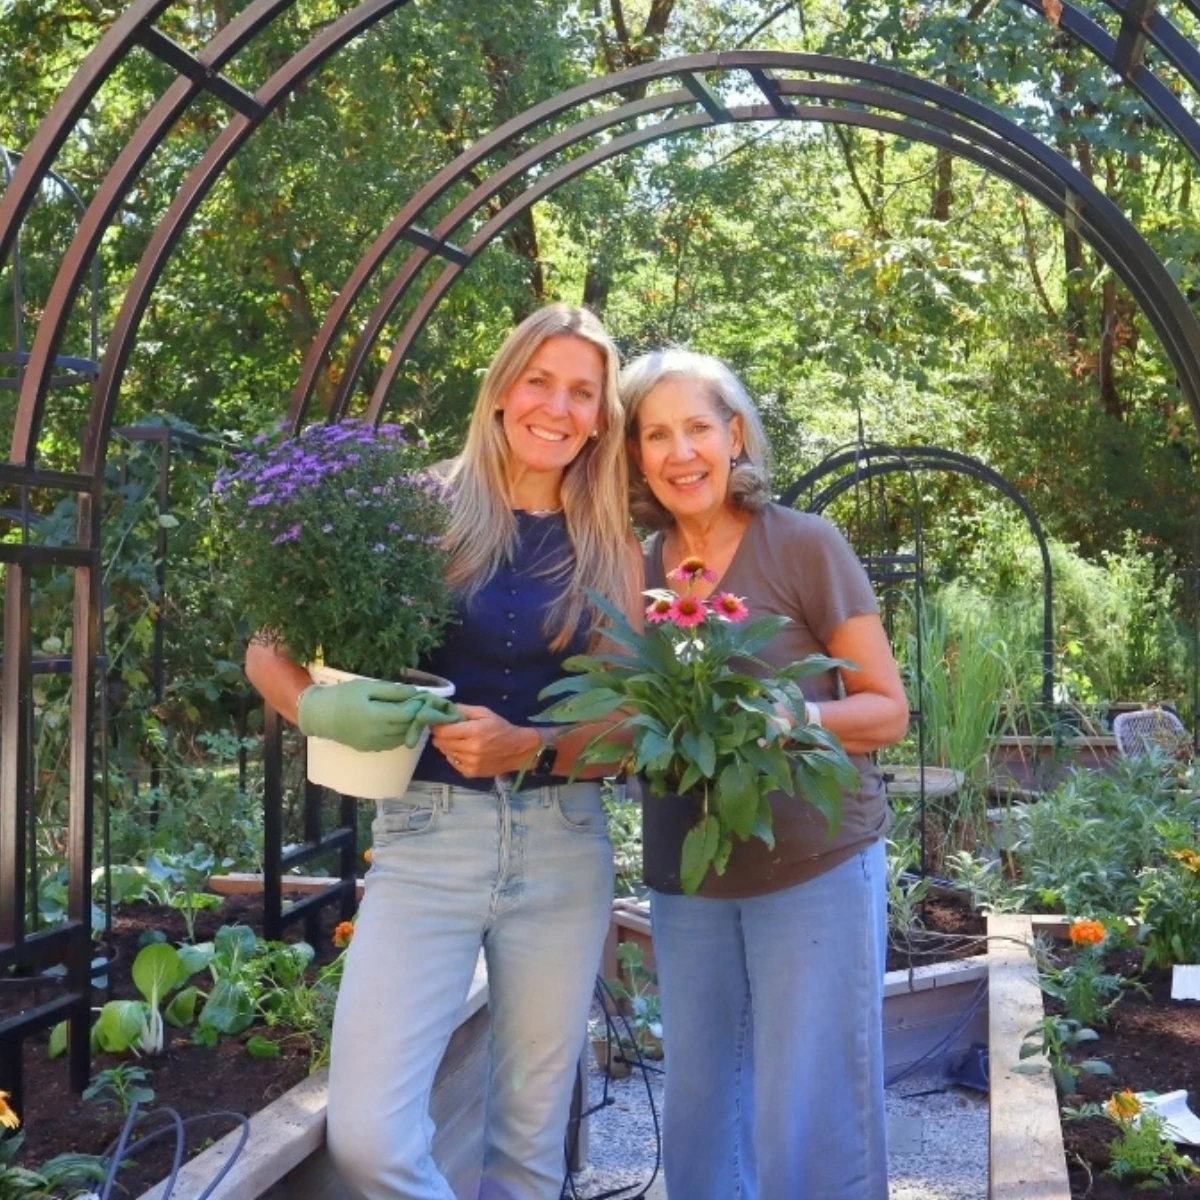
How to Plant a Fall Garden in 5 Simple Steps
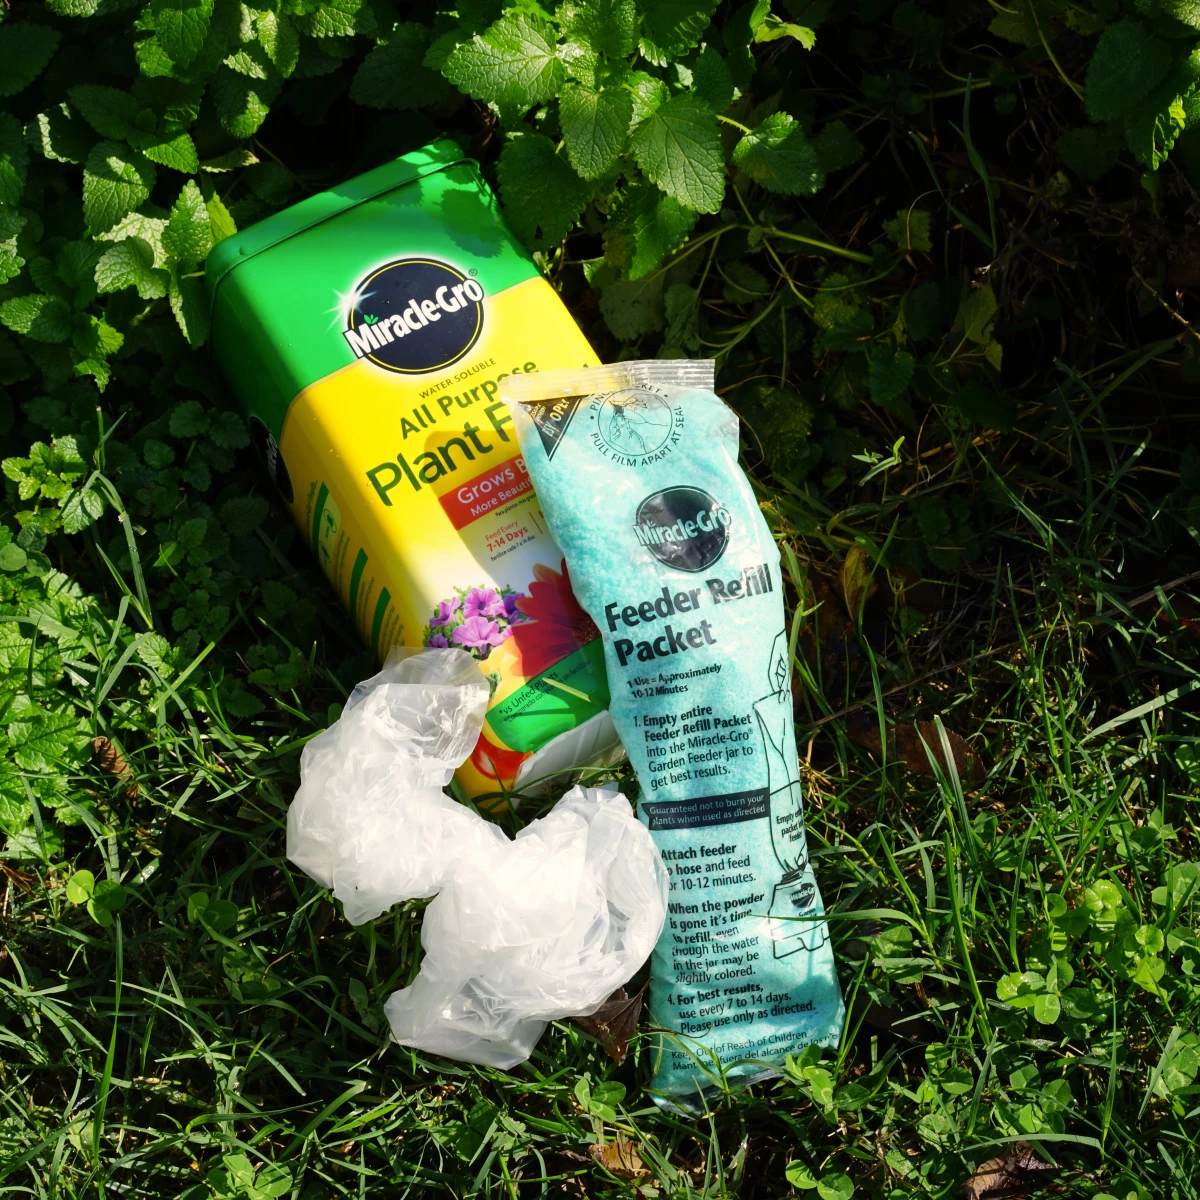
10 Reasons You Should Never Use Miracle-Gro in Your Garden
Sources
- "Where is the best spot for my vegetable garden?" — Oregon State University
- "Lawn (Turfgrass) Removal Methods" — University of Maryland
- "Drip Irrigation" — University of Maryland