Nicole's Quick Take: Tomatoes get more questions than every other plant in my garden combined, and most of it comes down to eight fixable habits: pick the right type, trellis instead of cage, build soil that breathes, plant deep, prune with intention, and pick a little early instead of a little late. Get those right and your harvest stretches for months.
At a Glance
- Picking tomatoes at the first blush of color, instead of waiting for full vine ripening, keeps more fruit out of reach of squirrels, birds, and deer.
- Determinate tomatoes fruit all at once and are best for canning, while indeterminate tomatoes fruit continuously all season and are best for fresh eating.
- A steel trellis holds up for years and is the best option for heavy vining tomatoes.
By Nicole Johnsey Burke: Founder of Gardenary & Author of Kitchen Garden Revival
I've Learned a Thing or Two About Tomatoes
I get more DMs about tomatoes than any other vegetable, full stop.
There are more decisions to make with tomatoes than with almost anything else in the kitchen garden. Which type, what to grow them on, how deep to plant, when to prune, when to pick. I've grown tomatoes through Houston heat, Chicago cold snaps, and now my milder Nashville summers, and I've made most of the mistakes there are to make along the way.
Here are the eight hacks that changed my harvest, including the one that took me more than five years to figure out.

Pick Your Tomato Type Wisely
Tomatoes can be confusing, so let's clear things up.
Every tomato falls into one of two growth patterns.
- Determinate tomatoes grow like a bush, topping out around 4 to 5 feet, and fruit all at once. This is your pick if you want a huge harvest for canning sauce or salsa.
- Indeterminate tomatoes are vining plants that never stop growing on their own and fruit continuously all season. This is your pick if you want fresh tomatoes for salads, sandwiches, and pico de gallo every single week.
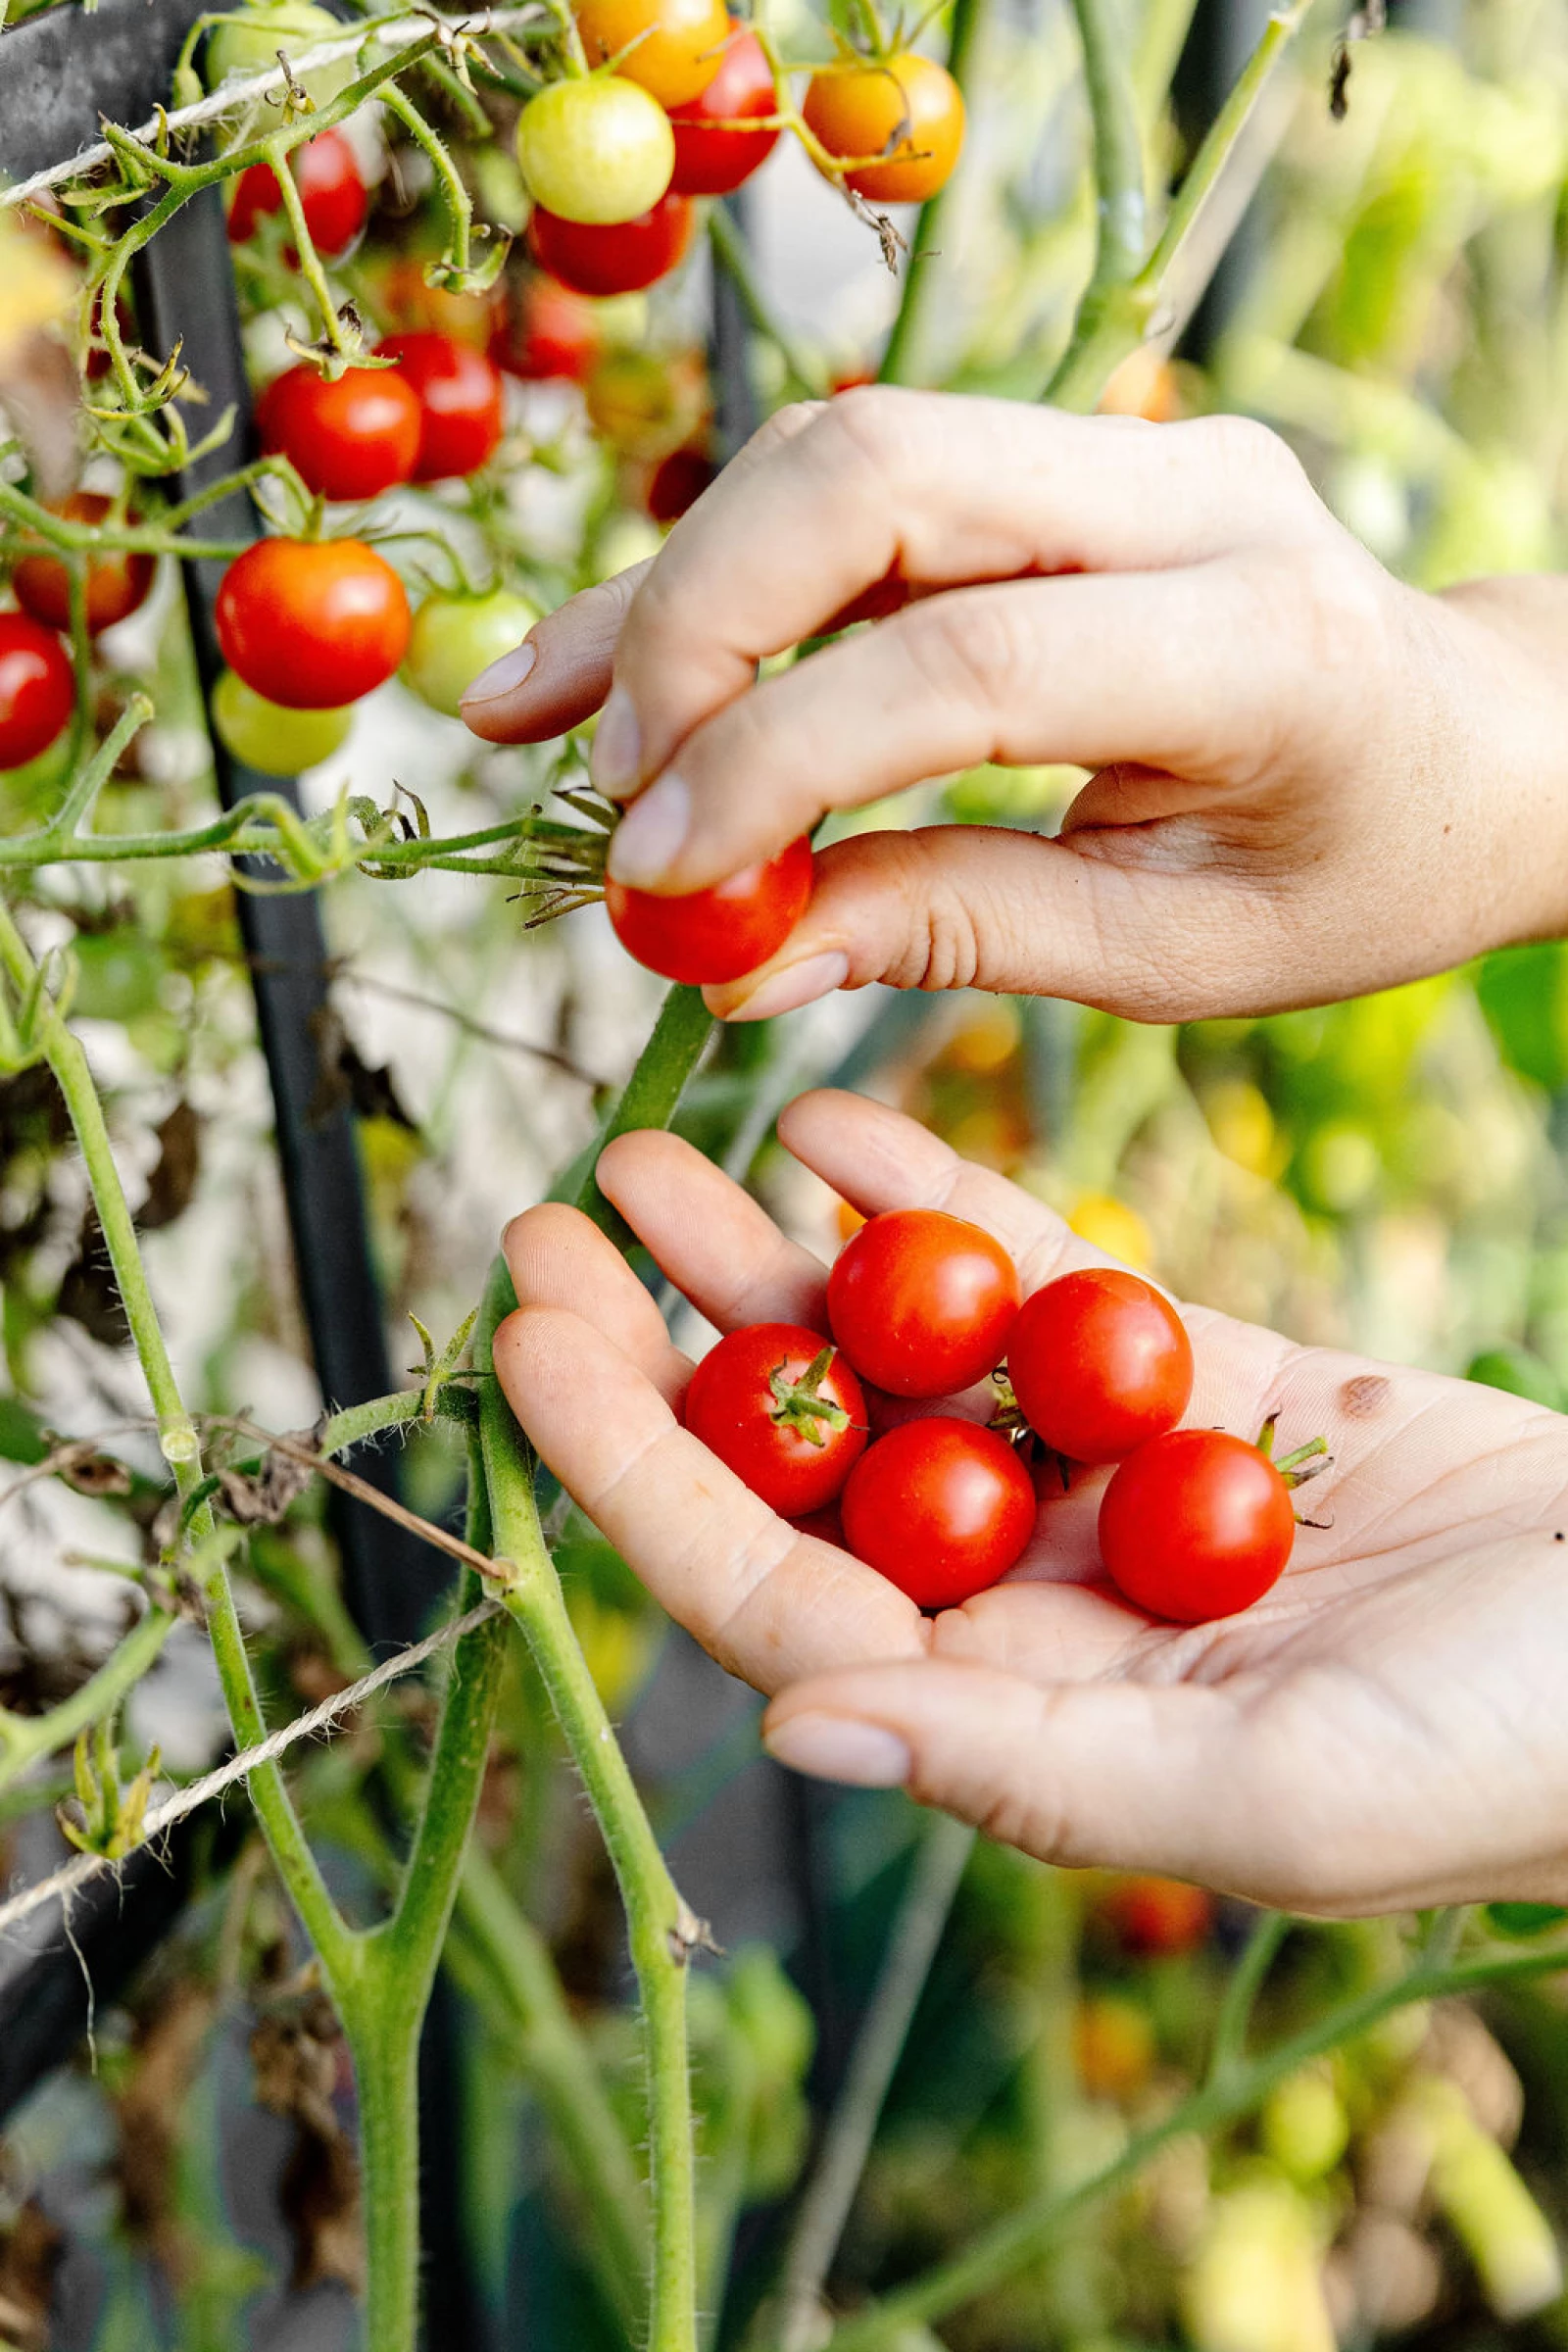
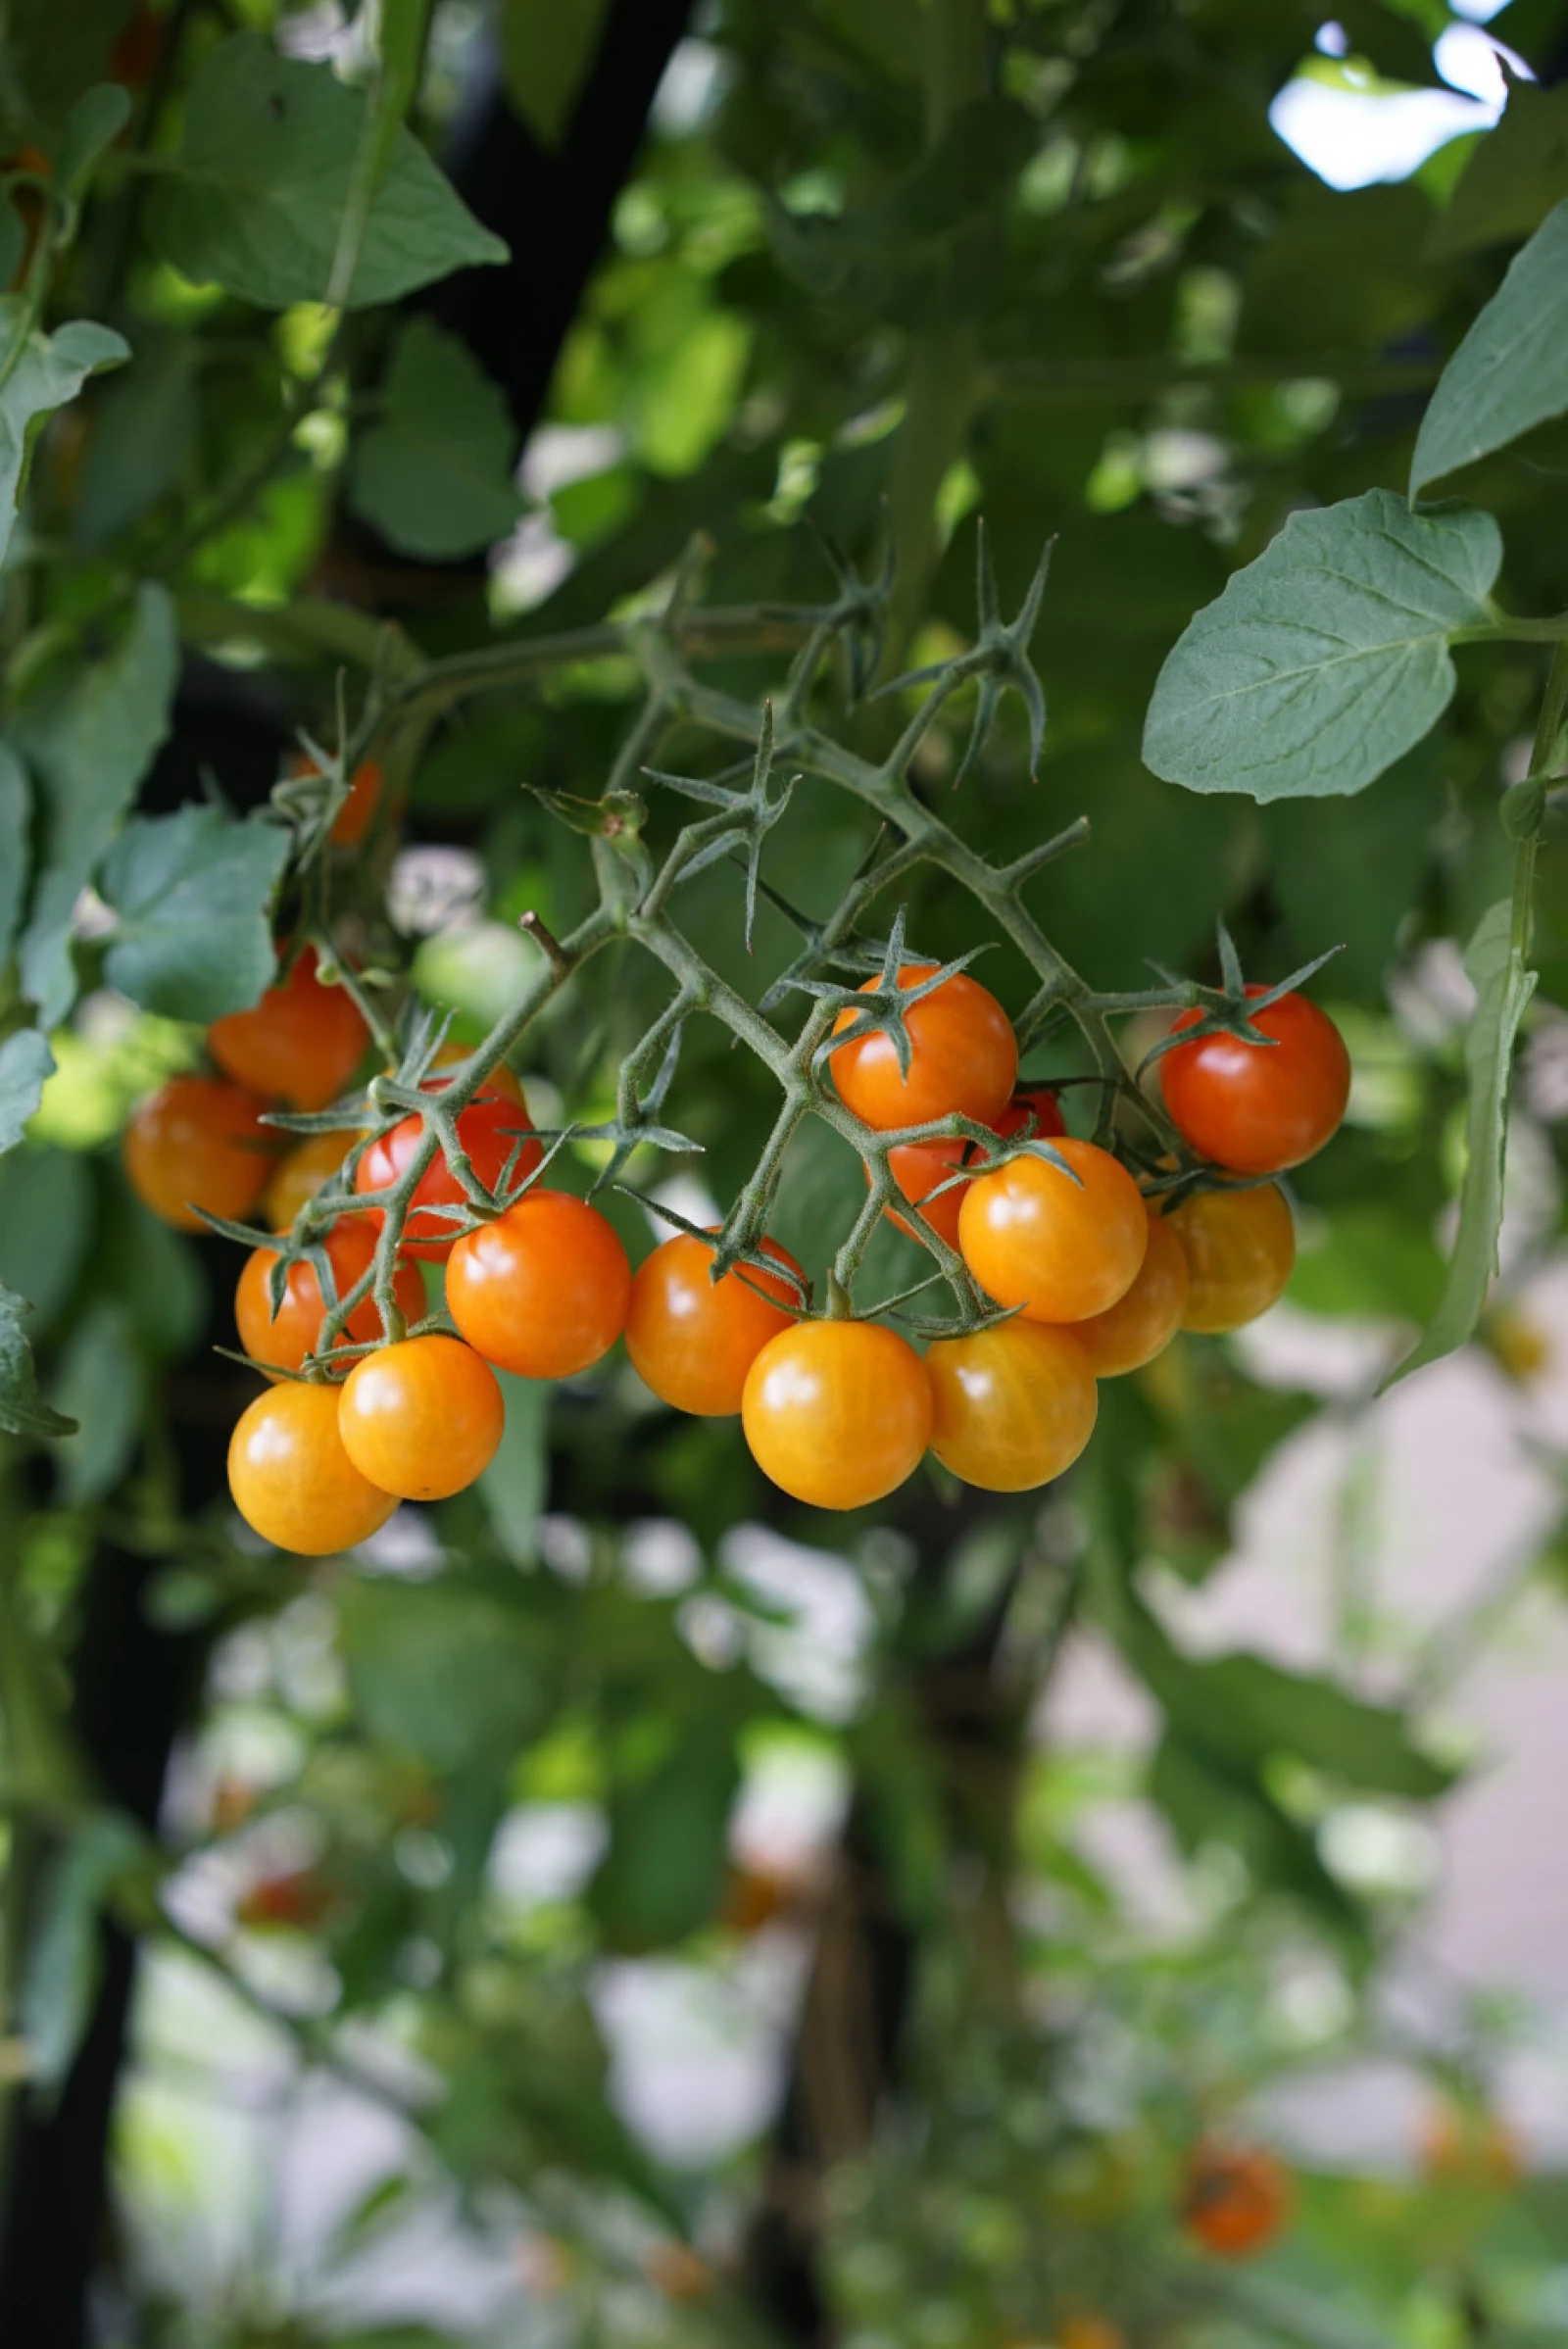
Beyond growth pattern, you're also choosing a fruit size: mini and cherry tomatoes for snacking, Roma tomatoes for canning, and large slicers for fresh eating.
I grow indeterminate plants almost exclusively, with a mix of cherries for quick snacking and big slicers for BLTs and tomato pie. I mostly skip Romas since I'm not much of a canner.
Neither growth pattern is wrong, but picking the one that matches how you cook is what sets up the rest of your season.
Skip the Tomato Cage, Give Your Tomatoes a Trellis Instead
When I first started gardening, I did what everyone does and bought a tomato cage from the hardware store. Within about six weeks, I regretted it.
An indeterminate tomato outgrows a cage fast and takes the whole thing down with it, and even a bush-type determinate tomato gets hard to prune and harvest once it's boxed in.
I train every tomato I grow on a trellis.
Here are some trellises that are perfect for tomatoes:
- The Wide Pillar Obelisk Trellis is the closest match to a cage, except the plant grows on the outside instead of trapped within it, so you can always reach in to prune and pick.
- The Nicole Panel Trellis works like a fence of tomatoes, great if you want a productive row along a bed edge.
- The Nicole Arch Trellis is what I reach for when I want tomatoes to climb for basically the entire season, and it's iconic enough that it tends to sell out each spring.
Whichever one you choose, a steel trellis never falls over the way a cage does, and you'll get years of use out of it instead of a single, frustrating summer.
Nicole Arch Trellis
Our bestselling Nicole Arch Trellis is perfect for all your vining vegetables and strong enough for vining roses or other ornamental vining plants.
Product Features:
- Powder-coated black steel
- Easy assembly: pieces slide together without tools
- Four stakes to secure the trellis into the ground
- Measures 88" x 67" x 15"
The Soil Recipe Every One of My Tomatoes Grows In
Most gardening advice jumps straight to fertilizer and skips the part that matters most: what you're planting into in the first place. I use the same simple mix for every tomato, and I call it my 1-0-3.
- One third topsoil. Your native soil works, or a load from a local soil yard.
- One third coarse sand, unless your native topsoil already runs sandy, in which case go lighter here.
- One third compost, for the organic matter that feeds the plant.
- A layer of worm castings on top to finish it off.
Tomato roots dig deep looking for nutrients, so the sand keeps the mix loose enough for roots to move through it, the compost supplies nutrition, and the topsoil gives the whole thing enough structure to hold a heavy, fruiting plant upright.
If you're growing in a Gardenary cedar raised bed, you've already got the drainage this mix needs to work well.
Shop Our Cedar Raised Beds
Gardenary's new line of quality cedar garden beds are easy to assemble and will provide years of gardening enjoyment. Choose from numerous different garden sizes to fit your space.

Plant More Tomatoes Than Feels Right, and Plant Them Deep
Most gardeners plant too few tomatoes and too shallow.
Spacing depends on your trellis type:
- Obelisk: 3 to 4 plants spaced around the outside
- Panel trellis: 2 plants
- Arch trellis: up to 4 plants per side, 8 total, with a minimum of 4 total (2 per side)
Plant each one at least a foot deep at the base of the trellis. It feels aggressive the first time you do it, but a deep root system is what holds this plant up as it grows for months.
Tie the main stem to the trellis the day you plant it, before a storm or heavy rain has a chance to snap a young stem that isn't secured yet.
Water Deep, Feed Light
Water your tomatoes deeply once a week rather than a little every day.
A daily sprinkle keeps roots shallow, and shallow roots make a weaker plant. I let a hose run slowly at the base of each plant on the weekend so the water reaches down where the roots are, and I only add extra during a hot, dry stretch.
Feeding follows the plant's stage, all with organic amendments:
- Early growth (lots of leaves and stems): a light sprinkle of blood meal for nitrogen
- First flowers: a small amount of kelp meal for potassium
- Fruit just forming: a little bone meal for phosphorus
I don't feed heavily. My soil recipe does most of the work, and I'll add a bit of compost mid-season if a plant needs it. More feeding means more fruit if you have the time for it, but it's optional if your soil is already solid.

Join Thousands of Gardeners On the VIP List
Free perks, just for email subscribers:
- 15% Off Your First Order
- Gardening Videos & Articles
- Early Access to Sales
Sign up, check your inbox, then shop with your code.
CLAIM YOUR 15% OFF BELOW
The Pruning Trick That Took Me Five Years to Learn
Here's the one worth sticking around for. I used to prune every single sucker off my tomatoes because that's what every piece of advice told me to do. For years, I got a disappointing harvest for it.
Hot take: Stop cutting the suckers.
Stage one: while the plant is young.
- Prune to one main stem
- Keep doing this until the plant reaches about a foot and a half tall
Stage two: once it's established.
- If you've got a long growing season, stop cutting the suckers and let them grow
- A sucker isn't wasted growth. It's a brand new mini tomato plant complete with its own flowers
- Cutting it off means cutting off fruit you'd otherwise get
- Instead, cut the perpendicular side stem right where the sucker forms. That sends the plant's energy into the new sucker instead of splitting it three ways
- Keep doing this until about six weeks before your first frost
Growing a determinate (bush-type) tomato?
Skip all of this and let it branch out on its own. It's built to grow short and fruit all at once.

Pick a Little Early Instead of a Little Late
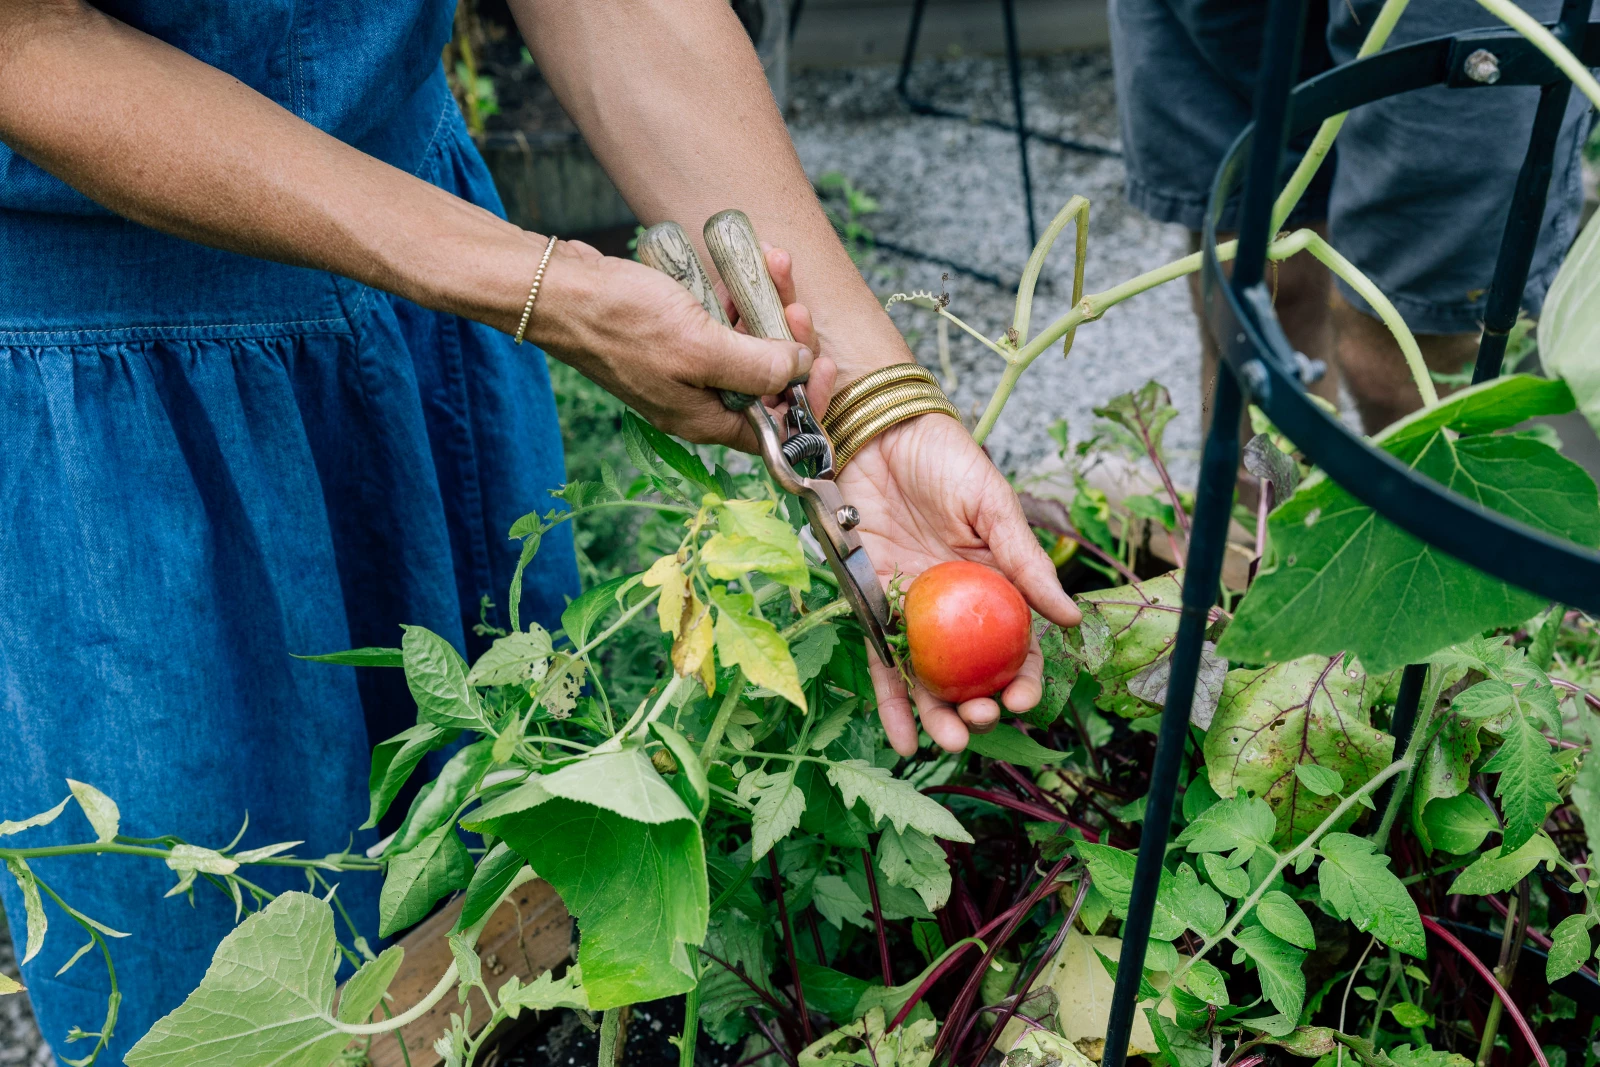
If squirrels, birds, or deer compete with you for tomatoes, waiting for full vine ripening is how you lose the harvest entirely.
I pick as soon as a tomato shows its first blush of color, cutting with pruners rather than pulling by hand so I don't damage the vine or the fruit still growing near it.
Those tomatoes finish ripening on a windowsill indoors, and a few days later they look and taste like they never left the plant.
Yes, a tomato ripened indoors is slightly different from one that ripened fully on the vine. But a tomato you get to eat beats a perfect one a squirrel got to first, every time. If wildlife isn't an issue in your garden, let them ripen fully on the vine and enjoy the difference.
Top Your Plants Before the First Frost
About six weeks before your first frost, cut the tip off the main leading stem on each vine.
It's a hard one to do since the plant is still growing and flowering, but it tells the plant to stop putting energy into new growth and instead finish ripening the fruit it's already set. Determinate tomatoes don't need this step. They top themselves off naturally and give you one big harvest before the season ends.
Don't Make These Tomato Mistakes
- Using a tomato cage on a vining variety. It will outgrow the cage within weeks and take it down with it.
- Pruning every single sucker on a long-season plant. You're cutting off fruit, not just leaves.
- Watering shallowly every day instead of deeply once a week. This trains roots to stay near the surface.
- Waiting for full vine ripening with wildlife around. Picking a little early gets you more usable tomatoes overall.
Keep Reading

This Garden Consultant Started From Scratch, Now She's Featured in Martha Stewart
The Best Gardening Gifts for Every Gardener on Your List
What to Do With Green Tomatoes Before Frost (and How to Tell Which Ones Will Ripen)
3 Signs Your Carrots Are Ready to Be Harvested from the Garden
Best Types of Lettuce to Grow in Your Garden